
The tantalizing scent of fresh oranges wafts through my kitchen as I dive into making a batch of Homemade Orange Candy – a chewy citrus delight. With each slice, I’m transported back to carefree days filled with sticky fingers and simple joys. This recipe offers not just a delightful treat to satiate your sweet tooth, but it’s also incredibly quick to whip together, making it perfect for spontaneous cravings or gatherings. The customizable nature means you can play with different citrus fruits or even add a sprinkle of herbs for a unique twist. So, are you ready to unleash your inner candy-maker and create a nostalgic masterpiece? Let’s get started!
Why is Homemade Orange Candy a Must-Try?
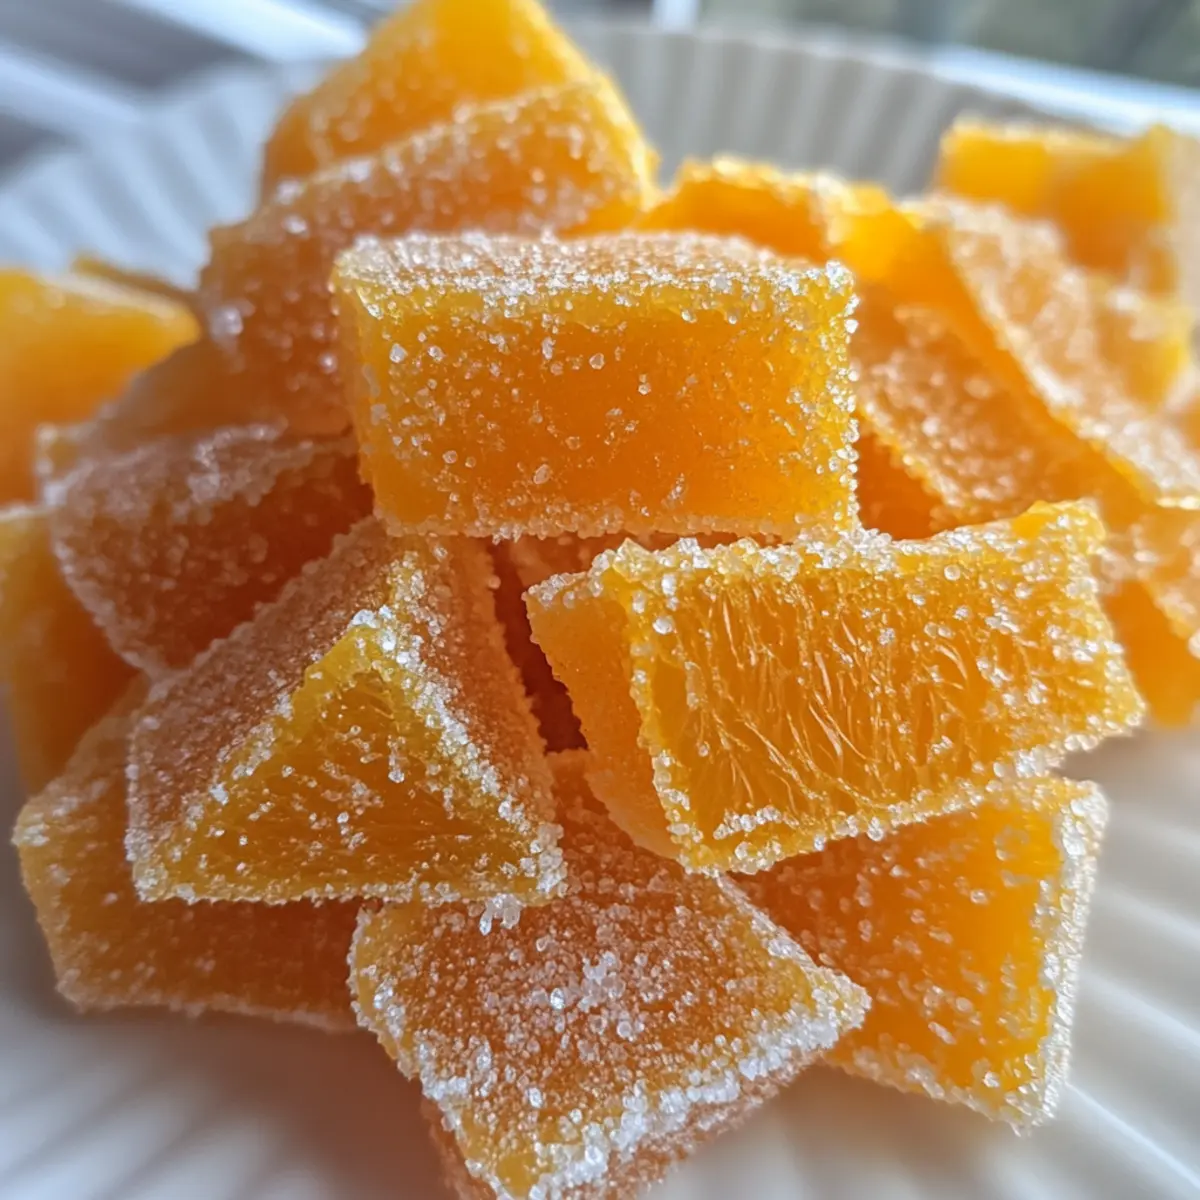
Delightfully Unique: This recipe transforms fresh oranges into nostalgic candy, offering a chewy texture that stands out from store-bought treats.
Easy to Make: With just a few straightforward steps, this candy requires minimal kitchen skills, making it accessible for everyone.
Customizable: Experiment with flavors by swapping in lemons or adding herbs like mint for a fresh twist.
Crowd-Pleaser: Share with friends and family during gatherings; they’ll be asking for seconds!
Quick Satisfaction: In just a few hours, you can enjoy your homemade creation, perfect for spontaneous cravings or celebrations.
Homemade Orange Candy Ingredients
Note: Gather these simple ingredients for your delightful Homemade Orange Candy.
For the Candy Base
• Oranges – Fresh oranges are essential for maximum flavor and vibrant aroma.
• Granulated Sugar – Sweetens the candy mixture to perfection; no substitutions recommended.
• Corn Syrup – Prevents crystallization for a smooth texture; can be replaced with honey if desired.
• Gelatin – Provides structure and firmness to the candy; swap for agar-agar for a vegetarian alternative.
• Water – Critical for dissolving sugar and blooming gelatin; no substitutions needed.
• Butter – Enhances flavor and texture; optional for a dairy-free version.
For Dusting
• Confectioners’ Sugar – Used for dusting over cut candy to prevent sticking and add sweetness; optional.
Step‑by‑Step Instructions for Homemade Orange Candy
Step 1: Zest & Juice Oranges
Begin by zesting two fresh oranges using a microplane or fine grater, being careful to avoid the bitter white pith. Once zested, cut the oranges in half and juice them until you have about 3/4 cup of fresh juice. This citrus treasure will be the base for your delicious Homemade Orange Candy, so make sure to extract all the flavorful goodness!
Step 2: Prepare Syrup
In a medium saucepan, combine the freshly extracted orange juice, 1/4 cup of water, 2 cups of granulated sugar, and 1/4 cup of corn syrup. Place the saucepan over medium heat, stirring continuously for about 5 minutes until the sugar completely dissolves. Once the mixture begins to simmer, you’ll notice a glossy sheen develop, indicating it’s ready for the next step in this sweet adventure.
Step 3: Bloom Gelatin
While the syrup is simmering, take a small bowl and sprinkle 2 tablespoons of gelatin over 1/4 cup of cold water. Let this mixture sit for about 5 minutes to allow the gelatin to bloom. The gelatin should absorb the water fully and become jelly-like in texture, which is essential for giving your Homemade Orange Candy that delightful chewy consistency.
Step 4: Combine Mixtures
After blooming, add the gelatin mixture to the hot syrup, stirring well until it dissolves completely. Next, mix in the orange zest and, if desired, 1 tablespoon of butter to enhance flavor and texture. Continue cooking on medium heat for an additional 5–10 minutes, stirring frequently until the mixture thickens to a honey-like consistency, which is key for achieving the perfect candy texture.
Step 5: Set the Candy
Grease an 8×8-inch dish or line it with parchment paper for easier removal. Pour the thickened mixture into the dish, spreading it evenly with a spatula. Allow the candy to cool at room temperature for about 30 minutes, then transfer it to the refrigerator. Chill for 4–6 hours, or overnight if you prefer, until the Homemade Orange Candy is firm and set.
Step 6: Cut & Dust
Once your candy is fully set, remove it from the dish and carefully peel off any parchment paper. Use a sharp knife to cut the candy into small squares or rectangles, depending on your preference. To finish, dust each piece with confectioners’ sugar to prevent sticking and add a touch of sweetness, making your Homemade Orange Candy look appealing and delightful to eat!

How to Store and Freeze Homemade Orange Candy
-
Room Temperature: Store cut pieces in an airtight container at room temperature for up to 2 weeks. Be sure to separate layers with parchment paper to prevent sticking.
-
Fridge: For a firmer texture, keep the Homemade Orange Candy in the refrigerator for up to 4 weeks. It’s perfect for those who enjoy a chewier bite!
-
Freezer: If you want to keep your candy longer, freeze it for up to 3 months. Wrap each piece in plastic wrap or foil, then place in an airtight container.
-
Reheating: There’s no need to reheat; simply enjoy the candy chilled or at room temperature for the best flavor!
What to Serve with Homemade Orange Candy?
Elevate your candy experience with these delightful pairings that complement the vibrant taste of your homemade creation.
- Creamy Mashed Potatoes: The smoothness of mashed potatoes provides a comforting contrast to the chewy candy, enhancing the meal’s overall enjoyment.
- Herbal Iced Tea: A refreshing iced tea infused with mint or basil offers a light, aromatic sip that balances the sweetness of the candy.
- Chocolate Drizzle: Drizzling melted dark chocolate over the candy adds a rich, contrasting flavor, making each bite an indulgent treat.
- Zesty Lemon Sorbet: The bright, tart sorbet cleanses the palate, providing a refreshing break between bites of sweet orange candy.
- Nutty Cheese Platter: A selection of creamy cheeses with nuts brings salty and savory notes, crafting an enjoyable contrast to the sweet citrus candy.
- Refreshing Fruit Salad: A mix of fresh berries, apples, and citrus fruits offers a light, fruity complement that enhances the overall citrus experience.
With these pairings, each bite of your homemade orange candy will shine even brighter, creating a memorable feast for all the senses.
Homemade Orange Candy Variations & Substitutions
Feel free to tweak and make this recipe your own with delightful twists and swaps!
-
Citrus Swap: Replace oranges with lemons or limes for a zesty variation that brings a whole new flavor experience.
-
Herb Infusion: Add fresh mint or rosemary to the mixture for an aromatic zing that elevates the candy’s flavor profile uniquely.
-
Sea Salt Finish: Sprinkling a pinch of sea salt over the finished candy will enhance sweetness and create a delightful contrast – a little touch goes a long way!
-
Chocolate Drizzle: For indulgence, drizzle melted dark or white chocolate on top of the cut candy pieces for a rich and decadent pairing that’s sure to impress.
-
Textural Twist: Consider swapping gelatin with pectin for a chewier texture that closely resembles your favorite gummy candies.
-
Spicy Kick: If you crave a little heat, add a dash of chili powder to the mixture for a surprisingly enjoyable spicy-sweet combo.
-
Fruity Fun: Mix in other citrus zests, like grapefruit or tangerine, for a colorful medley of flavors that adds extra intrigue to your candy dish.
-
Garnish Option: To serve, enjoy these delightful candies alongside a warm cup of tea or coffee; they make for a perfect sweet bite while sipping on your favorite beverage. For more dessert ideas, don’t forget to check out these Hut Cheese Sticks or treat yourself with some Reeses Cupcakes Homemade for a sweet ending!
Expert Tips for Homemade Orange Candy
-
Choose Fresh Oranges: Select ripe and firm oranges for optimal flavor; under ripe or overripe fruit might lead to disappointing taste.
-
Monitor Heat: Stir continuously during cooking to prevent the mixture from burning, especially after adding butter—it can scorch easily!
-
Blooming Gelatin: Make sure to allow the gelatin to bloom properly; skipping this step can lead to graininess in your Homemade Orange Candy.
-
Cool Thoroughly: Ensure the candy cools completely at room temperature before refrigerating; rushing this step can affect its final texture.
-
Dusting for Freshness: Don’t skip the confectioners’ sugar dusting! It keeps the candy from sticking together and adds a delightful sweetness.
Make Ahead Options
These Homemade Orange Candy are perfect for busy cooks looking to save time during the week! You can prepare the candy base up to 24 hours in advance by completing Steps 1 through 4. After the mixture has thickened, pour it into your greased dish and refrigerate it. Once set, individual pieces can be dusted with confectioners’ sugar and stored in an airtight container at room temperature for up to two weeks. This not only maintains their chewiness but ensures they’re just as delicious when it’s time to serve. Simply cut them into pieces and enjoy, or package them as delightful gifts!

Homemade Orange Candy Recipe FAQs
What should I look for when selecting oranges?
Absolutely! When choosing oranges for your Homemade Orange Candy, look for firm, vibrant fruit with smooth skin. Avoid any that have dark spots all over or feel soft to the touch, as these can indicate overripeness or spoilage. Fresh, zesty oranges not only enhance the flavor of your candy but also provide a lovely aroma that fills your kitchen.
How should I store my Homemade Orange Candy?
For room temperature storage, place cut pieces in an airtight container at room temperature for up to 2 weeks. I suggest layering them with parchment paper in between to keep them from sticking together. If you prefer a firmer texture, refrigerate the candy in an airtight container for up to 4 weeks.
Can I freeze Homemade Orange Candy?
Yes, absolutely! To freeze your candy, wrap each piece tightly in plastic wrap or foil, then place them in an airtight container. This will protect them from freezer burn, and you can enjoy them for up to 3 months. Just let them thaw at room temperature before enjoying!
What if my candy doesn’t set properly?
If your Homemade Orange Candy doesn’t set as expected, it might be due to improperly bloomed gelatin or insufficient cooking time. First, make sure you correctly bloomed the gelatin by allowing it to sit in cold water until it expands. If it’s too soft, try cooking it a little longer until it thickens to a honey-like consistency before pouring it into the dish.
Is this candy suitable for people with dietary restrictions?
This recipe can be made vegetarian by using agar-agar instead of gelatin. However, do note that some commercial gelatin may not be vegetarian. If you have specific allergies, like gluten or lactose, rest assured that this homemade treat is naturally free from gluten and can be dairy-free if you skip the butter. Always double-check ingredient labels if you’re particularly sensitive!
How long does it take for the candy to set?
Typically, your candy will need to chill in the refrigerator for about 4-6 hours, or even overnight if you prefer it firmer. Patience is key to achieving the perfect chewy texture! After it’s set, you can remove it from the dish and get ready to cut it into delightful pieces.

Homemade Orange Candy: Sweet Citrus Bliss You'll Love
Ingredients
Equipment
Method
- Zest two fresh oranges and juice them until you have about 3/4 cup of juice.
- In a medium saucepan, combine orange juice, 1/4 cup of water, 2 cups of granulated sugar, and 1/4 cup of corn syrup. Stir continuously for about 5 minutes until sugar dissolves.
- Sprinkle 2 tablespoons of gelatin over 1/4 cup of cold water and let sit for 5 minutes to bloom.
- Add the bloomed gelatin to the hot syrup, stirring until dissolved. Mix in the orange zest and butter, cooking for an additional 5-10 minutes until mixture thickens.
- Grease an 8x8-inch dish, pour in the mixture, spread evenly, and let it cool at room temperature for 30 minutes. Transfer to refrigerator to chill for 4-6 hours, or overnight.
- Once set, cut the candy into squares or rectangles and dust with confectioners' sugar.
Leave a Reply