
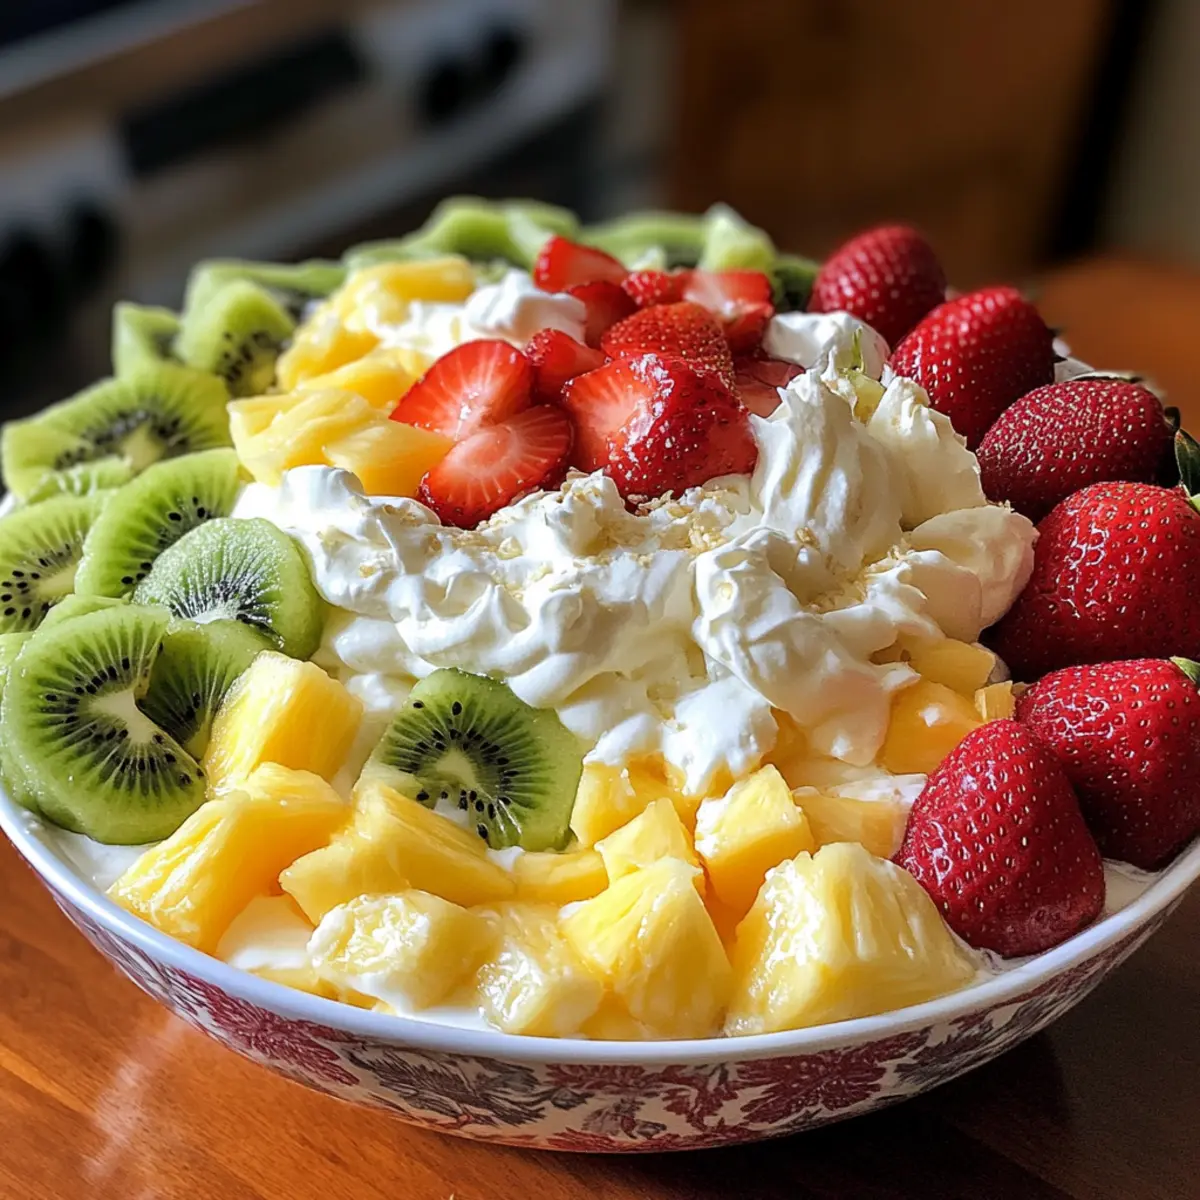
As I stood in my kitchen with the sun streaming in, I couldn’t help but feel the call of summer—a time for vibrant colors and refreshing flavors. That’s when I decided to whip up this Tropical Hawaiian Cheesecake Salad, which perfectly captures the essence of sun-kissed days. Blending creamy cheesecake with the light, lusciousness of fresh fruit, this delightful dessert is an absolute crowd-pleaser for barbecues, holiday gatherings, or even a quiet evening at home. What I love most is how effortlessly this salad comes together—making it a stress-free option that’s as pleasing to the eyes as it is to the palate. Ready to dive into a tropical-inspired treat that’s bound to impress everyone at the table? Let’s get started!
Why is Hawaiian Cheesecake Salad a Must-Try?
Tropical Bliss: This salad bursts with tropical flavors, transforming any gathering into a beachy paradise.
Effortless Preparation: With simple steps, you’ll have this stunning dessert ready in no time, freeing you to enjoy your event—no stress!
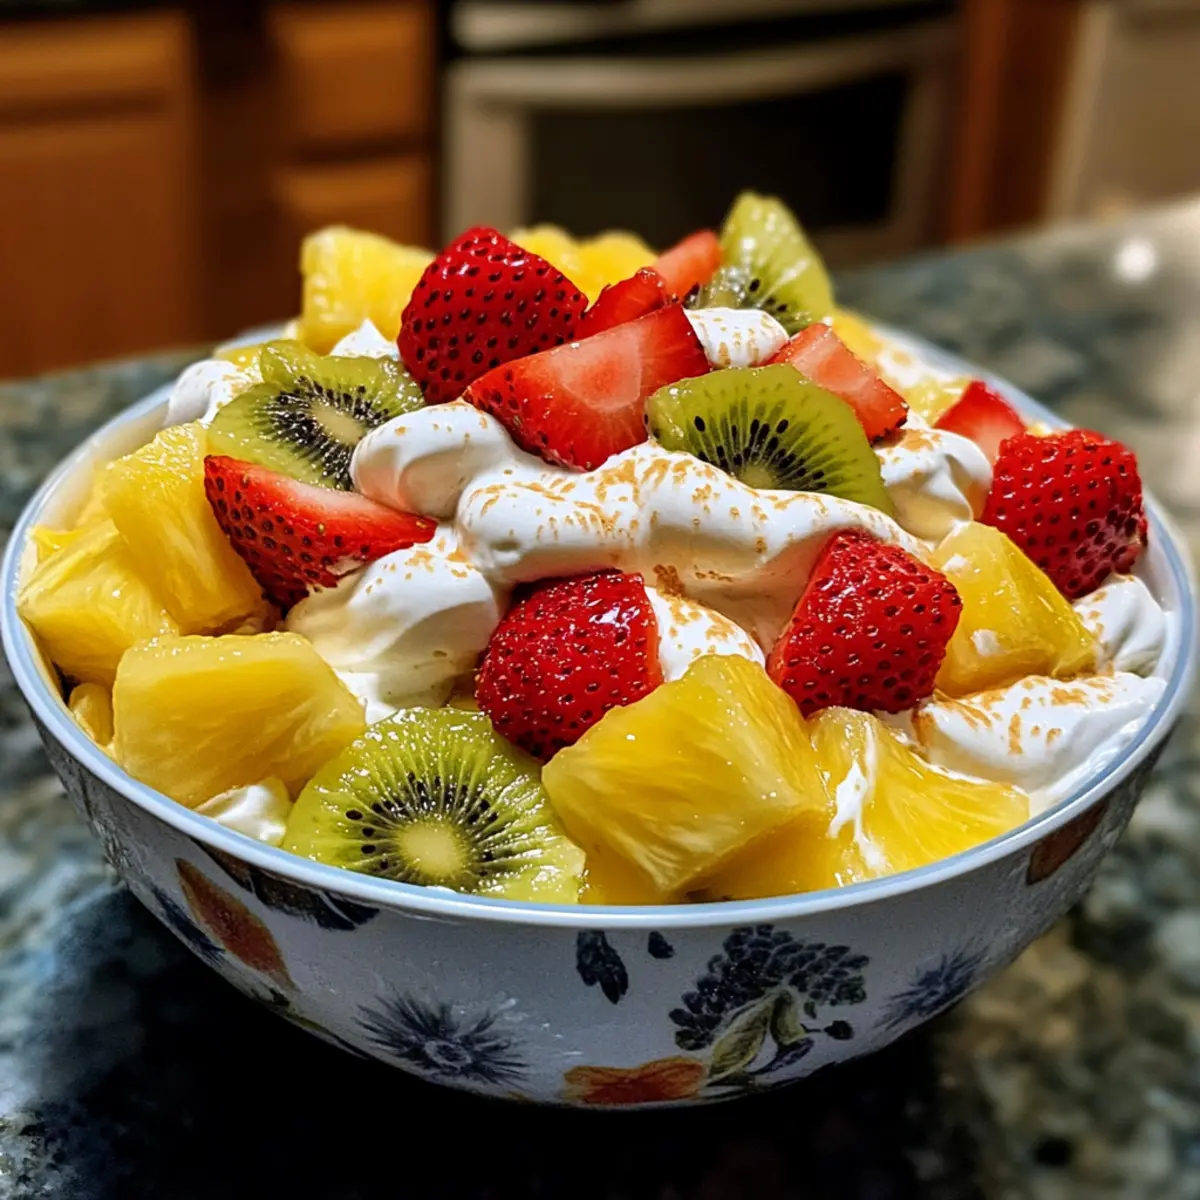
Colorful Presentation: The vibrant mix of fruits not only delights the taste buds but also adds a beautiful splash of color to your table. Pair it with Grilled Pineapple Salad for an even more tropical feast!
Crowd Favorite: Perfect for warm-weather gatherings, it’s a light and airy treat that pleases even the pickiest eaters.
Customizable: Feel free to adapt the fruit selection based on what’s in season or what you have on hand—it’s all about making it your own!
Hawaiian Cheesecake Salad Ingredients
For the Creamy Base
• Cream Cheese – Provides a rich, creamy base for the salad; use low-fat cream cheese for a lighter version.
• Whipped Cream – Adds lightness and airiness to the mixture; substitute with a non-dairy whipped topping for a vegan option.
• Plain Greek Yogurt – Introduces tanginess while adding creaminess; vanilla Greek yogurt can be used for extra sweetness.
• Powdered Sugar – Sweetens the mixture, balancing the tanginess of the yogurt; no notable substitutions needed.
• Vanilla Extract – Enhances flavor, giving a classic cheesecake taste; no notable substitutions here.
For the Fruit Medley
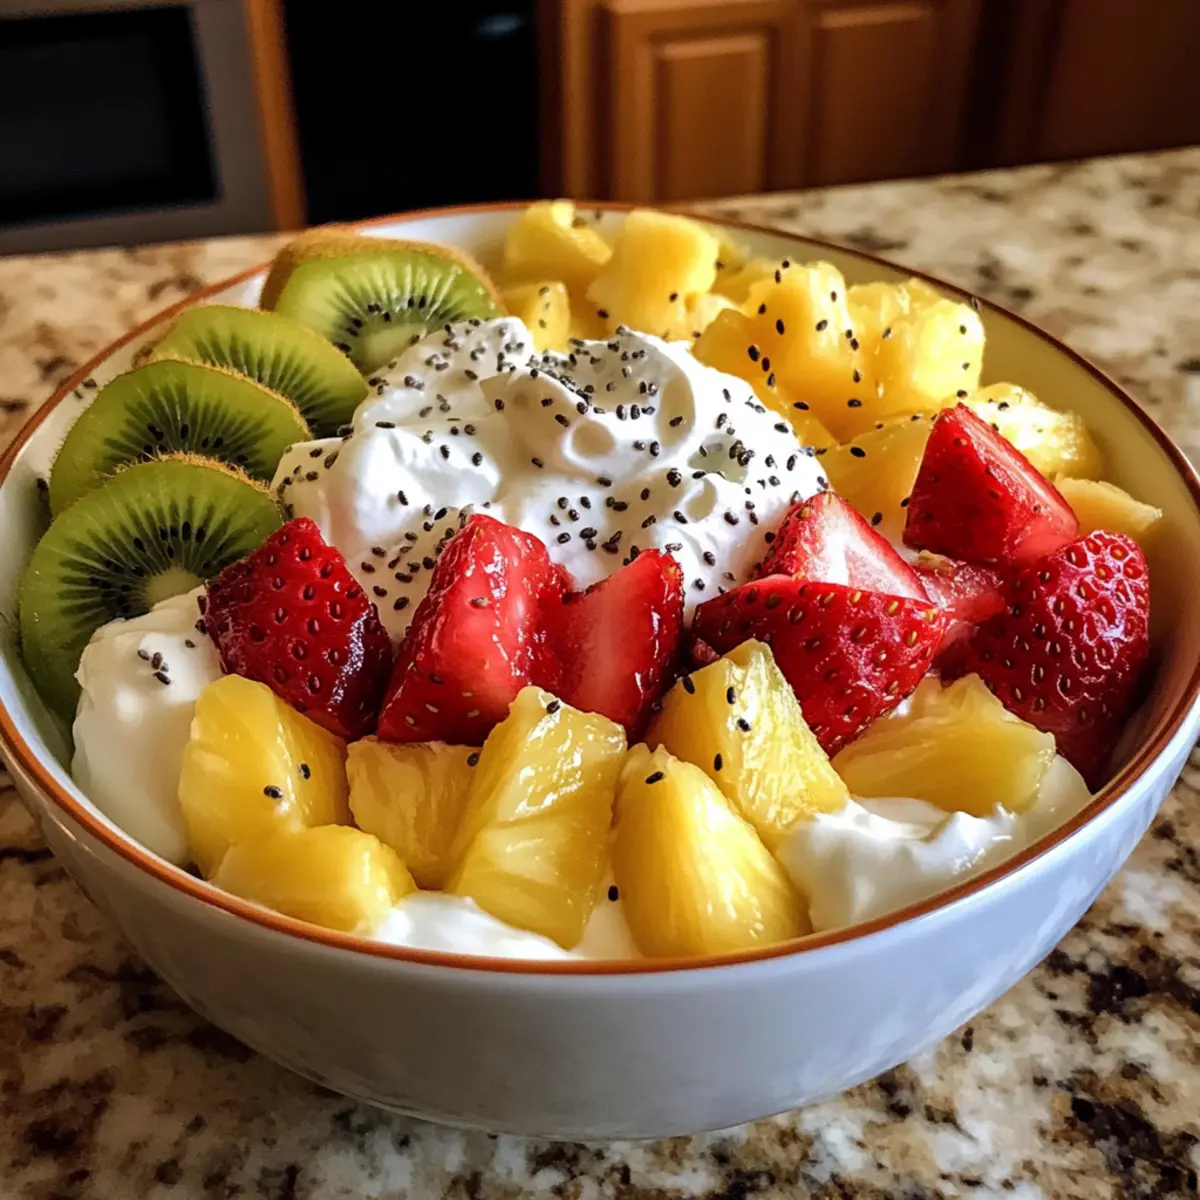
• Fresh Fruit (e.g., pineapple, strawberries, kiwi) – Offers freshness, color, and sweetness; you can substitute with any seasonal fruits, like mango or blueberries.
Indulge in the delightful combination of flavors with this Hawaiian Cheesecake Salad that brings the essence of summer to your table!
Step‑by‑Step Instructions for Hawaiian Cheesecake Salad
Step 1: Prepare Cream Cheese
In a large mixing bowl, ensure your cream cheese is at room temperature, then beat it with a hand mixer on medium speed for about 2-3 minutes until smooth and creamy. This step is vital for a silky texture in your Hawaiian Cheesecake Salad, so pay attention to any lumps and mix until the cheese is perfectly uniform.
Step 2: Add Greek Yogurt
Next, carefully incorporate the plain Greek yogurt into the creamy mixture. Using your mixer, blend on low speed for about 1-2 minutes until fully combined, creating a luscious base. This addition will add the perfect tanginess to the salad, enhancing its flavor profile while maintaining a light consistency.
Step 3: Sweeten the Mixture
Gradually add the powdered sugar, one cup at a time, while mixing continuously on low speed. Spend around 1-2 minutes ensuring each addition is well blended before adding more sugar. Your Hawaiian Cheesecake Salad should now start to take on a delightful sweetness that balances the tang from the yogurt.
Step 4: Flavoring
Stir in the vanilla extract, which not only heightens the flavor but also brings that classic cheesecake essence to your salad. Mix this in for another 30 seconds, ensuring it is evenly distributed throughout the creamy mixture, contributing to the overall aroma and taste of your finished dessert.
Step 5: Fold in Whipped Cream
Gently fold in the whipped cream by hand using a spatula, taking care to maintain the lightness of the mixture. This should be done in two parts over a span of 1-2 minutes, ensuring everything is beautifully combined yet fluffy. This is what will give your Hawaiian Cheesecake Salad that airy, mousse-like texture.
Step 6: Chill the Mixture
Once your mixture is ready, cover the bowl with plastic wrap and refrigerate for at least 1 hour. This chilling time is crucial, as it allows the flavors to meld and the salad to firm up, making it easier to serve and enhancing its creamy, refreshing qualities.
Step 7: Prepare Fruits
While your Hawaiian Cheesecake Salad is chilling, take this time to wash and chop your chosen fresh fruits into bite-sized pieces. Spend about 5-10 minutes on this, allowing the vibrant colors and sweet aromas of the fruits to fill your kitchen, setting the perfect mood for your delightful dessert.
Step 8: Combine and Serve
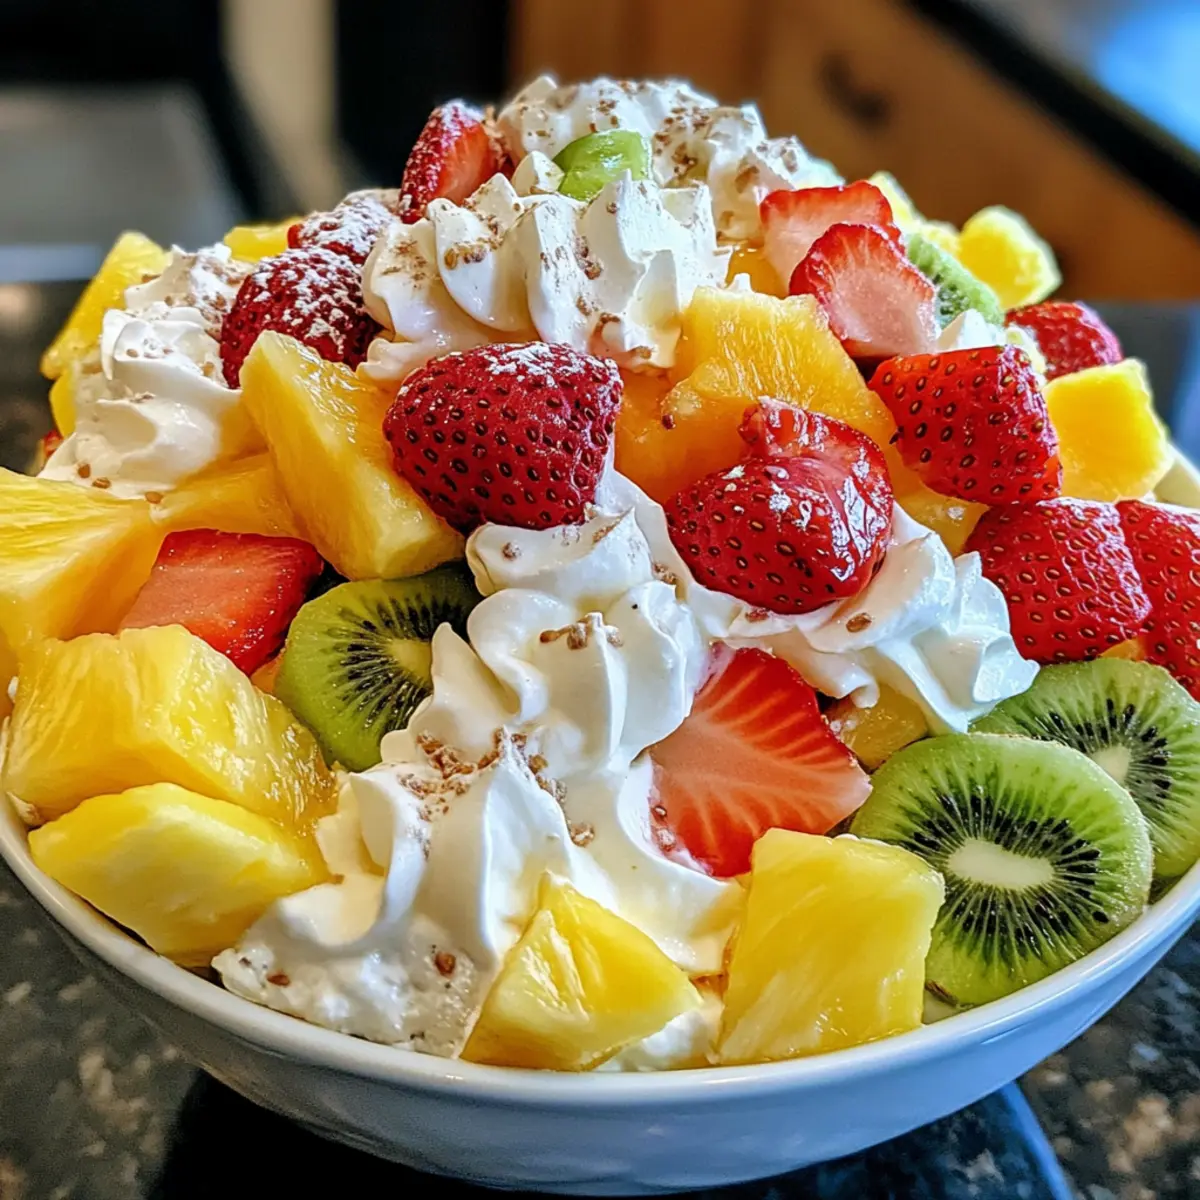
Finally, once the cheesecake mixture has chilled, gently fold the prepared fruits into the luscious base, being careful not to break them. Serve this delightful Hawaiian Cheesecake Salad in bowls, garnishing with extra juicy fruit on top. This colorful presentation will surely wow your guests and elevate your dining experience!
Hawaiian Cheesecake Salad Variations
Feel free to explore these delightful twists on the classic Hawaiian Cheesecake Salad to suit your personal taste!
-
Mixed Fruits: Use a combination of tropical fruits like mango, kiwi, and blueberries for a burst of vibrant flavors. The diversity of flavors will truly elevate your salad!
-
Shredded Coconut: Add unsweetened shredded coconut to the creamy mixture for an exotic touch. This ingredient brings a delightful chewiness that complements the creamy cheesecake beautifully.
-
Nutty Topping: Top your salad with crushed macadamia nuts for a satisfying crunch. The nutty flavor pairs perfectly with the sweetness of the fruits, creating a delicious contrast.
-
Sugar-Free Option: Swap powdered sugar for a sugar substitute like erythritol to make a healthier version. This way, you can still indulge without the added calories!
-
Dairy-Free Twist: Use coconut cream in place of cream cheese and a dairy-free whipped topping. You won’t lose any creaminess, making it perfect for vegan guests.
-
Herb-Infused: Incorporate fresh mint or basil into your fruit mixture for a refreshing twist. These herbs add surprisingly delightful complexity to the overall flavor.
-
Zesty Citrus: Add freshly grated lime or lemon zest to the creamy base. This zingy addition will brighten up the salad and provide a refreshing flavor contrast.
To expand your tropical menu, consider serving this delightful salad alongside Grilled Pineapple Salad or pairing it with a light dessert like Lemon Meringue Cheesecake for a delightful themed gathering!
What to Serve with Hawaiian Cheesecake Salad?
Elevate your Hawaiian cheesecake salad experience by pairing it with delightful sides and drinks that complement its tropical flavors.
-
Crispy Spring Rolls: Fresh and filled with crunchy vegetables, they provide a light contrast to the creamy dessert while adding a burst of freshness.
-
Grilled Pineapple Skewers: Sweet, caramelized pineapple adds a smoky flavor that harmonizes beautifully with the cheesecake’s tropical essence.
-
Flavorful Shrimp Tacos: Soft tortillas filled with seasoned shrimp bring a savory kick, balancing out the sweetness of the salad with savory goodness.
-
Cool Cucumber Salad: This refreshing mix of cucumbers and mint brings a crisp bite and a brightness that enhances the overall dining experience.
-
Mango Lassi: This creamy and fruity drink offers a sweet tang that pairs wonderfully with the cheesecake salad’s richness, creating a harmonious balance.
-
Lemon Sorbet: Light and zesty, this dessert will cleanse the palate and offer a refreshing contrast to the luscious cheesecake salad, perfect for warm weather.
-
Toasted Coconut Cookies: Chewy and sweet, these cookies add a delightful texture and tropical flair that complements the cheesecake while providing an enjoyable crunch.
Let these pairings inspire your next gathering, making your Hawaiian cheesecake salad the star of the show!
How to Store and Freeze Hawaiian Cheesecake Salad
Fridge: Keep leftovers in an airtight container in the refrigerator for up to 2-3 days. Make sure the container is well-sealed to maintain freshness.
Freezer: If you need to freeze the salad, consider freezing the creamy base separately from the fruit for best results. The base can last up to a month.
Reheating: This dessert is best enjoyed cold and does not require reheating. Simply thaw in the fridge overnight if frozen, and mix in fresh fruit just before serving.
Serve Fresh: For optimal taste and texture, it’s recommended to enjoy your Hawaiian Cheesecake Salad within the first couple of days.
Make Ahead Options
These Hawaiian Cheesecake Salad preparations are a game-changer for busy home cooks! You can whip up the creamy base (cream cheese, Greek yogurt, powdered sugar, vanilla, and whipped cream) up to 24 hours in advance, storing it in an airtight container in the refrigerator to keep it fresh and delightful. As for the fruit, wash and chop it beforehand and keep it separate for up to 3 days in the fridge in a sealed container to maintain their vibrant colors and crunch. When it’s time to serve, simply fold the fruits into the chilled cheesecake mixture, and you’ll have a tropical treat that’s just as scrumptious as if you made it fresh!
Expert Tips for Hawaiian Cheesecake Salad
-
Room Temperature Cream Cheese: Ensure your cream cheese is soft for smooth mixing—this is key to avoiding lumps in your Hawaiian Cheesecake Salad.
-
Fold Gently: When incorporating whipped cream, use a gentle folding technique to maintain that airy texture; overmixing can lead to a denser result.
-
Fresh Fruit Timing: For the best flavor and texture, mix in fruits just before serving—this preserves their freshness and makes your salad visually appealing.
-
Chill Adequately: Don’t skip the chilling step! It’s essential for allowing flavors to meld and achieving the perfect creamy consistency in your Hawaiian Cheesecake Salad.
-
Taste as You Go: Remember to taste your mixture at different stages—it’s a fun way to ensure it’s sweet enough and packed with flavor!
Hawaiian Cheesecake Salad Recipe FAQs
What fruits work best in Hawaiian Cheesecake Salad?
Absolutely! While traditional choices include pineapple, strawberries, and kiwi, feel free to experiment with any seasonal fruits you love. Mango, blueberries, or even sliced peaches can provide a refreshing twist, giving your salad a personal touch!
How should I store leftover Hawaiian Cheesecake Salad?
Store any leftovers in an airtight container in the refrigerator for up to 2-3 days. This will help maintain its freshness and creamy texture. Just remember, this delightful dessert is best enjoyed within the first couple of days for optimal flavor.
Can I freeze Hawaiian Cheesecake Salad?
Yes, you can! For best results, freeze the creamy base separately from the fruit. The creamy mixture can be stored in the freezer for up to a month. When ready to enjoy, let it thaw in the fridge overnight and fold in fresh fruits just before serving.
What should I do if my whipped cream doesn’t hold its shape?
Don’t worry! If your whipped cream starts to deflate, simply chill it for a few minutes, then re-whip it on high speed for about 30 seconds. This should help regain some of its volume. Avoid overmixing, as this can cause it to become dense.
Can I make Hawaiian Cheesecake Salad in advance?
Definitely! This salad can be made up to a day in advance. Just remember to mix in the fruits right before serving to keep them fresh and vibrant. Prepare the creamy mixture, refrigerate it, and when it’s time to serve, simply add your chopped fruits for a stunning presentation.
Is Hawaiian Cheesecake Salad suitable for those with dietary restrictions?
Very much so! For a lighter version, you can use low-fat cream cheese, and for those with dietary restrictions, non-dairy whipped topping can substitute for the whipped cream. Additionally, opting for vanilla Greek yogurt can cater to those who prefer a sweeter touch without adding extra sugar.
Delightful Hawaiian Cheesecake Salad for a Tropical Treat
Ingredients
Equipment
Method
- In a large mixing bowl, ensure your cream cheese is at room temperature, then beat it with a hand mixer on medium speed for about 2-3 minutes until smooth and creamy.
- Carefully incorporate the plain Greek yogurt into the creamy mixture, blending on low speed for about 1-2 minutes until fully combined.
- Gradually add the powdered sugar, one cup at a time, mixing continuously on low speed for 1-2 minutes ensuring each addition is well blended.
- Stir in the vanilla extract, mixing for another 30 seconds until evenly distributed.
- Gently fold in the whipped cream by hand using a spatula in two parts to maintain the lightness.
- Cover the bowl with plastic wrap and refrigerate for at least 1 hour.
- While chilling, wash and chop your fresh fruits into bite-sized pieces.
- Once the cheesecake mixture has chilled, gently fold the prepared fruits into the base and serve in bowls, garnishing with extra fruit.
Leave a Reply