
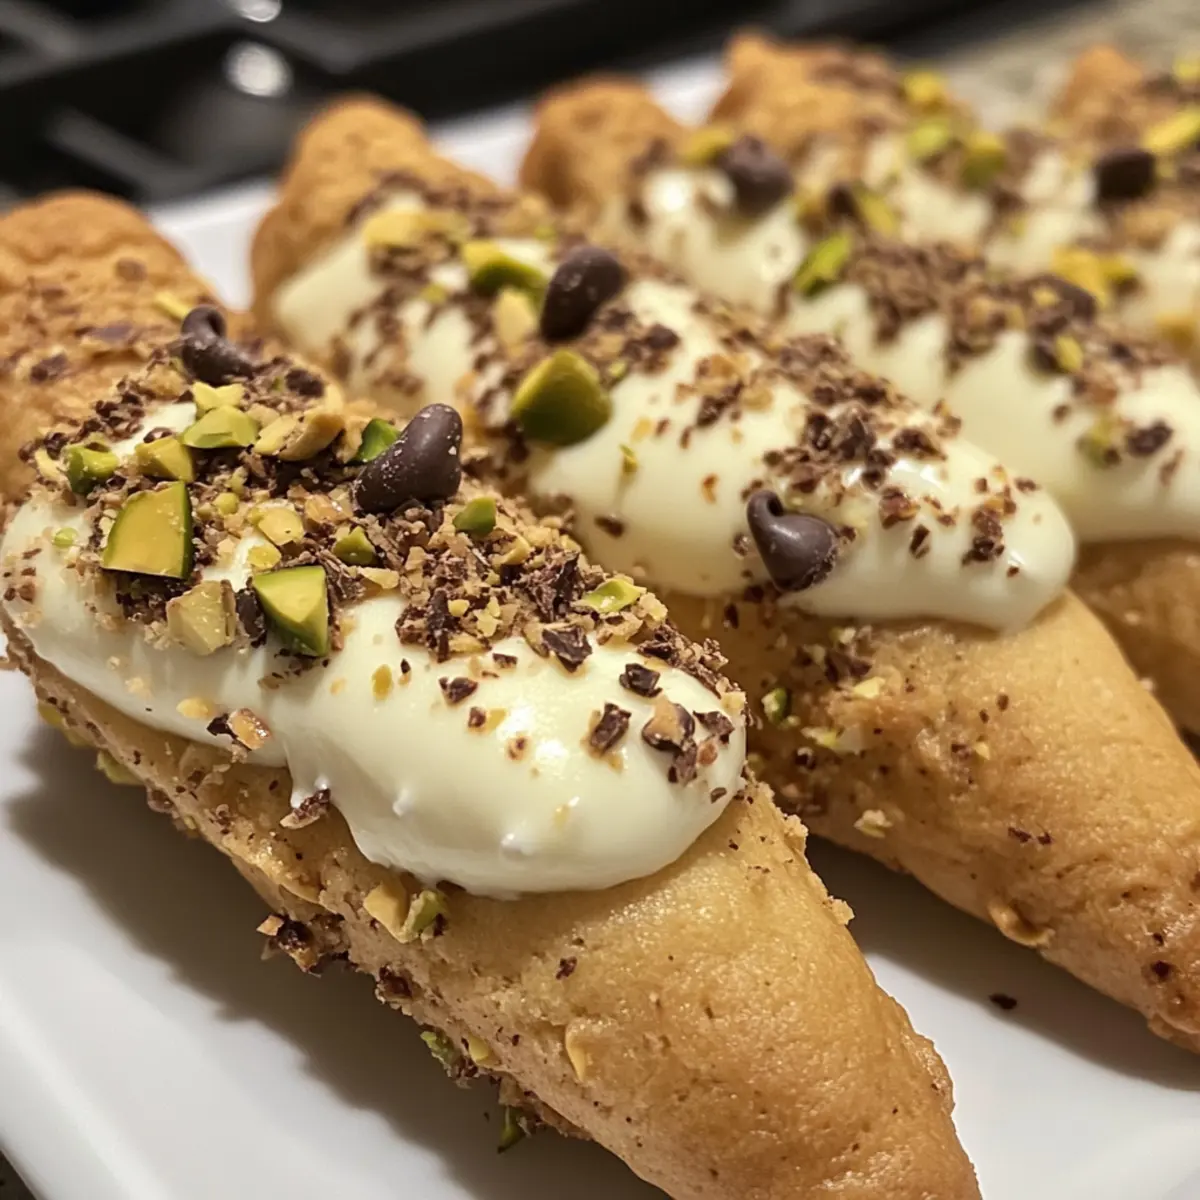
As the aroma of sweet ricotta and vanilla wafts through my kitchen, I’m transported to the bustling streets of Italy, where the essence of cannoli is a cherished tradition. Today, I’m excited to share my twist on this beloved classic—Cannoli Cookies! These delightful treats fuse crunchy perfection with a creamy filling, offering a quick, satisfying indulgence that’s perfect for any gathering. Beyond their delectable flavor, they are also a breeze to whip up, making them an ideal choice for impromptu tea parties or sweet afternoon breaks. Are you ready to roll up your sleeves and explore these irresistible cookies that will have your friends and family asking for seconds? Let’s dive in!
Why Are Cannoli Cookies a Must-Try?
Exquisite Fusion: These Cannoli Cookies wonderfully blend the beloved flavors of traditional cannoli into a convenient cookie form, ensuring you enjoy that classic flavor in every bite.
Easy to Make: With simple, easy-to-follow steps, you’ll have these delectable treats ready in no time, perfect for those busy days when you’re craving something sweet!
Crowd-Pleaser: Whether you’re hosting a gathering or simply want to impress friends, these cookies are sure to be the star of the show, leaving everyone wanting more.
Versatile Delight: Experiment with different fillings and toppings, like Caramel bits or dried fruit, to find your new favorite variation.
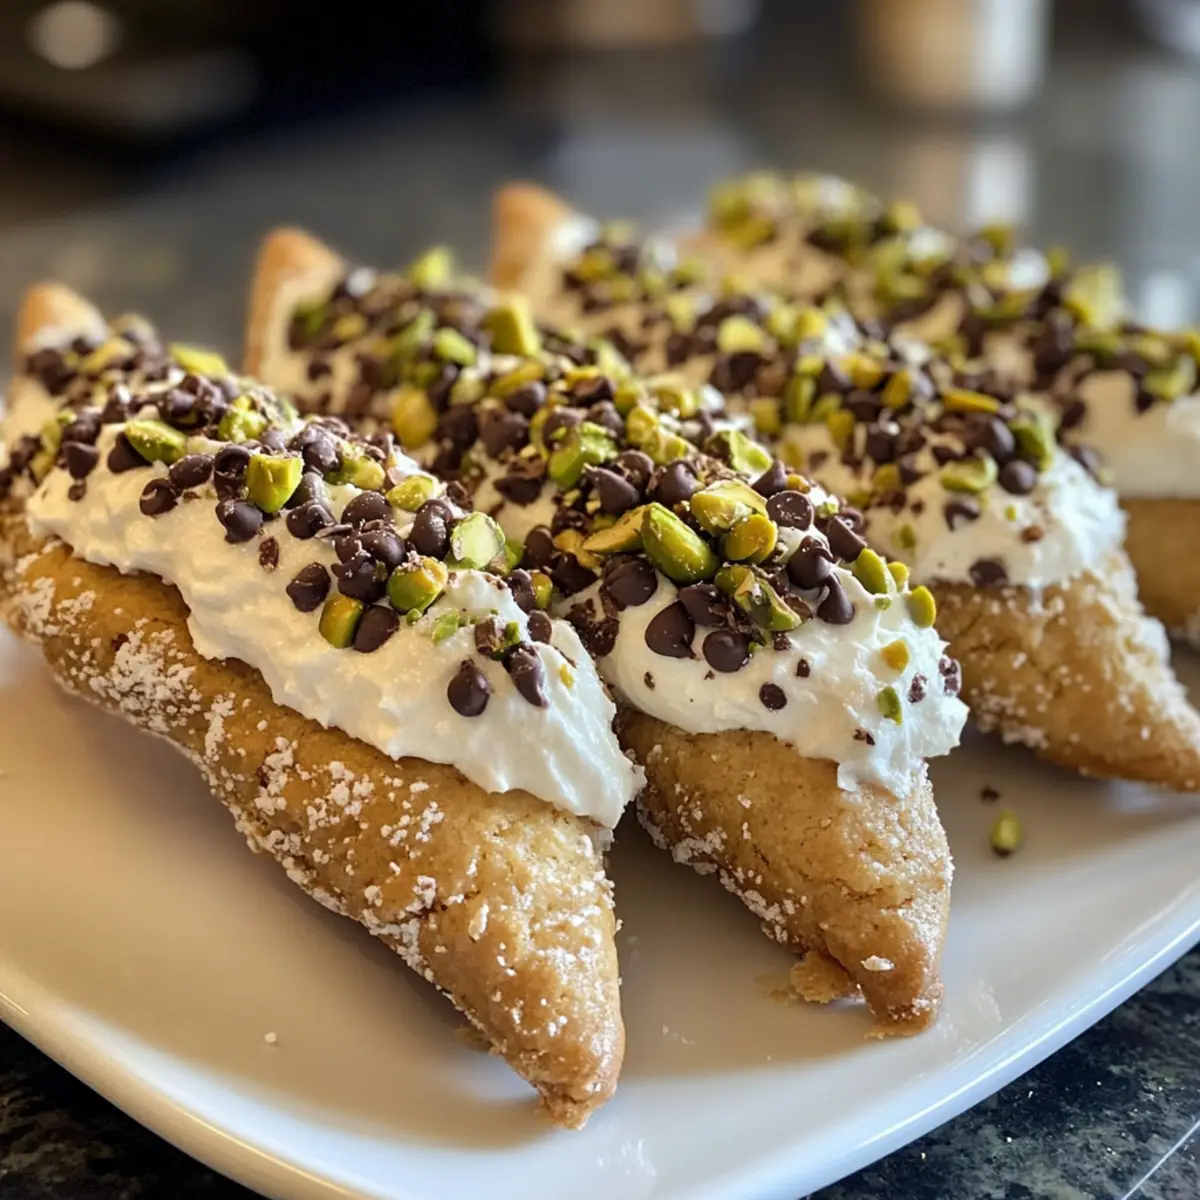
Perfect for Sharing: Arrange them on a beautiful platter, dusted with powdered sugar, and watch smiles light up as everyone enjoys them—they’re ideal for any occasion!
Try these Nutella Marshmallow Cookies for another irresistible dessert!
Cannoli Cookies Ingredients
For the Dough
• All-Purpose Flour – Provides structure to the cookies; substitute with gluten-free flour for a gluten-free option.
• Granulated Sugar – Adds sweetness and helps achieve a golden color; no direct substitutes are recommended for best results.
• Ricotta Cheese (¼ cup for dough) – Adds moisture and creaminess; use fresh ricotta for a better texture.
• Large Egg – Binds the ingredients and adds moisture; substitute with a flax egg for a vegan option.
• Vanilla Extract – Enhances flavor; use pure vanilla extract for a deeper taste.
• Lemon Zest – Adds a fresh, citrusy note; orange zest can be used as a substitute.
For the Filling
• Ricotta Cheese (¼ cup for filling) – Provides a delightful creaminess; ensure it’s fresh for the best experience.
• Mini Chocolate Chips – Provide sweetness and texture; dark or white chocolate chips can be used as alternatives.
• Chopped Pistachios – Adds crunch and flavor; can substitute with chopped almonds or walnuts.
For the Topping
• Powdered Sugar – For dusting the finished cookies; no substitutes recommended as it adds visual appeal and sweetness.
With these ingredients at hand, you’re just a whisk away from creating the most delightful Cannoli Cookies that will impress everyone around you!
Step‑by‑Step Instructions for Cannoli Cookies
Step 1: Preheat the Oven
Start by preheating your oven to 350°F (175°C). This will ensure that your Cannoli Cookies bake evenly. Prepare a baking sheet by lining it with parchment paper or a silicone mat to prevent sticking.
Step 2: Mix Dry Ingredients
In a large mixing bowl, whisk together the all-purpose flour and granulated sugar until well combined and free of lumps. This will form the base of your cookie dough, ensuring a delightful texture.
Step 3: Combine Wet Ingredients
In a separate bowl, mix together ¼ cup of ricotta cheese, the egg, vanilla extract, and lemon zest until the mixture is smooth and creamy. This blend adds moisture and flavor to your Cannoli Cookies, creating that rich, delicious filling you’ll love.
Step 4: Form the Cookie Dough
Gradually add the dry flour mixture to the ricotta mixture, stirring gently until a soft dough forms. Be careful not to overmix; you want a tender dough for your Cannoli Cookies.
Step 5: Rest the Dough
Cover the dough with plastic wrap and let it rest at room temperature for about 30 minutes. This allows the flavors to meld together and makes the dough easier to roll out.
Step 6: Roll and Cut the Dough
On a floured surface, roll out the rested dough to about ¼ inch thick. Using a sharp knife or a pizza cutter, cut the dough into 2×3 inch rectangles. Dust with flour as needed to prevent sticking.
Step 7: Prepare the Filling
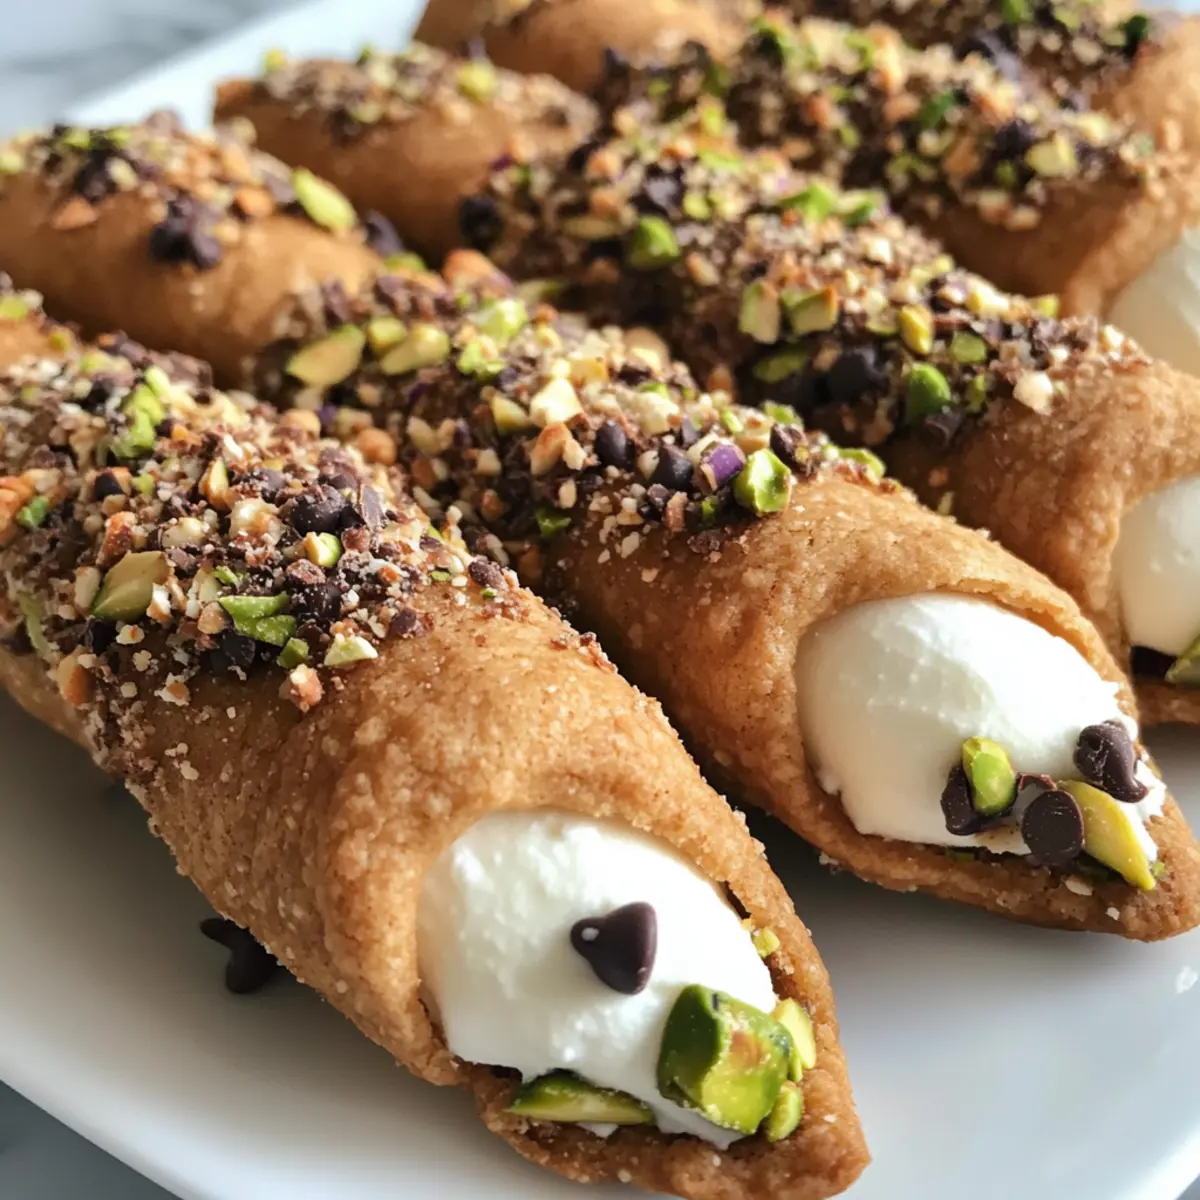
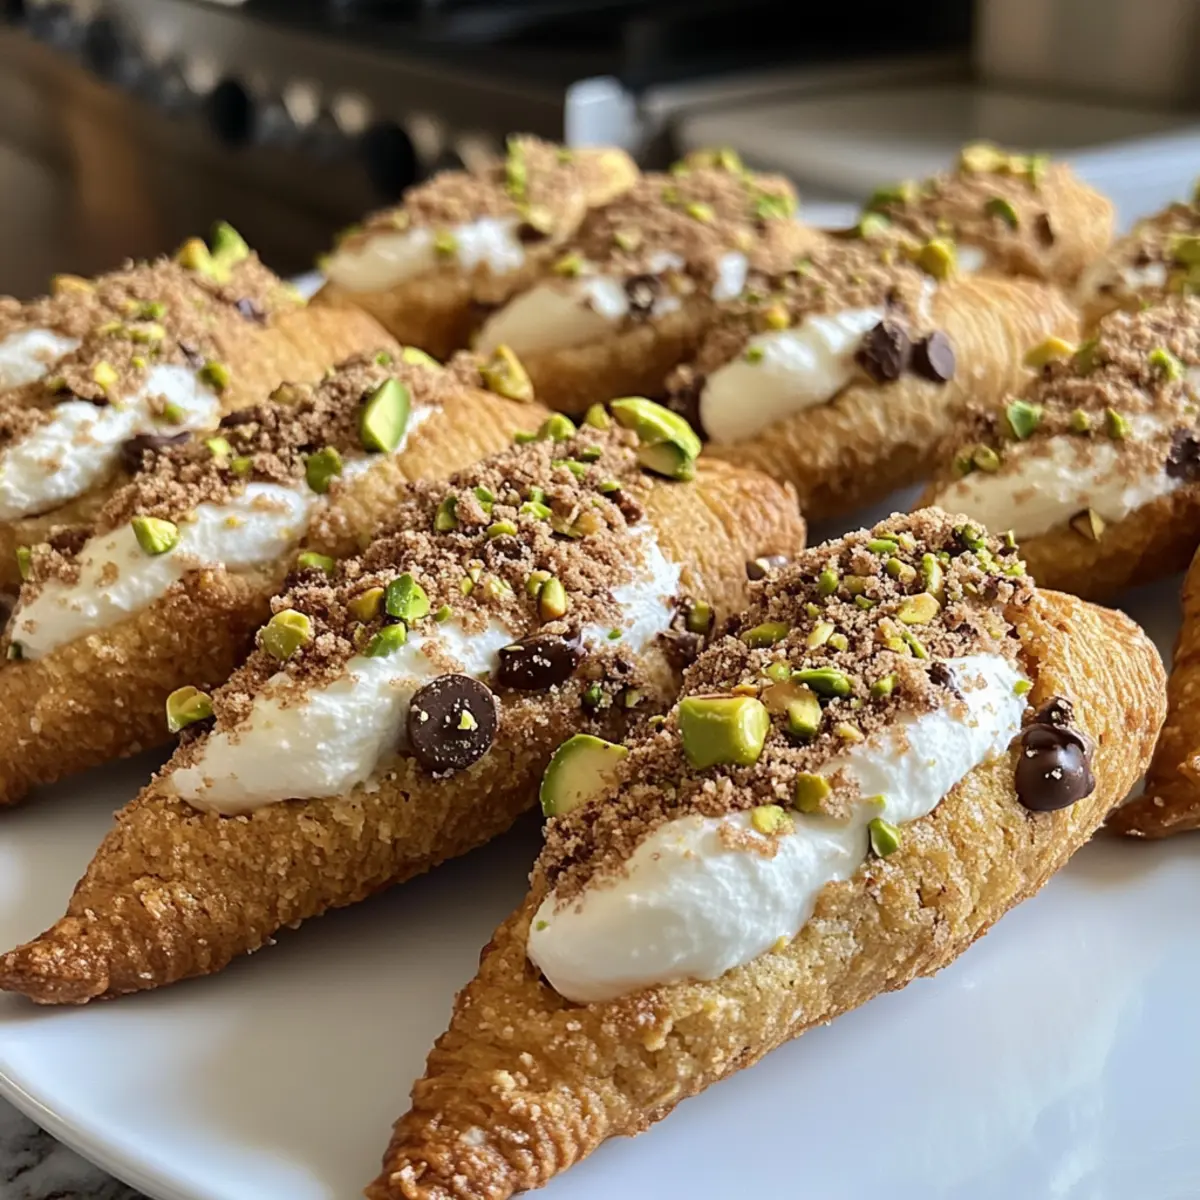
In a separate bowl, prepare the filling by mixing the remaining ¼ cup of ricotta cheese with mini chocolate chips and chopped pistachios. This sweet and creamy mixture will provide the perfect contrast to the crunchy cookies.
Step 8: Fill and Seal the Cookies
Take one rectangle of dough and place a spoonful of filling slightly off-center. Fold the rectangle over to create a pocket, then pinch the edges tightly to seal. This step is crucial to keep the filling secure during baking.
Step 9: Bake the Cookies
Place the filled Cannoli Cookies on the prepared baking sheet and bake in the preheated oven for 15-18 minutes, or until they are golden brown. Keep an eye on them as they bake, as oven times can vary.
Step 10: Cool and Dust
Once baked, remove the Cannoli Cookies from the oven and allow them to cool briefly on the baking sheet. Then transfer them to a wire rack to cool completely. Before serving, dust the cooled cookies with powdered sugar for a lovely finish.
Make Ahead Options
These Cannoli Cookies are not only delicious but also perfect for busy home cooks looking to save time! You can prepare the dough up to 24 hours in advance, wrapping it tightly in plastic wrap and refrigerating it to keep it fresh. Additionally, the filling can be made ahead of time and stored in an airtight container in the fridge for up to 3 days; just give it a good stir before using to ensure it’s creamy. When you’re ready to bake, simply follow the instructions to roll, cut, and fill the cookies, then bake them as directed. This way, you’ll enjoy warm, freshly baked Cannoli Cookies with minimal effort, making your kitchen feel like a sweet haven!
How to Store and Freeze Cannoli Cookies
Room Temperature: Store your Cannoli Cookies in an airtight container at room temperature for up to 3 days to keep them fresh and tasty.
Fridge: If your kitchen is warm, you can refrigerate the cookies in a sealed container for up to 5 days, allowing the creamy filling to stay firm.
Freezer: For longer storage, freeze the baked cookies individually wrapped in plastic wrap, then place them in a freezer-safe bag, where they can last up to 3 months.
Reheating: To enjoy your frozen Cannoli Cookies, thaw them in the fridge overnight, then let them come to room temperature before serving for optimal flavor and texture.
What to Serve with Cannoli Cookies?
Indulging in Cannoli Cookies is a delightful experience, and complementing them with the right sides can elevate your sweet treat to a memorable dessert affair.
-
Rich Coffee: A warm cup of espresso or creamy cappuccino highlights the sweet, creamy filling while grounding the cookie’s sweetness, making for a perfect pairing!
-
Vanilla Ice Cream: The cool, creamy texture of vanilla ice cream contrasts beautifully with the crunchy exterior, creating a delightful taste sensation that feels indulgent.
-
Fresh Berries: Vibrant strawberries or tangy raspberries add a refreshing burst of flavor, balancing the richness of the cookies wonderfully while adding a touch of brightness to your dessert plate.
-
Chocolate Drizzle: A drizzle of warm chocolate sauce enhances the cookie’s loveliness, adding another layer of rich flavor and a touch of elegance to your presentation.
-
Pistachio Crumble: Dusting chopped pistachios over your Cannoli Cookies can provide extra crunch and deepen the nutty flavor, creating a satisfying textural contrast.
-
Sweet Wine: Pairing with a light dessert wine, such as Moscato, can beautifully contrast the sweetness of the cookies, rounding off the experience with a hint of sophistication.
-
Creamy Lemon Curd: A dollop of lemon curd offers a tangy twist, perfectly cutting through the creaminess of the filling, bringing balance and a fresh kick to each bite.
-
Chocolate-Dipped Fruit: Fruits like mango or banana dipped in chocolate echo the cookie’s flavors, adding sweetness while enhancing the overall indulgence.
-
Homemade Whipped Cream: A silky cloud of lightly sweetened whipped cream served alongside your Cannoli Cookies can provide that extra touch of airiness for a truly delightful dessert moment.
Expert Tips for Cannoli Cookies
-
Sift Your Flour: Sifting twice before measuring the flour helps achieve a lighter texture, which is key for delightful Cannoli Cookies.
-
Use Room Temperature Ricotta: Ensure your ricotta cheese is at room temperature for easier mixing, leading to a smoother filling.
-
Watch Your Baking Time: Keep a close eye on the cookies in the last few minutes of baking to avoid over-browning.
-
Manage Sticky Dough: Flour your work surface generously while rolling out the dough, as it can be sticky and challenging to handle.
-
Seal Properly: Make sure to pinch the edges tightly when folding the dough over the filling to prevent leaks during baking.
Cannoli Cookies: Creative Variations
Feel free to let your imagination run wild and customize these Cannoli Cookies to suit your taste buds!
-
Gluten-Free: Use a 1:1 gluten-free flour mix in place of all-purpose flour for a gluten-free delight. Enjoy the same irresistible flavors without the gluten!
-
Vegan-Friendly: Swap the egg with a flax egg (1 tablespoon ground flaxseed + 2.5 tablespoons water) and use dairy-free ricotta for a compassionate twist. This way, everyone can savor every bite!
-
Flavor Twist: Experiment with flavored extracts, such as almond or hazelnut, to create a unique taste sensation. These variations bring a delightful surprise to the traditional recipe.
-
Fruit-Filled: Instead of chocolate chips, fold in dried fruits like cherries or cranberries for an unexpected burst of flavor. Pairing them with the creamy ricotta makes for a delicious contrast!
-
Nutty Crunch: Replace pistachios with chopped almonds or walnuts for an alternative crunch. These nuts will still add that lovely texture that’s so essential to Cannoli Cookies.
-
Mini Size: Cut the rectangles smaller to make mini cookies, adjusting the baking time to 10-12 minutes. Perfect for bite-sized treats and glamorous dessert tables!
-
Chocolate Drizzle: Drizzle melted dark or white chocolate over the cooled cookies for an even more indulgent experience. The extra sweetness enhances the overall enjoyment of the cookies.
-
Seasonal Spirit: Add a sprinkle of ground cinnamon or nutmeg to the dough for a warm, cozy flavor that’s perfect for the fall season. It’s like capturing the essence of autumn in cookie form!
For another tasty treat, try these delightful Soft Pumpkin Cookies!
Cannoli Cookies Recipe FAQs
How do I select ripe ingredients for Cannoli Cookies?
Absolutely! For the best Cannoli Cookies, opt for fresh ricotta cheese; it should be creamy with no excess water. Check the expiration date and avoid any that appear overly dry or have dark spots. When choosing lemons for zest, select those that are firm and heavy for their size, as they’re typically juicier and more flavorful.
What is the best way to store Cannoli Cookies, and how long do they last?
For optimal freshness, store your Cannoli Cookies in an airtight container at room temperature for up to 3 days. If you find yourself with extras on a warm day, refrigerating them in a sealed container will keep them fresh for up to 5 days. Just ensure they are fully cooled before storage to prevent moisture buildup!
Can I freeze Cannoli Cookies, and how should I do it?
Very! To freeze your Cannoli Cookies, wrap each cooled cookie tightly in plastic wrap. Then, place the wrapped cookies in a freezer-safe bag or container. They’ll maintain their delicious quality for up to 3 months. For the best experience, thaw them in the fridge overnight and allow them to come to room temperature before serving.
What should I do if my dough is too sticky?
If you encounter a sticky dough while making Cannoli Cookies, don’t worry! Start by generously flouring your work surface and rolling pin to prevent sticking. If the dough remains unmanageable, you can chill it in the refrigerator for about 15-20 minutes to firm it up, making it easier to roll out and cut.
Are Cannoli Cookies suitable for people with allergies?
Indeed! If allergies are a concern, you can make Cannoli Cookies that are dairy-free and vegan. Substitute the ricotta cheese with a vegan alternative, like cashew crème or coconut yogurt, and use a flax egg instead of a large egg to bind the dough. Just be sure to inform your guests of any allergen adjustments you’ve made!
Can I use different types of flour for Cannoli Cookies?
Absolutely! If you’d like a gluten-free version of the Cannoli Cookies, you may use a 1:1 gluten-free flour blend. I often recommend looking for one that contains xanthan gum for better texture. However, keep in mind that results may vary slightly, so it might take a test batch to get it just right!
Irresistible Cannoli Cookies for Your Sweet Cravings
Ingredients
Equipment
Method
- Preheat your oven to 350°F (175°C). Prepare a baking sheet by lining it with parchment paper.
- In a large bowl, whisk together the all-purpose flour and granulated sugar until free of lumps.
- In a separate bowl, mix the ¼ cup of ricotta cheese, the egg, vanilla extract, and lemon zest until smooth.
- Gradually add the dry mixture to the ricotta mixture, stirring gently until a soft dough forms.
- Cover the dough with plastic wrap and let it rest at room temperature for about 30 minutes.
- Roll out the rested dough to about ¼ inch thick and cut into 2x3 inch rectangles.
- Prepare the filling by mixing the remaining ¼ cup of ricotta, mini chocolate chips, and chopped pistachios.
- Take one rectangle of dough, place a spoonful of filling slightly off-center, fold, and seal the edges.
- Bake the filled cookies on the prepared sheet for 15-18 minutes until golden brown.
- Cool briefly on the baking sheet, then transfer to a wire rack to cool completely before dusting with powdered sugar.
Leave a Reply