
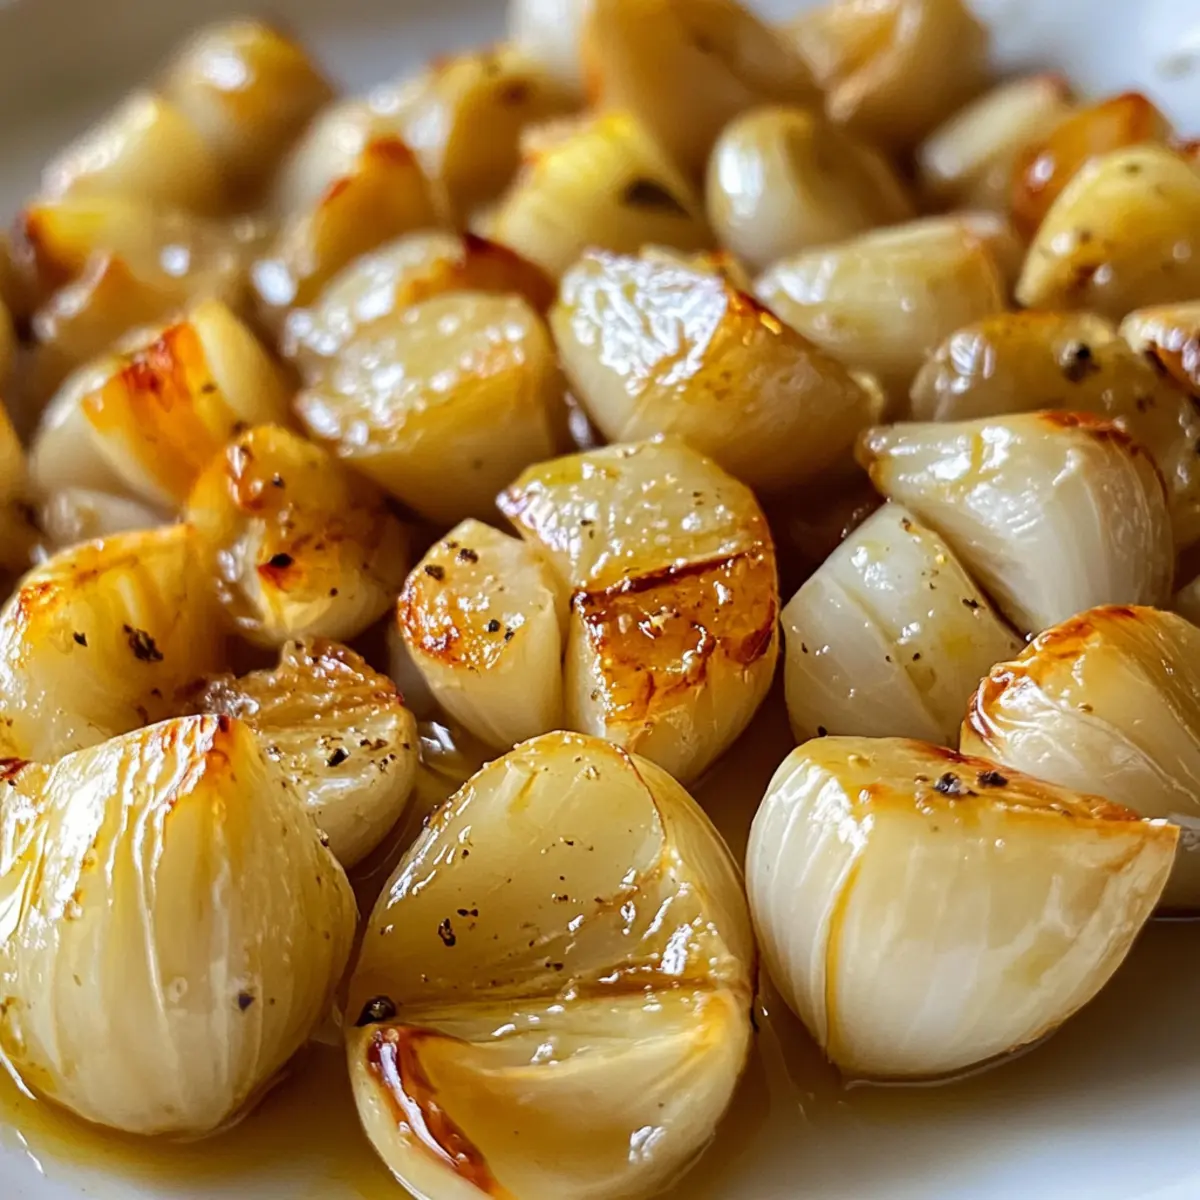
As the sweet, nutty aroma of roasted garlic fills your kitchen, you’ll wonder why you ever settled for store-bought options. With this Roasted Garlic Recipe in 20 Minutes, you can create creamy, caramelized garlic cloves that transform any dish into a delectable masterpiece. This easy and versatile recipe not only elevates your cooking with minimal prep time, but it also brings a comforting warmth to your meals that’s perfect for any occasion. Whether spread on toast, blended into sauces, or enjoyed straight from the oven, roasted garlic truly adds a magical touch. Are you ready to uncover the simple secrets to this kitchen delight?

Why Is Roasted Garlic a Must-Try?
Irresistible Aroma: The moment you start roasting garlic, your kitchen will be filled with a mouthwatering scent that draws everyone in, making it an instant crowd pleaser.
Versatile Magic: From pasta sauces to mashed potatoes, this roasted garlic transforms ordinary dishes into culinary delights, providing depth and richness with every bite.
Quick Preparation: You can whip up this garlic goodness in just 20 minutes, allowing you to focus on other aspects of your meal or simply enjoy extra time with family.
Healthy Alternative: Say goodbye to artificial flavors! This recipe offers a natural, healthier option that brightens up your food without the need for heavy sauces or excessive seasoning.
Make-Ahead Convenience: Preparing this in advance is easy; store it in the fridge for a quick flavor boost throughout the week. It’s perfect for meal prep days or impromptu dinner parties.
Explore more ways to enhance your meals by trying out roasted garlic in dishes like Creamy Butter Garlic Crab or blending it into White Garlic Pizza Sauce.
Roasted Garlic Recipe Ingredients
• Unlock the secrets behind this irresistible Roasted Garlic Recipe in 20 Minutes with these essential ingredients!
For Roasting
- Garlic Bulbs – The star of the show; choose firm bulbs for the best flavor.
- High-Quality Olive Oil – Adds richness and prevents burning; don’t skimp on quality!
Optional for Extra Flavor
- Fresh Herbs – Such as thyme or rosemary; they infuse a delightful aroma.
- Sea Salt – A pinch enhances the natural sweetness of the roasted garlic.
With these simple ingredients, you’re just a few steps away from enjoying that warm, buttery goodness that only roasted garlic can bring to your table!
Step‑by‑Step Instructions for Roasted Garlic Recipe in 20 Minutes
Step 1: Preheat the Oven
Begin by preheating your oven to 400°F (200°C). This temperature is essential for achieving that golden-brown caramelization on your garlic bulbs. While the oven warms up, gather your garlic bulbs and a sharp knife, preparing to transform these humble ingredients into a flavorful delight.
Step 2: Prepare the Garlic Bulbs
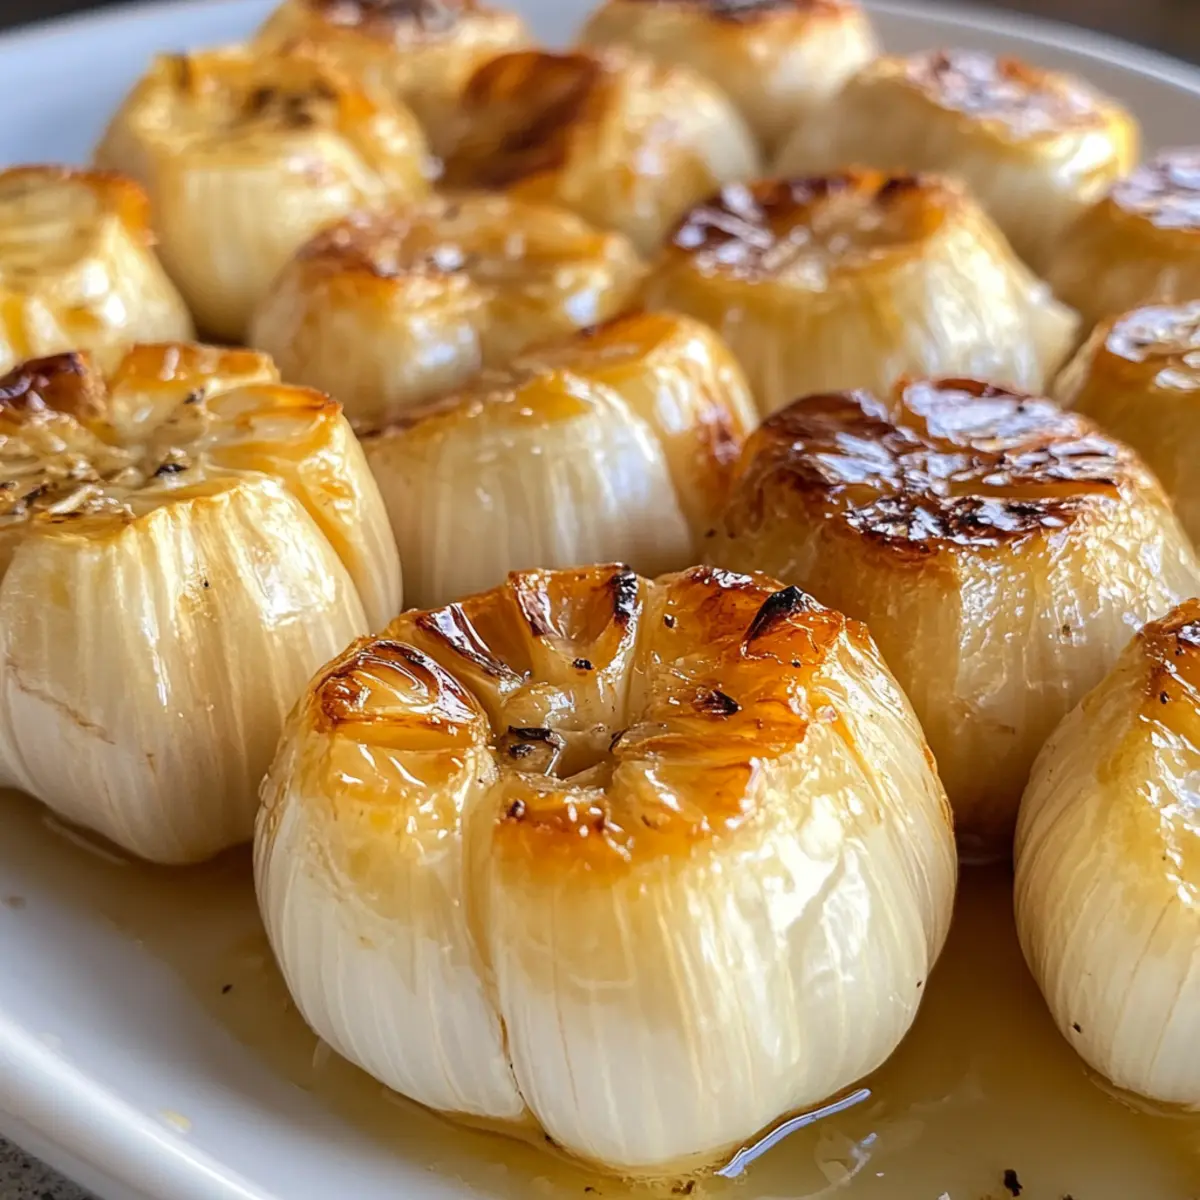
Take your garlic bulbs and slice off the tops, exposing the individual cloves within. Ensure to cut just enough to reveal the garlic but not too much that it falls apart. You should see the glistening cloves peeking out, ready to absorb all the delicious olive oil you will drizzle over them.
Step 3: Add Olive Oil
Drizzle a generous amount of high-quality olive oil over the exposed cloves of each garlic bulb. This addition not only enhances the flavor but also prevents the garlic from burning during roasting. Ensure the cloves are well-coated with oil, making them glisten as you prepare for the next step.
Step 4: Wrap the Garlic
Wrap each garlic bulb in aluminum foil, creating a sealed packet that locks in moisture and flavors. This is a key step in the Roasted Garlic Recipe in 20 Minutes, as it helps the garlic steam beautifully while roasting. The foil will also prevent the cloves from drying out, ensuring they come out perfectly soft.
Step 5: Roast in the Oven
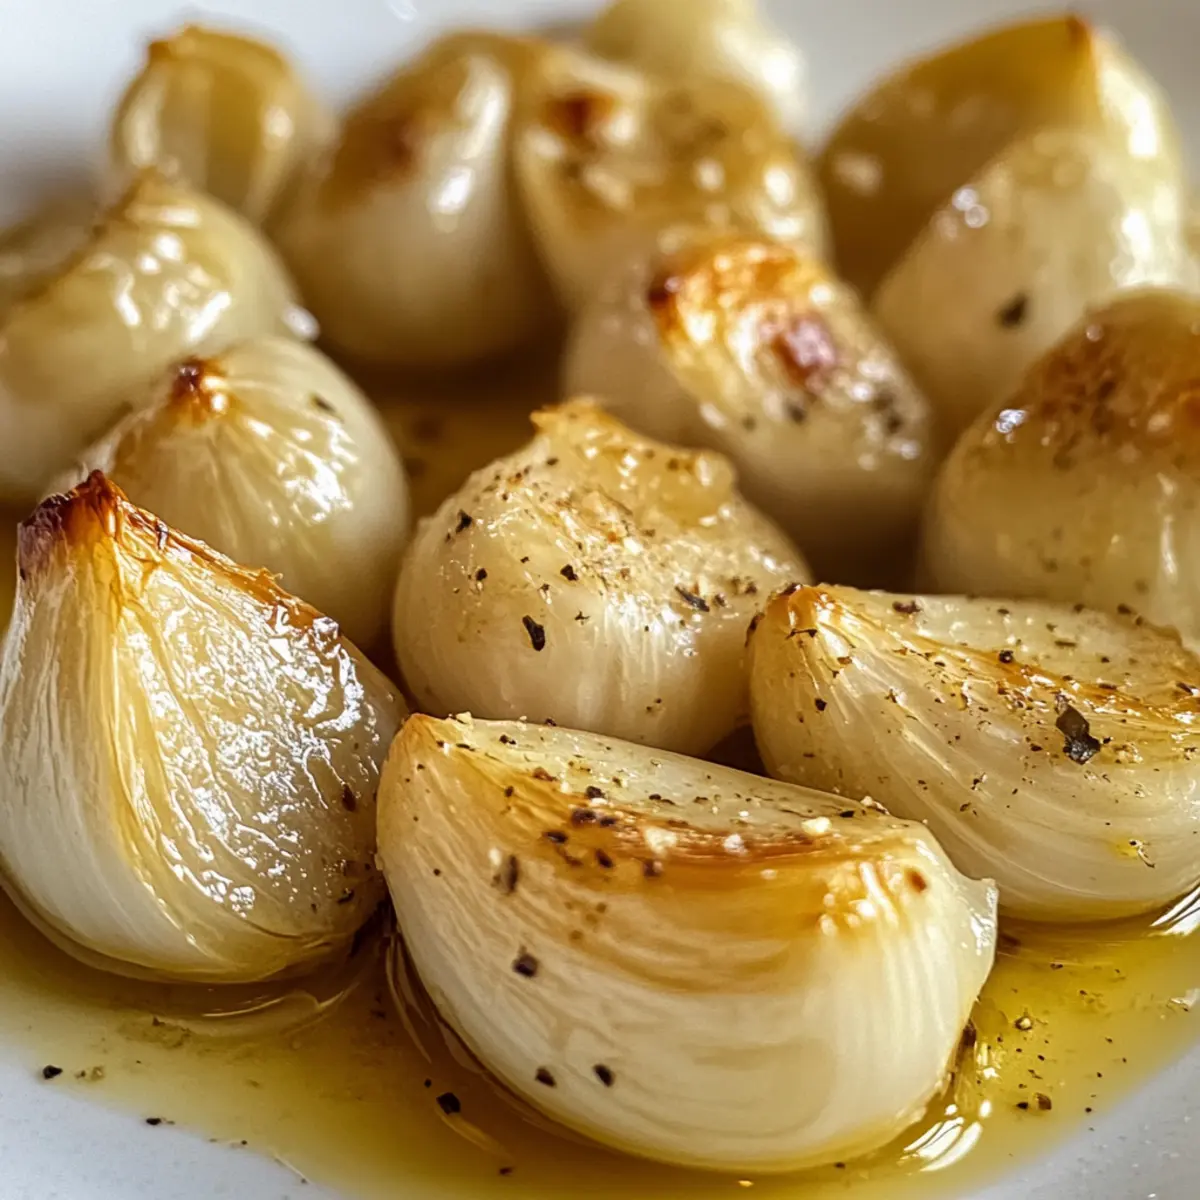
Place the wrapped garlic bulbs on a baking sheet and slide them into the preheated oven. Roast them for 20 minutes, keeping an eye on the time. You’ll know they are ready when they’re incredibly fragrant and soft to the touch, sliding easily out of their skins.
Step 6: Cool and Use
Once roasted, carefully remove the garlic from the oven and let it cool slightly, making sure to avoid steam burns. Unwrap the foil and revel in the wonderful aroma. At this stage, the cloves will be tender and sweet, perfect for spreading on bread or incorporating into your favorite dishes.
Expert Tips for Roasted Garlic Recipe
Perfect Timing: Keep an eye on the clock! Roasting garlic for 20 minutes is ideal, as overcooking can lead to bitterness.
Stay Moist: Wrapping your garlic tightly in foil is crucial! This ensures the cloves steam beautifully, avoiding dryness during the roasting process.
Flavor Variations: Experiment with herbs or different oils! Adding fresh herbs or using oils like avocado can enhance the flavor profile in your roasted garlic recipe.
Storage Smarts: Store leftover roasted garlic in an airtight container in the fridge for up to a week. Just remember, freezing isn’t recommended as it affects texture.
Quick Reheat: When reheating, use the oven for the best results. Microwaving can make the cloves rubbery, losing that delicious creamy texture.
Roasted Garlic Recipe Variations
Feel inspired to customize your roasted garlic experience with these delightful twists that enhance flavors and textures!
-
Herb-Infused: Add fresh herbs like thyme or rosemary along with the garlic for a fragrant boost. The earthiness of the herbs elevates the sweetness of the garlic, creating a divine aroma!
-
Different Oils: Swap olive oil for avocado oil or grapeseed oil to alter taste profiles. Each oil brings its unique notes, making every batch of garlic a new adventure for your palate.
-
Spicy Kick: Toss in a pinch of red pepper flakes before roasting for a zesty twist. The heat complements the garlic’s sweetness beautifully, perfect for those who enjoy a little spice.
-
Lemon Zest: Infuse the garlic with a hint of citrus by adding lemon zest before roasting. This bright flavor makes roasted garlic particularly refreshing, especially when used in summer dishes.
-
Cheesy Goodness: Mix in a sprinkle of grated Parmesan or crumbled feta atop the garlic before roasting. The cheese melts into the garlic, creating a creamy, indulgent treat that’s hard to resist.
-
Smoky Flavor: Add a dash of smoked paprika or chipotle seasoning for a deeper, smoky profile. This variation pairs well with roasted vegetables or meats, adding a savory depth to your meals.
-
Vegan Butter Swap: Use vegan butter instead of olive oil for a dairy-free option that still delivers richness. The buttery consistency enhances the garlic while keeping it plant-based.
For those who absolutely adore garlic in their meals, you might also enjoy experimenting with roasted garlic in Garlic Herb Roasted Potato Skins or enhancing a comforting dish of Slow Cooker Garlic Parmesan Chicken and Potatoes. Let these variations inspire your kitchen!
Make Ahead Options
These Easy Roasted Garlic bulbs are perfect for meal prep enthusiasts! You can roast the garlic bulbs up to 24 hours in advance, saving you precious time on busy weeknights. After roasting, allow the garlic to cool, then store it in an airtight container in the refrigerator. This way, you’ll have delicious roasted garlic ready to elevate your meals throughout the week. To maintain their quality, ensure they’re well-sealed to prevent drying out. When you’re ready to serve, simply reheat them in the oven for 10 minutes at 350°F (175°C) until warmed through, and enjoy restaurant-quality roasted garlic that’s just as flavorful as if it were freshly made!
What to Serve with Easy Roasted Garlic?
As you relish the sweet, buttery aroma of roasted garlic, imagine how it can elevate your entire meal experience.
- Creamy Mashed Potatoes: The buttery texture of mashed potatoes makes for a perfect pairing with roasted garlic, enhancing the dish’s richness.
Try blending the warm roasted garlic right into the potatoes for an irresistible flavor boost. Each bite delivers a comforting, creamy experience that feels like a warm hug on a plate.
- Grilled Vegetables: Charred veggies retain their natural sweetness, and the addition of roasted garlic takes them to a whole new level of deliciousness.
Toss a medley of your favorite seasonal vegetables with olive oil and roasted garlic for a colorful, flavorful side that dazzles the senses.
- Toasted Baguette Slices: Delightfully crunchy on the outside yet warm and soft within; each slice loves a spread of roasted garlic.
Top with a sprinkle of sea salt or a drizzle of balsamic for a classic appetizer that will have family and friends clamoring for more.
- Homemade Pasta Sauce: Infuse your favorite sauce with roasted garlic for depth and a sublime taste that’s both familiar and exciting.
Just a couple of cloves can transform your marinara or creamy sauce into a gourmet experience.
- Rustic Flatbreads: A base of warm, flaky dough topped with olive oil and roasted garlic offers a delightful canvas for herbs or cheeses.
Serve it as an appetizer at dinner parties; watch as guests delight in pulling apart pieces to savor all the flavors.
- Red Wine: Pair your meal with a glass of red wine for its rich, bold flavors; they beautifully complement roasted garlic’s sweetness.
Opt for a medium-bodied blend like Merlot, enhancing the meal’s cozy ambiance while celebrating the garlic’s vibrant essence.
- Cheesy Garlic Bread: Use roasted garlic to elevate your garlic bread game, adding a deeper flavor that makes a classic dish even better.
A warm, cheesy loaf will be the star of any meal, capturing everyone’s heart with its melt-in-your-mouth goodness.
Storage Tips for Roasted Garlic Recipe in 20 Minutes
Fridge: Store roasted garlic in an airtight container for up to one week. Make sure to keep it tightly sealed to maintain its delicious flavor and moisture.
Freezer: Freezing roasted garlic is not recommended, as it alters the creamy texture and sweet taste that makes this roasted garlic recipe in 20 minutes so delightful.
Reheating: For the best results, reheating is best done in the oven. Warm it at 350°F (175°C) until heated through, about 10 minutes, to preserve its natural creaminess.
Roasted Garlic Recipe in 20 Minutes Recipe FAQs
How do I choose the best garlic bulbs?
Selecting firm, heavy garlic bulbs is key! Look for ones with dry, papery skins and no dark spots. Avoid bulbs that feel soft or have visible mold, as these can affect the flavor and texture of your roasted garlic.
What’s the best way to store roasted garlic?
Store roasted garlic in an airtight container in the fridge for up to one week. Ensure it is tightly sealed to keep its delightful flavor and moisture intact. If you’re storing it, let it cool completely before sealing.
Can I freeze roasted garlic?
Freezing roasted garlic is not recommended, as it changes the creamy texture and sweet taste you want from this roasted garlic recipe in 20 minutes. However, if you must freeze it, place the cloves in a single layer on a baking sheet until solid, then transfer to a freezer-safe bag; use within one month.
What should I do if my roasted garlic is burnt?
If you find your roasted garlic is burnt, it may have been left in the oven a bit too long. To avoid bitterness, start checking for doneness at the 20-minute mark. If you’re ever unsure, remove the foil and gently squeeze a clove; it should be soft without any charring.
Is roasted garlic safe for pets?
While roasted garlic is delicious for humans, it is not safe for dogs and cats. Garlic can cause digestive issues and other health problems in pets, so be sure to keep any leftovers well out of their reach.
Roasted Garlic Recipe in 20 Minutes for Irresistible Flavor
Ingredients
Equipment
Method
- Preheat your oven to 400°F (200°C).
- Slice off the tops of the garlic bulbs to expose the cloves.
- Drizzle olive oil over the exposed cloves.
- Wrap each garlic bulb in aluminum foil.
- Roast the wrapped garlic bulbs in the oven for 20 minutes.
- Remove from the oven and allow to cool slightly before using.
Leave a Reply