
The kitchen buzzed with anticipation as I whisked my way into a citrusy adventure, eager to transform simple ingredients into pure sunshine. My latest obsession? Easy and Velvety Orange Curd—a delightful concoction that comes together in just 15 minutes! This homemade gem is not only a quick fix for satisfying your sweet tooth but also a versatile addition to elevate your breakfast or dessert game. Imagine spreading that luscious curd on warm scones or drizzling it over cheesecake; it’s a little jar of joy that will brighten up your day. With only four ingredients, this gluten-free treat is perfect for anyone looking to escape the world of fast food and indulge in something delightful. So, are you ready to add a splash of sweetness to your kitchen adventure? Let’s dive in!
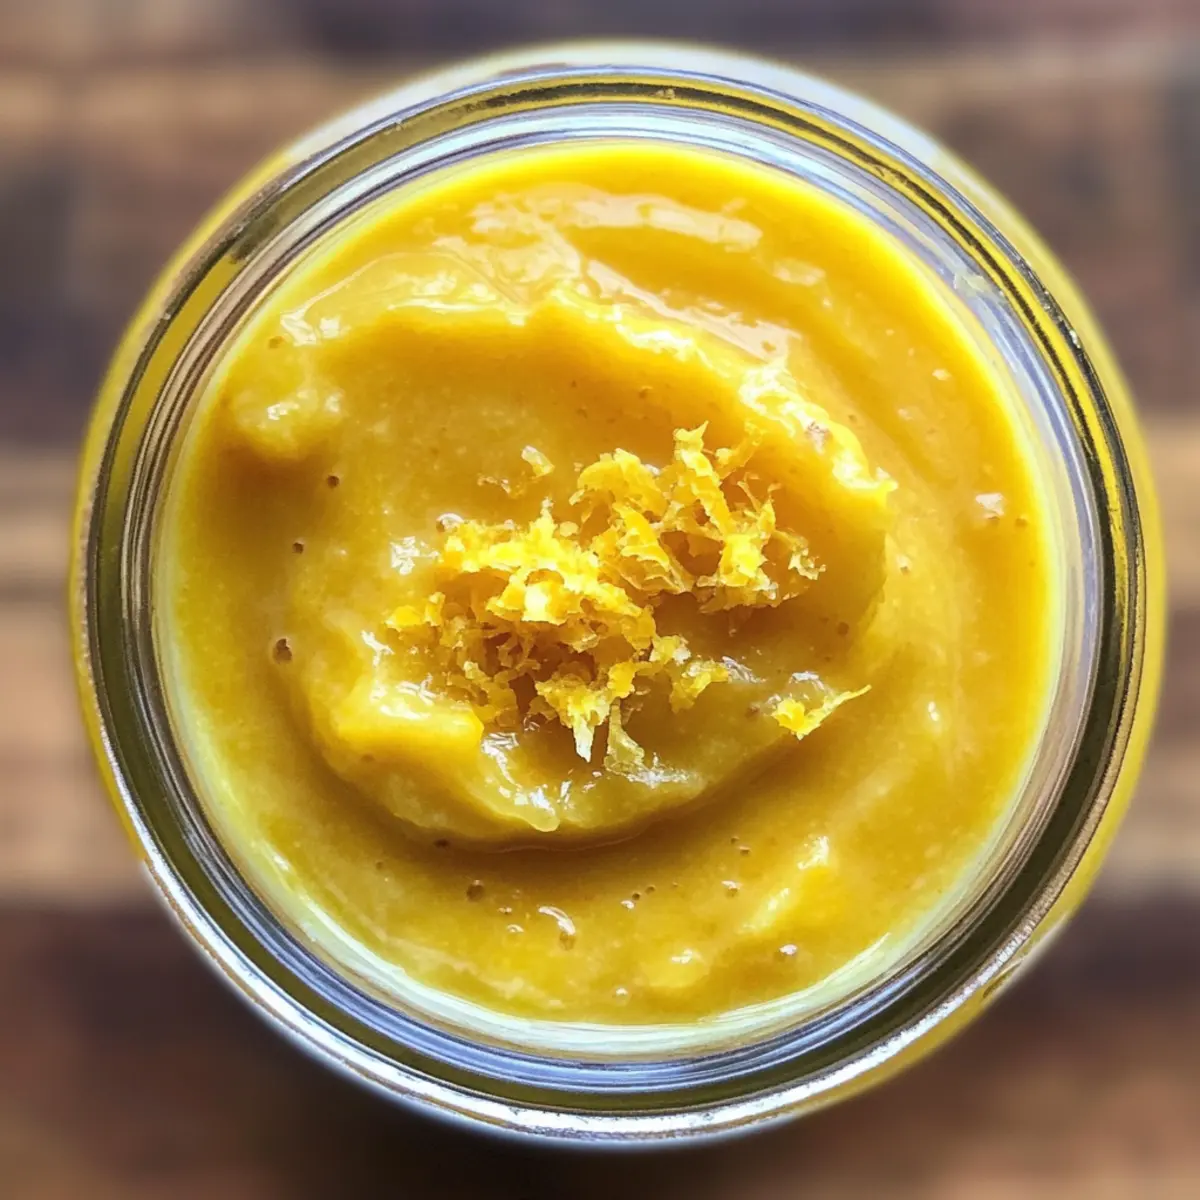
Why Try This Orange Curd Recipe?
Simplicity at Its Best: It’s incredibly easy to make, requiring only four ingredients and 15 minutes of your time.
Versatile Delight: Whether you spread it on scones or drizzle it over pancakes, this orange curd fits perfectly into countless dishes.
Rich, Tangy Flavor: The fresh orange juice and zest combine to create a vibrant taste that awakens your palate and uplifts desserts.
Homemade Goodness: By making it yourself, you control the ingredients, ensuring quality and flavor without any additives common in store-bought versions.
Crowd-Pleasing Treat: Serve it at brunch, or use it as a filling for pastries; this curd will impress family and friends alike! Check out my Hot Orange Chicken for another flavorful citrus experience.
Orange Curd Ingredients
For the Curd
• Large Eggs – Provide structure and richness to the curd.
• Egg Yolks – Enrich the curd’s texture, making it creamier.
• Caster Sugar (Superfine Sugar) – Adds sweetness and helps achieve a smooth consistency.
• Fresh Orange Juice – The primary flavor component, contributing tartness and freshness.
• Orange Zest – Enhances the orange flavor with aromatic oils from the peel.
• Unsalted Butter – Gives richness and a smooth mouthfeel; it thickens the curd.
Feel free to experiment with blood orange juice for a delightful twist on the classic orange curd!
Step‑by‑Step Instructions for Orange Curd
Step 1: Reduce Juice
Start by pouring fresh orange juice into a medium saucepan. Heat it over low to medium heat, allowing it to gently simmer for about 6-8 minutes, or until the volume is reduced by half. You’ll know it’s ready when the color intensifies and the juice thickens slightly, creating a vibrant essence that’ll infuse your orange curd.
Step 2: Mix Ingredients
Remove the saucepan from the heat and whisk in the caster sugar, orange zest, large eggs, and egg yolks, mixing until they are fully combined and smooth. This mixture will form the base of your orange curd, marrying the sweetness of the sugar with the zesty brightness of the orange. Ensure there are no lumps for a velvety final product.
Step 3: Cook Mixture
Return the saucepan to low heat, stirring continuously with a spatula to prevent the eggs from scrambling. Cook the mixture gently for about 2-3 minutes, allowing the sugar to dissolve completely and the flavors to meld. Keep a watchful eye and patience is key as you stir; the mixture will thicken slightly, signaling it’s on the right track.
Step 4: Add Butter
Gradually mix in the cold, cubed unsalted butter, a few pieces at a time. Continue stirring over low heat until the butter is fully melted and incorporated into the orange curd. This step enriches the curd and gives it a smooth, creamy mouthfeel. The mixture should become glossy as the butter combines perfectly, adding to its lusciousness.
Step 5: Thicken
Continue to cook the curd for about 4-5 minutes, stirring constantly until it thickens further. Aim for a temperature of about 75°C/167°F, or until the curd coats the back of a spoon. This visually tells you that it’s ready for the next step, producing a delightful, creamy texture ideal for your orange curd.
Step 6: Strain
Once thickened, carefully pour the orange curd through a fine-mesh sieve into a heatproof bowl. This will strain out any solids, ensuring you achieve the silky-smooth consistency that makes this orange curd so irresistible. Use a spatula to press the mixture through, capturing every ounce of that delicious citrus goodness.
Step 7: Cool and Store
Let the strained orange curd cool at room temperature for about 15 minutes, allowing it to thicken further as it sets. After cooling, transfer it to sterilized jars for storing. Refrigerate the jars for a delightful homemade treat that will last up to a month, ready to be used in a variety of meals and desserts!
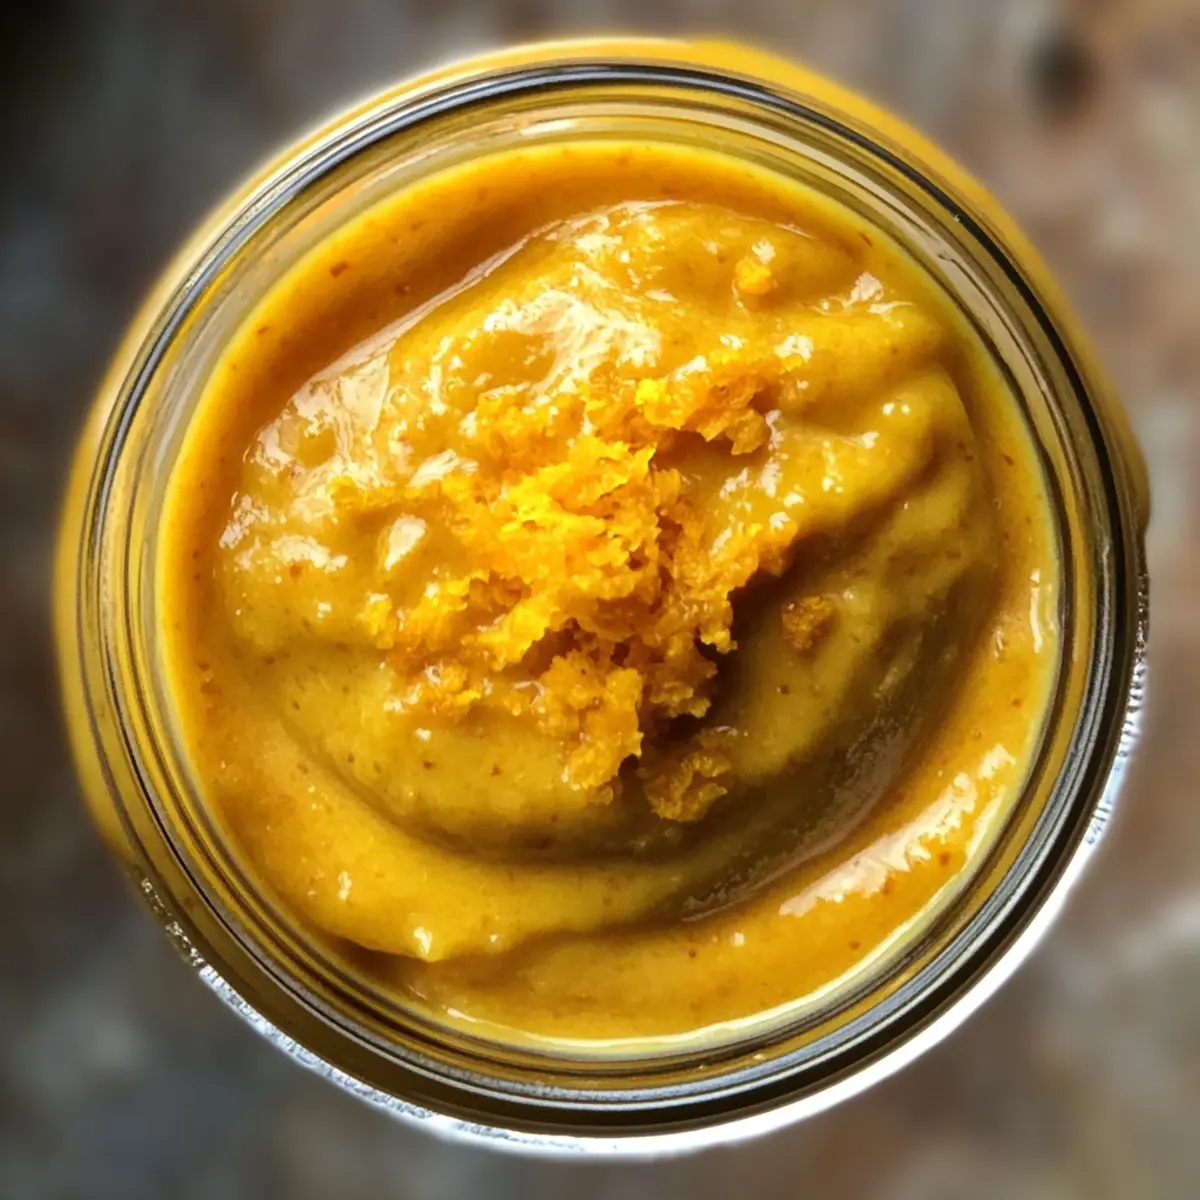
Make Ahead Options
These easy and velvety orange curd delights are perfect for meal prep enthusiasts! You can make the orange curd up to 3 days in advance, allowing it to chill in the fridge and develop its rich flavor. To prep ahead, simply follow the recipe instructions all the way to the cooling step, then strain and store the curd in sterilized jars. Ensure your jars are airtight to maintain freshness and prevent moisture loss. When ready to serve, just give the curd a good stir to restore its silky texture, and you’ll have a delightful treat waiting for you with minimal effort—perfect for topping scones or enhancing desserts!
Storage Tips for Orange Curd
Fridge: Store the orange curd in airtight jars in the refrigerator, where it will stay fresh for up to a month.
After Opening: Once opened, consume the orange curd within 7-10 days for the best flavor and quality.
Freezer: If you want to extend its life, freeze the curd in an airtight container or ice cube trays for up to 3 months.
Reheating: Thaw in the fridge or gently warm on the stovetop for a few moments; avoid overheating to maintain its silky texture.
Expert Tips for the Best Orange Curd
- Watch the Heat: Always keep the heat low when cooking the mixture to prevent the eggs from scrambling. Patience is key!
- Strain for Smoothness: Don’t skip straining the curd—this step removes any lumps for a silky texture that everyone will love.
- Use Fresh Juice: Freshly squeezed orange juice elevates the flavor so much more than bottled varieties; your orange curd will thank you!
- Perfect Consistency: If the curd is too runny after cooking, give it a bit more time on the heat; it thickens as it cools.
- Get Creative: Feel free to experiment with a variety of citrus juices like blood orange for a unique twist on your orange curd!
What to Serve with Easy and Velvety Orange Curd
The possibilities are endless when it comes to finding the perfect pairings for this luscious orange curd, elevating your meals to new citrusy heights.
-
Warm Scones: Their flaky, buttery texture pairs perfectly with the smoothness of orange curd, creating a delightful contrast in every bite. Imagine enjoying a brunch where the fragrance of warm scones fills the room while the orange curd adds a splash of sunshine.
-
Pancakes or Waffles: Drizzling orange curd over golden pancakes or waffles transforms breakfast into a delectable feast. The sweet-tangy flavor contrasts beautifully with rich maple syrup or whipped cream, making every morning special.
-
Cheesecake: A layer of orange curd on creamy cheesecake introduces a fresh, zesty twist. This combination showcases a perfect balance between the rich, dense cheesecake and the light, vibrant curd.
-
Fruit Tart: Enhancing a fruit tart with orange curd creates a burst of flavor that complements fresh berries or kiwi beautifully. The velvety texture adds an extra layer of luxury to each slice, making it a showstopper dessert.
-
Yogurt Parfait: Layering orange curd in a yogurt parfait with granola and fresh fruit offers a refreshing breakfast or snack. This combination combines creamy, crunchy, and fruity elements for a nutritious treat.
-
Meringue Cookies: Serving meringue cookies alongside orange curd makes for a whimsical dessert spread. The airy, fluffy cookies provide a delightful contrast to the silky curd and can be filled or dipped for added fun.
-
Sparkling Wine: A glass of chilled sparkling wine elevates the experience when enjoying orange curd desserts. The effervescence complements the citrus notes, creating a festive atmosphere no matter the occasion.
Orange Curd Variations & Substitutions
Feel free to play with flavors and textures to make this orange curd your own!
- Blood Orange: Swap fresh orange juice with blood orange juice for a vibrant color and a rich flavor twist. You’ll love the unique sensation it adds to your palate!
- Lemon Curd: For a different citrus experience, substitute orange juice with lemon juice, and adjust the zest accordingly. This tangy alternative is a delightful pick-me-up!
- Grapefruit Zest: Incorporate grapefruit zest to bring a lovely bitterness that balances out the sweetness of the curd, perfect for those who enjoy a bold twist.
- Chili Infusion: Add a pinch of cayenne or crushed red pepper for those who crave a spicy kick. The subtle heat will give your orange curd a sophisticated edge, perfect for adventurous palates!
- Herb-Infused: Mix in finely chopped fresh herbs like basil or mint for a surprising burst of flavor. This will elevate your orange curd to a gourmet level that’s perfect for pairing with savory dishes!
- Vanilla Bean: Add a teaspoon of vanilla bean paste or extract to enhance the sweet aroma and deepen the flavor profile. This classic addition creates an elegant touch.
- Coconut Cream: For a tropical spin, use coconut cream in place of butter, resulting in a lush and dairy-free treat. Imagine enjoying this curd on tropical pancakes!
- Cranberry Orange Curd: Toss in some cranberry juice alongside orange juice for a festive twist, ideal for holiday spreads or to brighten winter breakfasts!
For more citrus inspiration, try this amazing Hot Orange Chicken recipe!
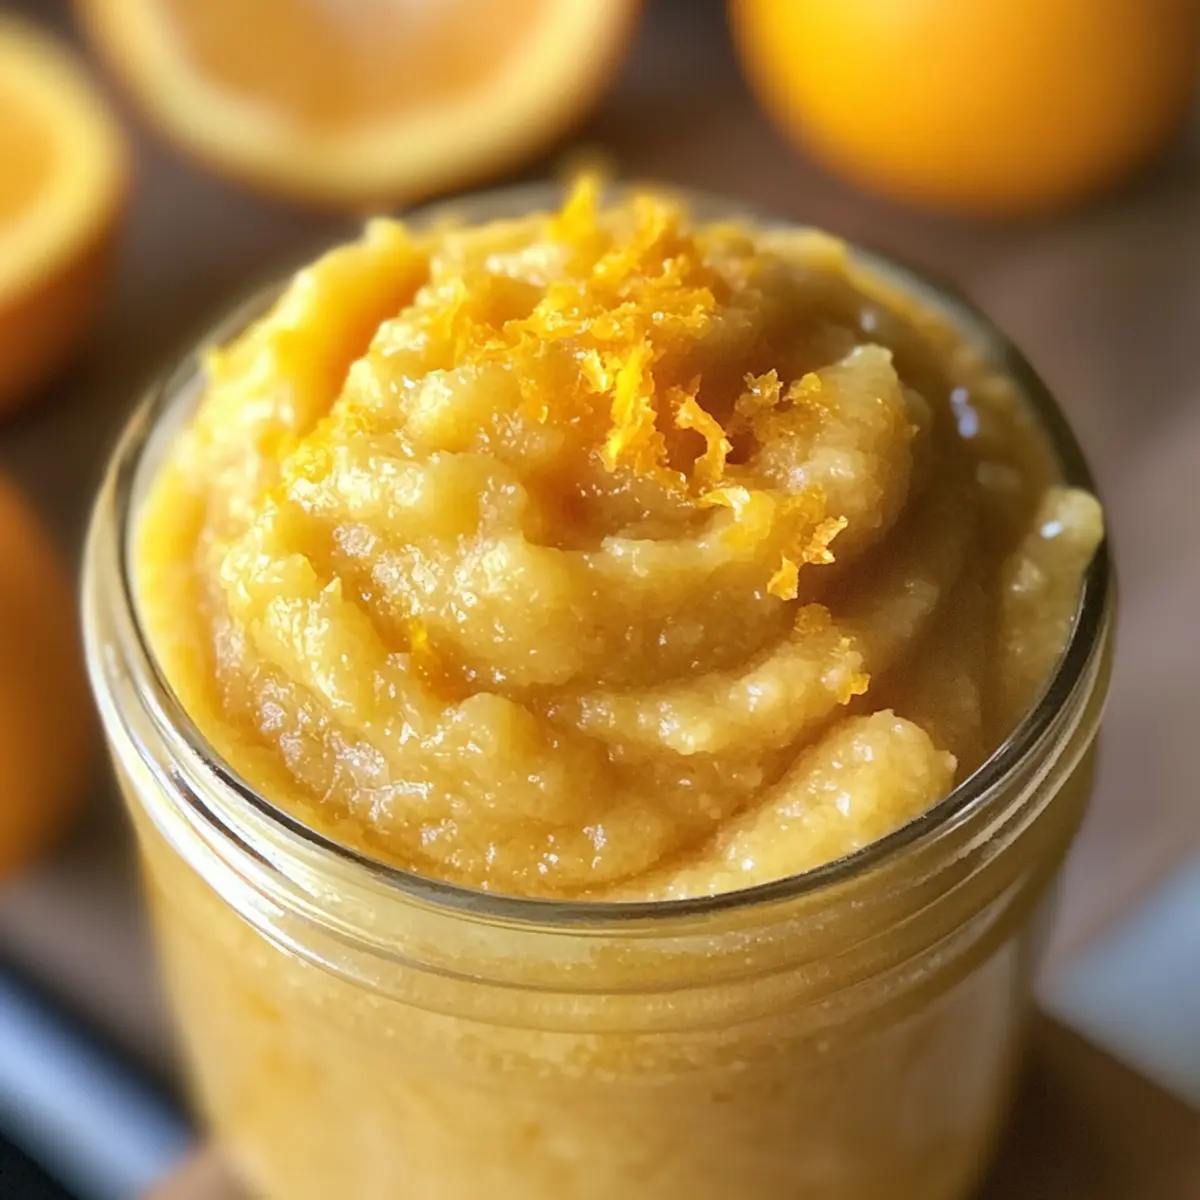
Orange Curd Recipe FAQs
How do I choose the best oranges for my curd?
Absolutely! Look for oranges that are firm, heavy for their size, and have shiny, smooth skin. Avoid any that have dark spots all over, as this indicates over-ripeness. Organic oranges often offer the best flavor and juiciness, making your curd even more delightful.
What is the best way to store homemade orange curd?
Store your orange curd in airtight jars in the fridge, where it will keep for up to a month. After opening, aim to consume it within 7-10 days for the best taste. If you’re saving some for later enjoyment, you can freeze it for up to 3 months in an airtight container or ice cube trays for convenient portions.
Can I freeze orange curd? How do I do it?
Yes, you can freeze your orange curd! To freeze, pour it into airtight containers or ice cube trays, leaving some space at the top as the curd will expand. Once frozen, transfer the solid curd cubes into a resealable freezer bag for optimal storage. When you’re ready to use it, gently thaw in the refrigerator overnight.
What should I do if my orange curd turns out runny?
If your curd is too runny, don’t worry! It likely needs a bit more cooking time to thicken. Return it to the stove over low heat and stir continuously until it thickens, typically about 4-5 more minutes should do. Remember, it will also thicken more as it cools, so a bit of patience is essential!
Are there any dietary considerations when making orange curd?
Great question! This orange curd is naturally gluten-free, making it suitable for those with gluten sensitivities. However, if you have allergies to eggs or dairy, it’s best to avoid this recipe as it contains both. Always opt for organic eggs and butter when possible to ensure the best quality.
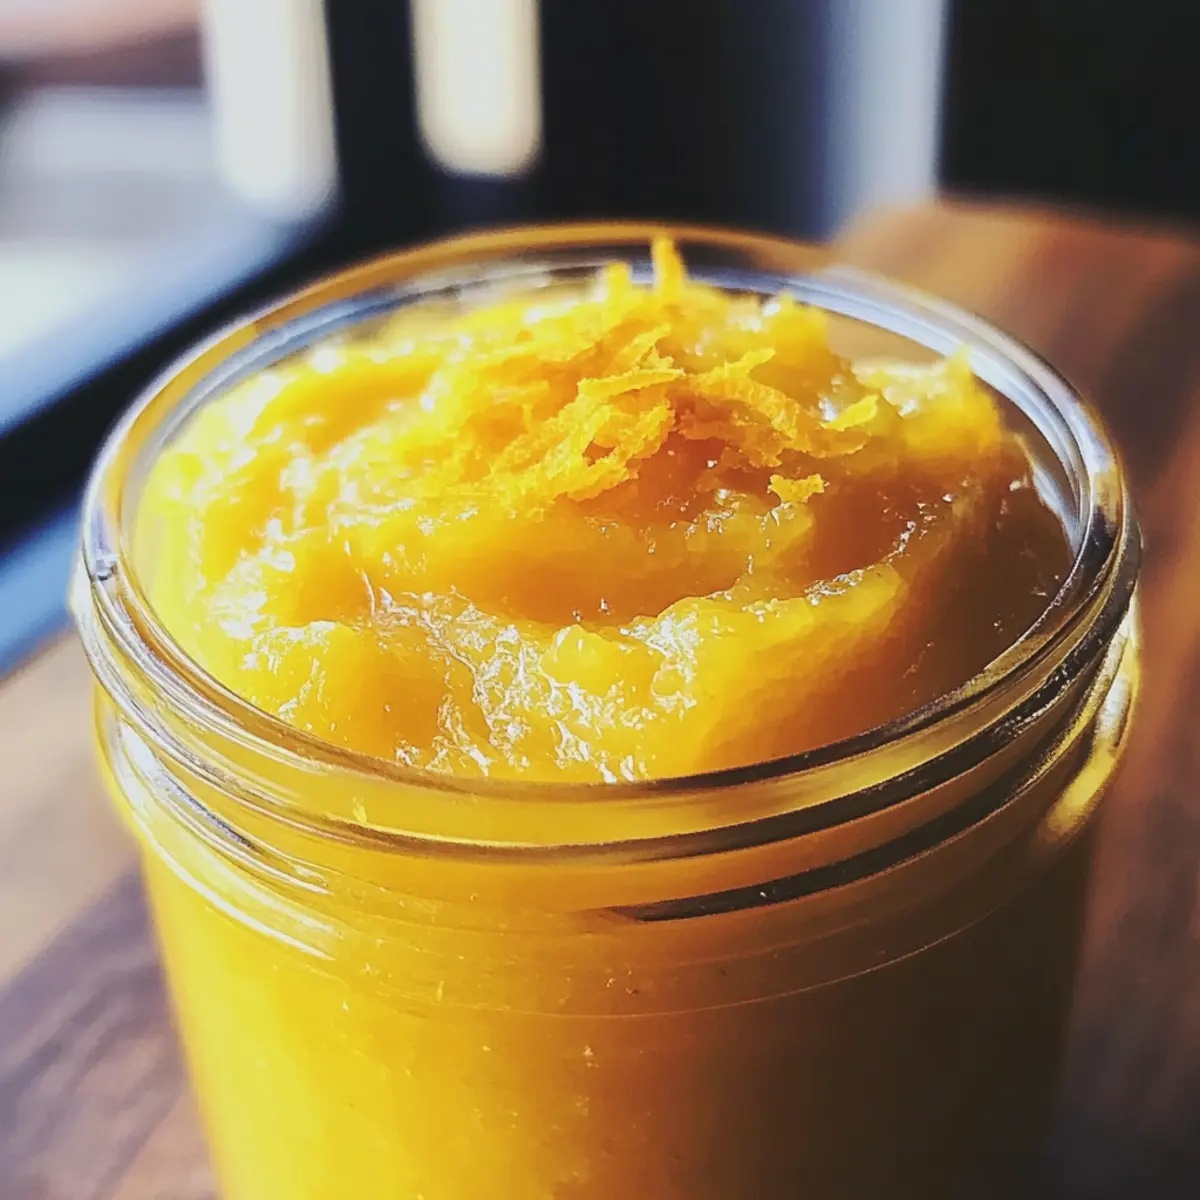
Velvety Orange Curd: Whip Up This Citrus Dream in 15 Minutes
Ingredients
Equipment
Method
- Pour fresh orange juice into a medium saucepan. Heat it over low to medium heat for 6-8 minutes until reduced by half.
- Remove from heat, whisk in caster sugar, orange zest, large eggs, and egg yolks until smooth.
- Return to low heat, stirring continuously for 2-3 minutes until the mixture thickens slightly.
- Gradually add cubed unsalted butter, stirring until fully melted and incorporated.
- Continue to cook for 4-5 minutes, stirring until thickened and coats the back of a spoon.
- Strain the orange curd through a fine-mesh sieve into a heatproof bowl to remove solids.
- Let it cool at room temperature for 15 minutes, then transfer to sterilized jars for storage.
Leave a Reply