
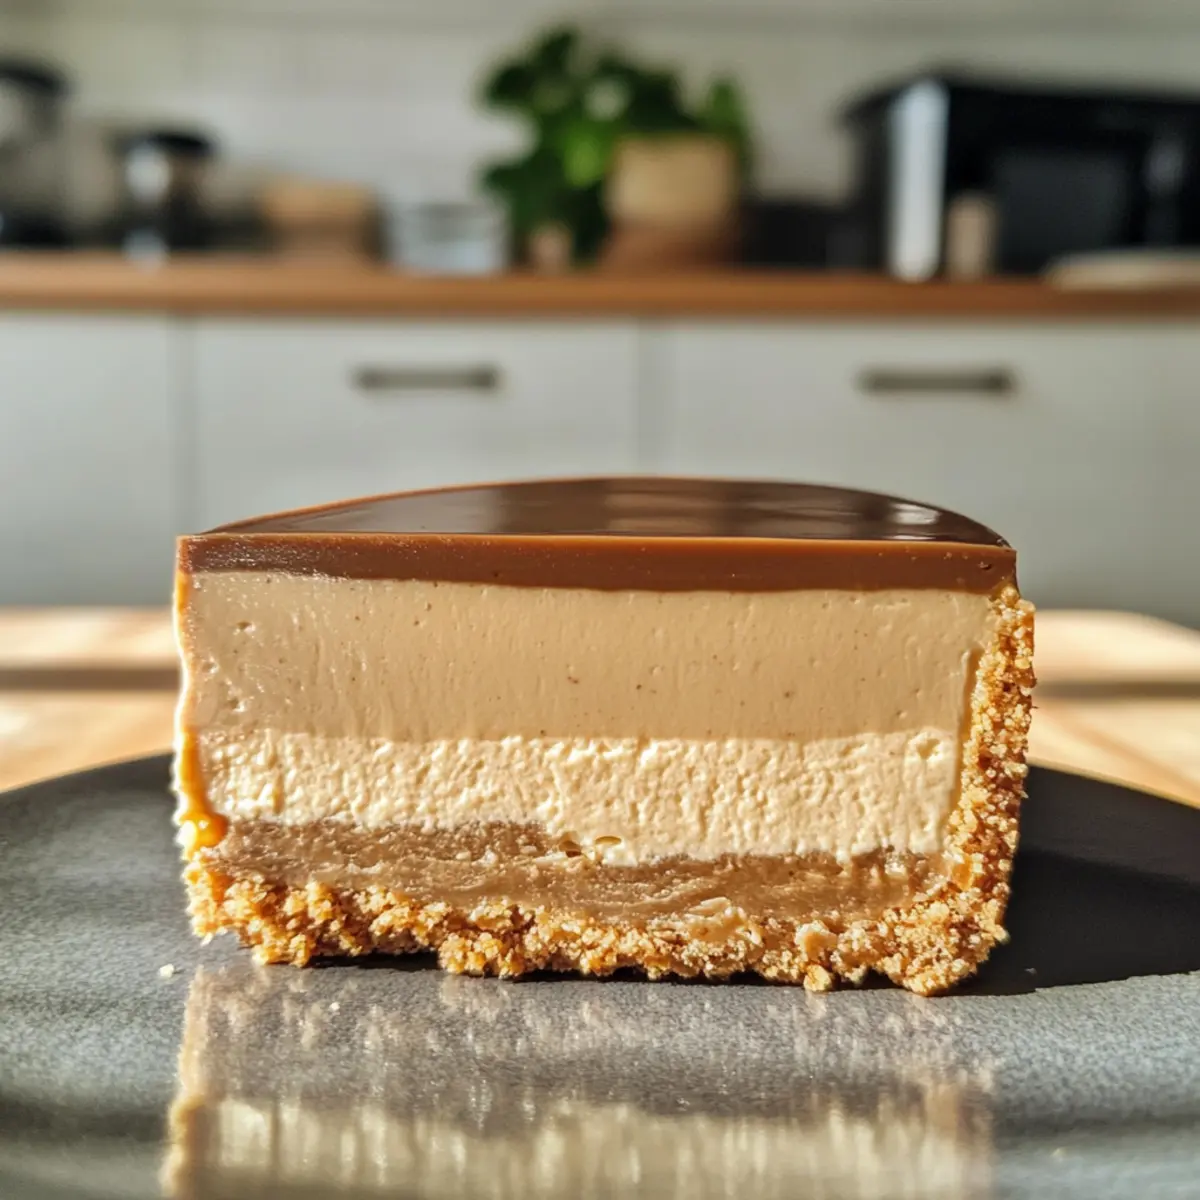
As I steeped the Earl Grey tea, the air filled with its enchanting floral aroma, transporting me to a quaint afternoon tea in a charming cafe. This No-Bake Earl Grey Mousse Cheesecake combines my love for delightful desserts with the sophistication of tea, making it a must-try for any home chef. Not only is this dessert a breeze to whip up—no oven required—but it also lends an elegant touch to gatherings, enchanting both tea enthusiasts and dessert lovers alike. Imagine indulging in a light yet creamy slice that is perfect for any occasion. Are you ready to impress your friends and family with this delightful treat?

Why is this cheesecake a must-try?
Decadent, creamy texture: The no-bake Earl Grey mousse cheesecake boasts a rich, velvety mouthfeel that melts in your mouth, making it the ultimate dessert indulgence.
Floral aroma: Infused with aromatic Earl Grey tea, each slice brings a delightful hint of sophistication, making it a perfect treat for any gathering.
No oven required: Simplifying your baking experience, this easy dessert lets you skip the oven while still achieving impressive results; just chill and enjoy!
Versatile flavor: Feel free to switch up the tea for variations like matcha or jasmine, ensuring there’s always something new to savor.
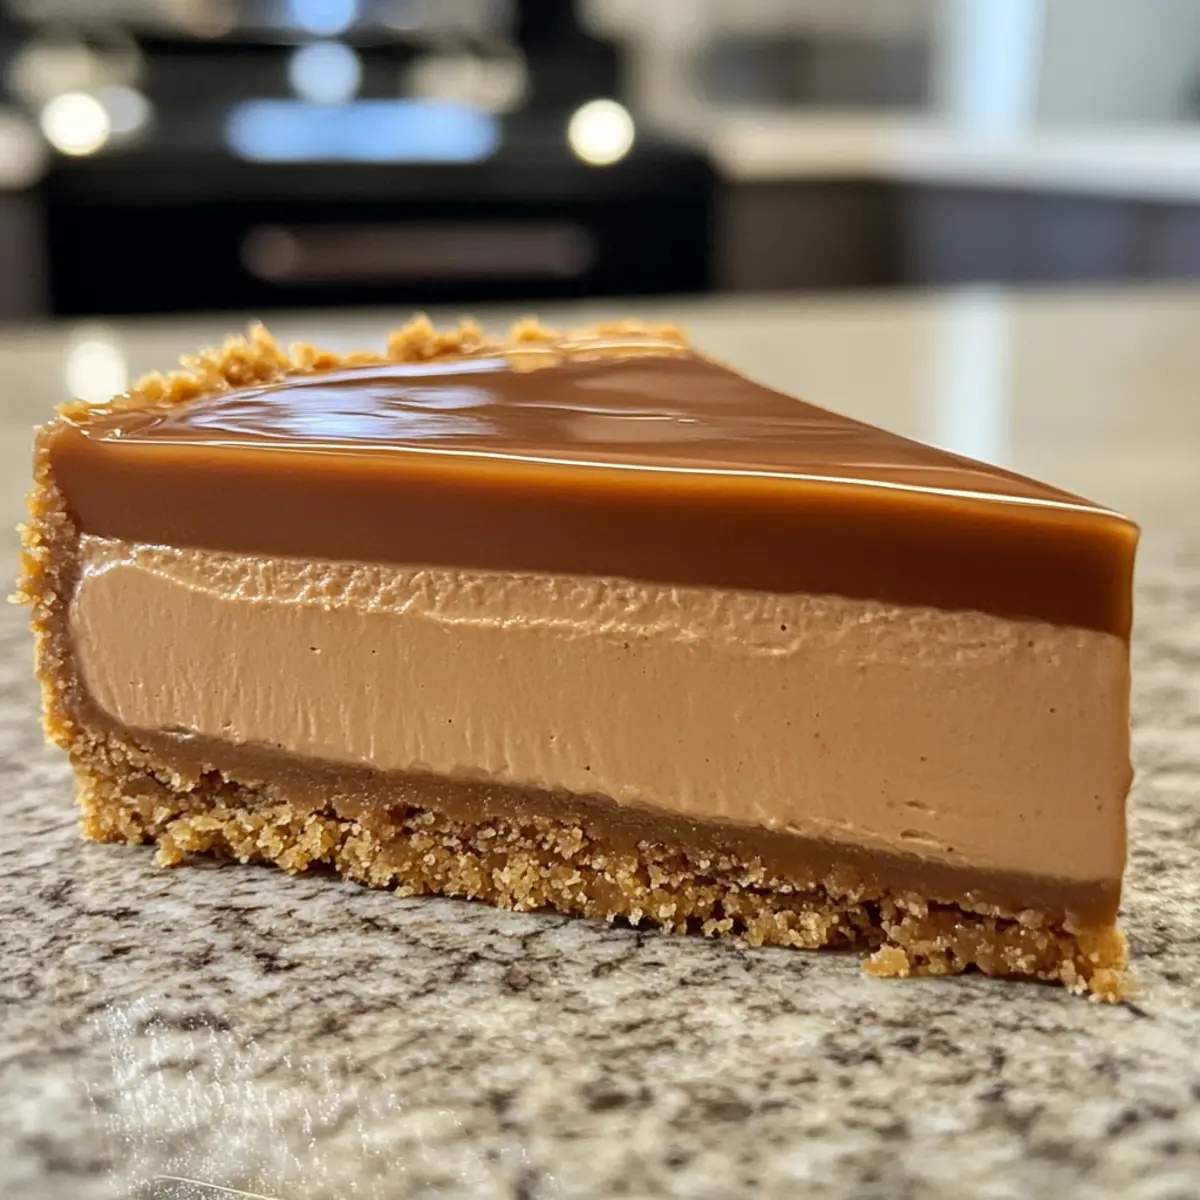
Stunning presentation: With the option of a glossy mirror glaze, this cheesecake will impress your guests and become a talking point at any event.
Perfect for entertaining: This elegant dessert pairs beautifully with tea or coffee, ideal for an afternoon tea party or a dinner soirée!
No-Bake Earl Grey Mousse Cheesecake Ingredients
For the Crust
• Caramel Biscuits – Base structure for the cheesecake crust; substitute with digestive biscuits if needed.
• Unsalted Butter – Binds biscuit crumbs for a cohesive crust; use regular butter if unsalted isn’t available.
For the Mousse Layer
• Cream Cheese – Provides a smooth, creamy texture; ensure it’s softened at room temperature for easy mixing.
• Caster Sugar – Sweetens the cheesecake mixture, used in two portions—10g for the cheese and 5g for the glaze.
• Hot Milk (80 ml) – Helps dissolve gelatin and infuse the Earl Grey flavor; ensure the milk is around 40°C for proper mixing.
• Gelatin Sheets – Stabilizes the mousse for a firm texture; can be replaced with powdered gelatin (1 sheet = 2g powdered).
• Earl Grey Tea Powder – Infuses the dessert with a floral aroma and taste, or use tea from 2 Earl Grey tea bags.
• Whipping Cream – Adds lightness and volume to the mousse; whip until soft peaks form for the best results.
For Decoration
• Crushed Caramel Biscuits – Enhances presentation; optional for visual appeal.
• Optional Mirror Glaze Ingredients – Additional hot milk, Earl Grey tea bag, sugar, and gelatin sheets for a glossy finish.
This No-Bake Earl Grey Mousse Cheesecake is perfect for adding a touch of elegance to your dessert repertoire!
Step‑by‑Step Instructions for No-Bake Earl Grey Mousse Cheesecake
Step 1: Prepare the Biscuit Base
Start by crushing the caramel biscuits into a fine powder using a food processor or rolling pin. Melt the unsalted butter and mix it with the crushed biscuits until fully combined. Line a springform cake pan with parchment paper, then press the mixture firmly into the bottom to create a solid crust. Chill in the refrigerator for about 10 minutes to help it set.
Step 2: Make the Cheese Mousse Layer
In a mixing bowl, blend the softened cream cheese with 10g of caster sugar until the mixture is smooth and creamy. Next, dissolve the gelatin sheets in 80 ml of hot milk (around 40°C) and stir in the Earl Grey tea powder. Combine this tea mixture with the cream cheese until perfectly blended. Whip the cream to soft peaks and gently fold it into the cheese-tea mix along with some crushed biscuits.
Step 3: Assemble the Cheesecake
Once the mousse is well combined, pour it over the chilled biscuit crust in your springform pan. Tap the pan gently on the counter to release any trapped air bubbles. Cover the cheesecake with plastic wrap and refrigerate for at least 4 hours, or overnight if time allows, to let it firm up properly.
Step 4: Optional Mirror Glaze
After the cheesecake has set, prepare the optional mirror glaze. Steep 1 Earl Grey tea bag in a small amount of hot milk for about 5 minutes, then mix in 5g of sugar until dissolved. Stir gelatin sheets into the warm tea mixture, allowing it to cool slightly before pouring it gently over the cheesecake to create a glossy finish.
Step 5: Unmold and Serve
To release the cheesecake from the pan, use a hairdryer on the edges for easier removal. Carefully run a knife around the sides before unclipping the springform. Garnish the top with crushed caramel biscuits for added texture and visual appeal. Slice your No-Bake Earl Grey Mousse Cheesecake and serve it chilled for a delightful treat.
Expert Tips for No-Bake Earl Grey Mousse Cheesecake
-
Room Temperature Cream Cheese: Start with cream cheese at room temperature to prevent lumps and ensure a smooth texture in your cheesecake batter.
-
Dissolve Gelatin Thoroughly: Make sure the gelatin is fully dissolved in the hot milk for a seamless mousse texture; undissolved gelatin can lead to graininess.
-
Monitor Whipping Cream: Whip the cream until soft peaks form; over-whipping can result in a dense texture rather than the lightness you desire in your no-bake Earl Grey mousse cheesecake.
-
Chill Thoroughly: Allow the cheesecake to set in the fridge for at least 4 hours; longer chilling (overnight) helps the flavors meld beautifully and improves texture.
-
Optional Mirror Glaze: If using the mirror glaze, ensure it cools slightly before pouring to avoid melting the mousse layer. This step adds an elegant finish to your cheesecake!
What to Serve with No-Bake Earl Grey Mousse Cheesecake
Delight your senses with the perfect accompaniments that elevate this creamy, floral dessert into a full dining experience.
- Fresh Berries: Juicy raspberries or blueberries add a burst of tartness, balancing the richness of the cheesecake beautifully. A sprinkle of powdered sugar on top can create a delightful presentation.
- Herbal Tea: A warm cup of chamomile or mint tea complements the Earl Grey’s floral notes, offering a soothing drink pairing that enhances the dessert’s sophistication.
- Light Salad: A refreshing mixed greens salad with a citrus vinaigrette brings a crisp contrast to the creamy texture, creating a balanced meal that’s delightful.
- Chocolate Covered Almonds: These provide a satisfying crunch and a touch of sweetness, creating a lovely contrast to the mousse’s velvety smoothness. They also look beautiful as a garnish on the cheesecake plate.
- Lemon Sorbet: Light and refreshing, lemon sorbet enhances the tea’s floral aroma, cleansing the palate and rounding off the dessert experience perfectly.
- Sparkling Wine: A glass of bubbly champagne pairs wonderfully, as the effervescence and crispness enhance the dessert’s delicate flavors while adding elegance to your dining affair.
- Whipped Cream: A dollop of lightly sweetened whipped cream not only amplifies the dessert’s creaminess but also adds a lovely visual element, especially when adorned with a sprig of mint.
No-Bake Earl Grey Mousse Cheesecake Variations
Feel free to get creative and make this recipe your own with these playful twists and adaptations!
-
Matcha Magic: Substitute Earl Grey tea powder with matcha for a vibrant green color and a unique earthy flavor. This swap offers a delightful twist that still maintains the creamy integrity of the mousse.
-
Spiced Chai: Use chai tea for a warming and aromatic flavor. The spices will add depth to the cheesecake, transforming it into a comforting dessert perfect for chilly evenings.
-
Jasmine Dream: Replace Earl Grey with jasmine tea powder for a floral and fragrant dessert. This variation gives a whole new essence to your cheesecake, creating a light and airy taste experience.
-
Coconut Cream: Swap part of the whipping cream with coconut cream for a tropical twist. This addition can enhance richness while introducing a subtle coconut flavor to your cheesecake.
-
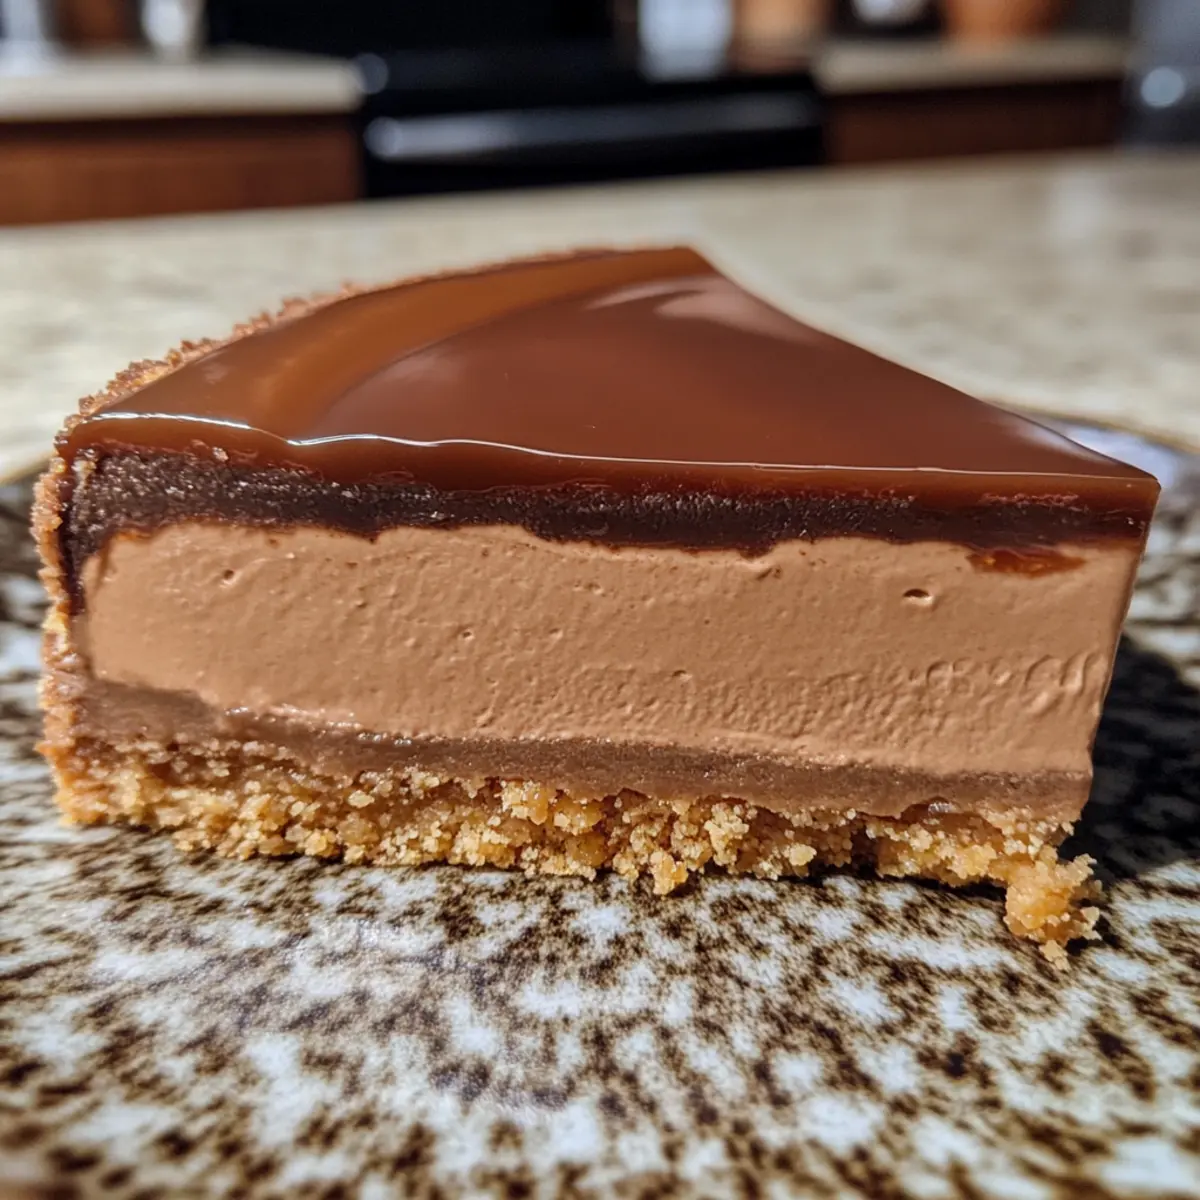
Chocolate Drizzle: For a decadent pairing, drizzle melted dark chocolate over the set cheesecake before serving. This simple addition not only looks stunning but also adds a delightful contrast to the floral notes of the tea.
-
Citrus Zest Boost: Add lemon or orange zest to the mousse mixture for a refreshing citrusy brightness. This will cut through the creaminess, providing a delightful balance in every bite.
-
Ginger Snap Crust: Change up the crust by using crushed ginger snap cookies instead of caramel biscuits. The spicy notes will bring an exciting flavor profile to the base, perfectly complementing the tea-infused mousse.
-
Caramel Cheesecake: Drizzle a homemade caramel sauce on top of your cheesecake for an extra indulgent touch. The sweet, buttery caramel enhances the overall experience, making each slice truly irresistible.
With these variations, your No-Bake Earl Grey Mousse Cheesecake can suit any occasion or taste preference! And if you’re in the mood for something else, you can also explore delightful options like Vanilla Earl Grey Overnight Oats or a rich Bake Toffee Cheesecake for more delicious inspiration!
Storage Tips for No-Bake Earl Grey Mousse Cheesecake
-
Fridge: Store your cheesecake in the refrigerator, covered with plastic wrap or in an airtight container, for up to 3 days to maintain its creamy texture.
-
Freezer: Avoid freezing this cheesecake, as the delicate mousse may alter in texture, losing its light creaminess when thawed.
-
Serving Suggestions: If you find any leftovers, consider serving them chilled with a fresh cup of tea or coffee to enhance the flavors of the Earl Grey.
-
Make-Ahead Notes: This no-bake Earl Grey mousse cheesecake can be made a day in advance; letting it sit overnight will allow the flavors to meld beautifully.
Make Ahead Options
This No-Bake Earl Grey Mousse Cheesecake is perfect for meal prep enthusiasts looking to save time on busy days! You can prepare the biscuit crust up to 24 hours in advance—simply crush the caramel biscuits, mix with melted butter, and press it into the mold. Once the crust is set, the cheese mousse layer can be made and refrigerated for up to 3 days. To maintain quality, keep it covered and chill until you’re ready to serve. When it’s time to impress your guests, just finish with the optional mirror glaze, let it firm up for 1-2 hours, and enjoy a light, creamy dessert that’s just as delicious as when freshly made!
No-Bake Earl Grey Mousse Cheesecake Recipe FAQs
Which type of Earl Grey tea is best for this cheesecake?
Absolutely! Using high-quality loose-leaf Earl Grey tea or tea bags will yield the best flavor. Make sure that the tea has a strong bergamot aroma, as this will enhance the overall taste of your cheesecake. If you’re looking for something different, feel free to substitute with matcha or jasmine tea for a unique twist!
How should I store my No-Bake Earl Grey Mousse Cheesecake?
Very simply! Keep your cheesecake in the refrigerator, covered with plastic wrap or stored in an airtight container, for up to 3 days. This helps it maintain its luscious creamy texture. I recommend serving it chilled for the best flavor experience!
Can I freeze the No-Bake Earl Grey Mousse Cheesecake?
I highly advise against freezing this cheesecake. Freezing can alter the delicate mousse’s texture, making it less creamy and smooth when thawed. Instead, enjoy it fresh or prepared a day in advance!
What should I do if my mousse doesn’t set properly?
If your mousse doesn’t firm up as expected, it might be due to insufficient gelatin dissolution. Make sure the gelatin is fully dissolved in hot milk before mixing it with the other ingredients. If the issue persists, consider refrigerating it for an extra hour or so; sometimes, a little extra time can work wonders!
Can I use powdered gelatin instead of gelatin sheets?
Absolutely! If you have powdered gelatin on hand, you can substitute it easily. Typically, 1 sheet of gelatin is equivalent to about 2 grams of powdered gelatin. Simply sprinkle the powdered gelatin over the hot milk (80 ml) and stir to dissolve, following the same steps as with the sheets.
Is this cheesecake suitable for those with lactose intolerance?
If you’re working with lactose intolerance, there are some alternatives! You can use lactose-free cream cheese and a non-dairy whipping cream substitute, which should allow anyone to enjoy this delicious No-Bake Earl Grey Mousse Cheesecake without any worries. Just be sure to double-check the labels!
Decadent No-Bake Earl Grey Mousse Cheesecake Bliss
Ingredients
Equipment
Method
- Crush caramel biscuits into a fine powder. Melt unsalted butter and mix it with crushed biscuits. Line a springform pan with parchment paper and press the mixture firmly into the bottom. Chill for 10 minutes.
- Blend softened cream cheese with 10g of caster sugar until smooth. Dissolve gelatin in hot milk and stir in Earl Grey tea powder. Combine tea mixture with cream cheese, then fold in whipped cream.
- Pour mousse over chilled crust in the springform pan. Tap gently to release air bubbles. Cover and refrigerate for at least 4 hours.
- Steep 1 Earl Grey tea bag in hot milk for 5 minutes. Mix in 5g of sugar and gelatin sheets. Cool slightly and pour over cheesecake.
- Use a hairdryer on the edges of the springform pan to release the cheesecake. Garnish with crushed caramel biscuits and serve chilled.
Leave a Reply