
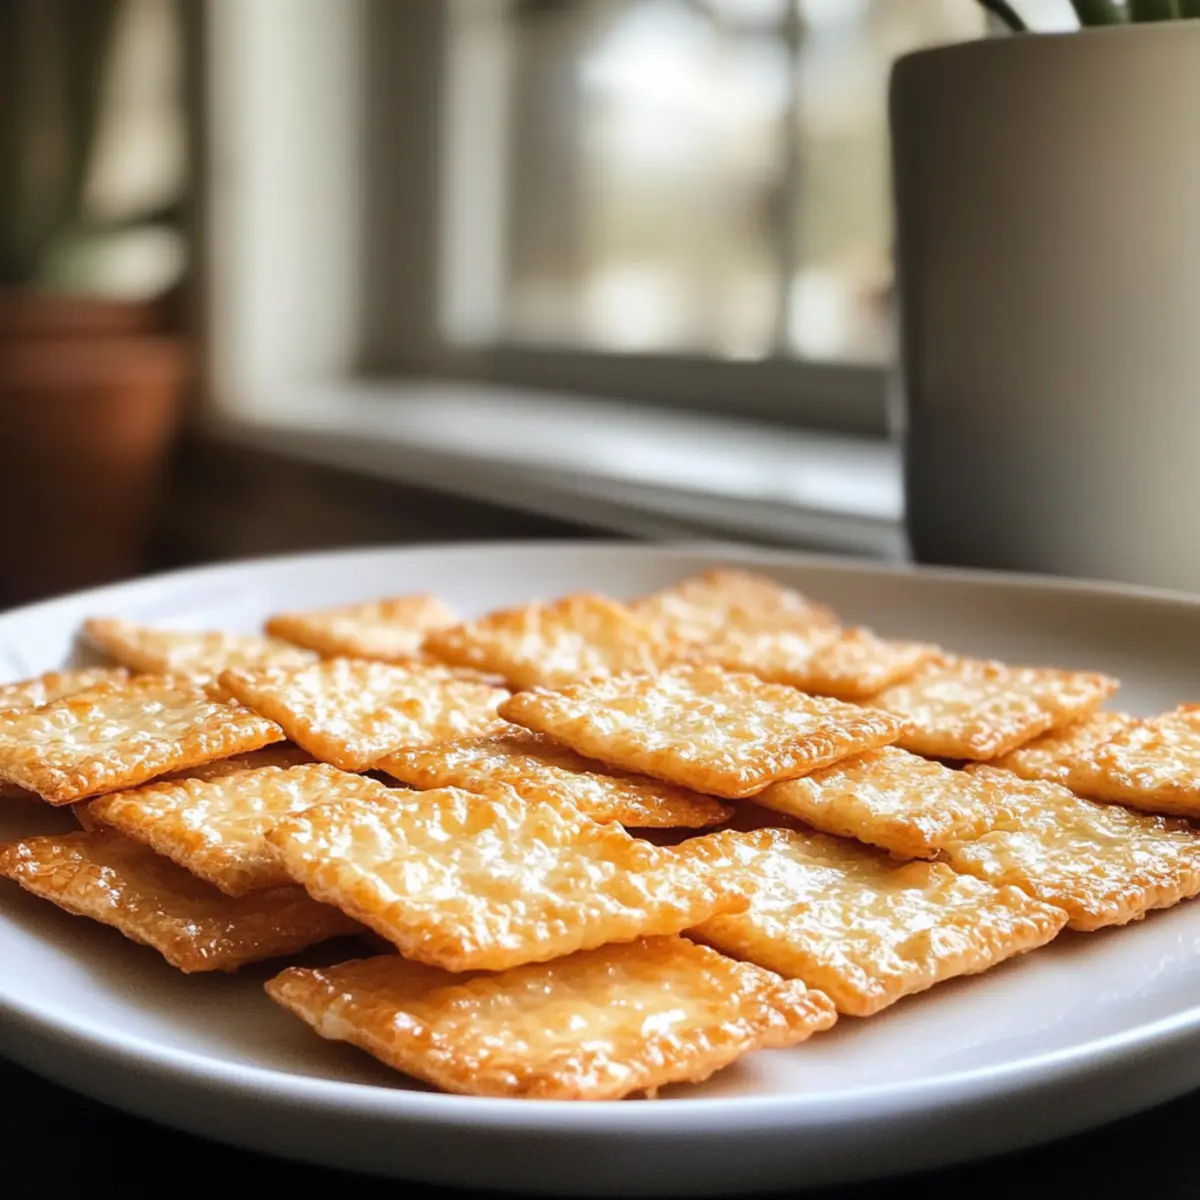
As I stood in my kitchen, the aroma of melting cheese wafted through the air, sparking a delightful nostalgia. These Easy 4-Ingredient Rice Krispies Cheese Crackers are my go-to snack for moments when I crave something satisfying yet effortless to whip up. With just four simple ingredients, they come together in no time, making them a fantastic choice for unexpected guests or cozy movie nights at home. While they deliver a satisfying crunch, their versatility allows you to play with flavors and spices, ensuring they can be tailored to any palate. Who wouldn’t want a stash of these golden treats on hand? Are you ready to discover the secret to your new favorite snack?

Why Make Rice Krispies Cheese Crackers?
Quick and Easy: With just four ingredients, these crackers can be mixed and baked in under 30 minutes—perfect for busy days!
Versatile Flavor: Use any cheese you love, from sharp cheddar to creamy mozzarella, and sprinkle in your favorite herbs to customize each batch.
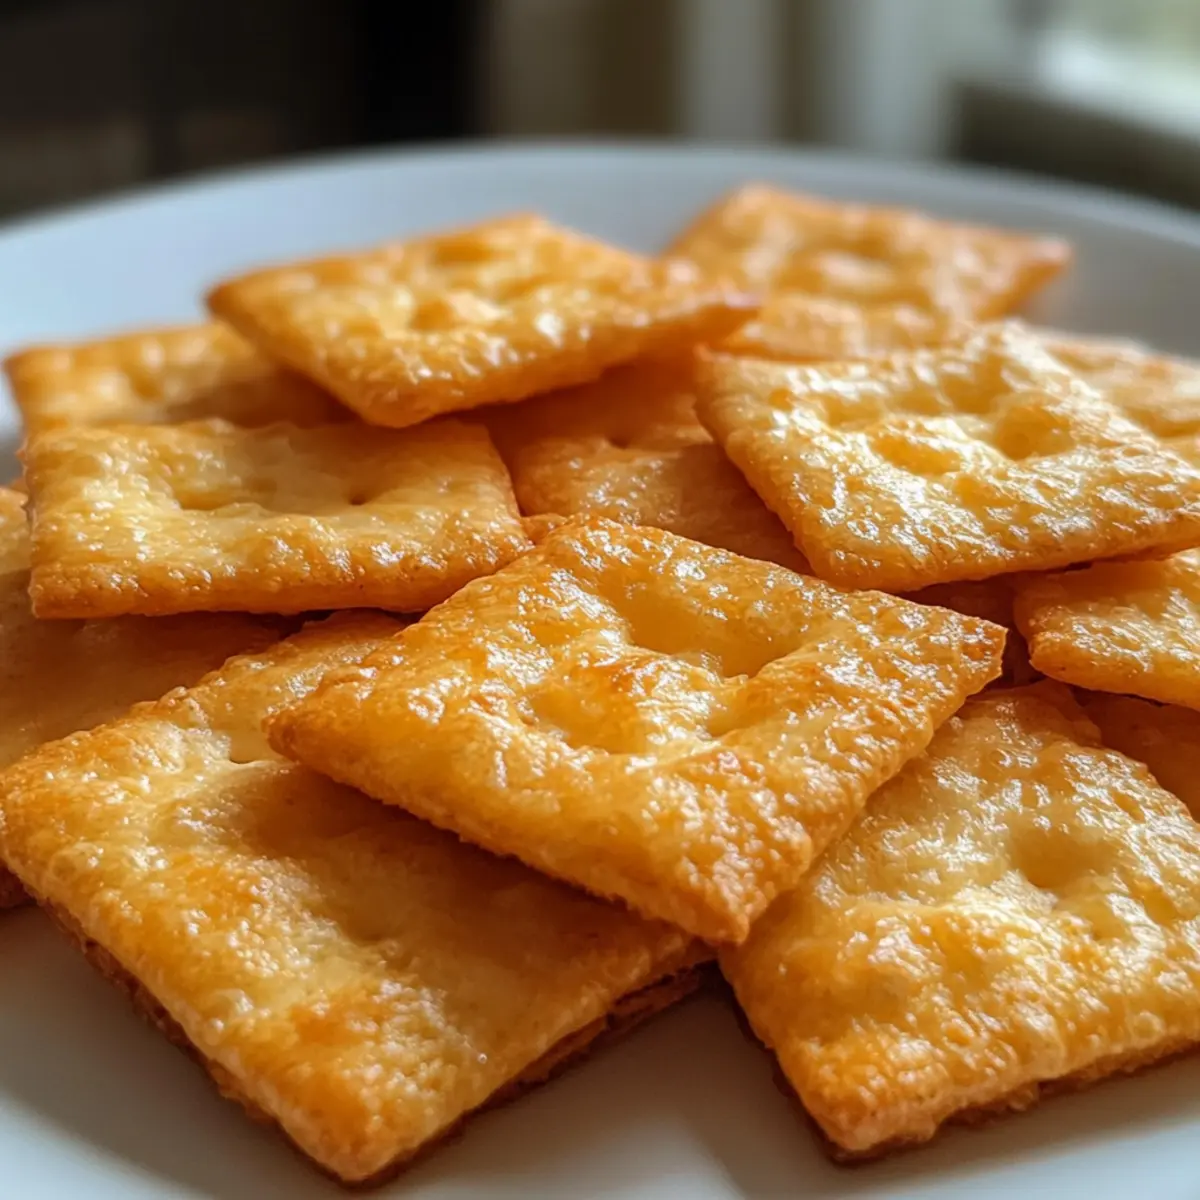
Crunchy Delight: Experience a wonderful contrast of textures, with the crispy Rice Krispies merging beautifully with the rich, cheesy flavor.
Crowd-Pleasing Appeal: These crackers are great for parties or snack time; serve them with dips like Cream Cheese Salsa or on a platter alongside your favorite cheeses.
Storage Friendly: Make a big batch, and store them easily—these crackers keep fresh for a week or can be frozen for later enjoyment!
Get ready to impress your guests or treat yourself with these delicious bites!
Rice Krispies Cheese Crackers Ingredients
Experience the magic of homemade snacks with Rice Krispies Cheese Crackers.
For the Crackers
- Grated Cheese – Adds the primary cheesy flavor; feel free to experiment with different types like gouda or pepper jack for an exciting twist.
- Rice Krispies – Provides that iconic crispy texture; swap with puffed quinoa for a gluten-free crunch.
- Flour – Acts as a binding ingredient; substitute with almond flour for a low-carb option.
- Butter – Enhances flavor and texture; use coconut oil for a dairy-free treat.
For the Seasoning
- Salt – Elevates the overall flavor; adjust based on your taste preference.
- Black Pepper – Gives a light kick; omit if you prefer a milder flavor, or replace with cayenne for more heat.
- Cayenne Pepper – Adds an extra layer of spice; modify the amount according to personal taste.
- Garlic Powder – Delivers a savory depth; feel free to replace it with garlic salt for a stronger garlic flavor.
Get ready to create something truly delightful with these Rice Krispies Cheese Crackers!
Step‑by‑Step Instructions for Rice Krispies Cheese Crackers
Step 1: Preheat and Prepare
Begin by preheating your oven to 375°F (190°C). While the oven warms, line your baking sheets with parchment paper or silicone mats, ensuring that your Rice Krispies Cheese Crackers won’t stick during baking. This setup will help streamline your baking process and ensure easy cleanup later.
Step 2: Mix Dry Ingredients
In a large mixing bowl, combine the grated cheese, Rice Krispies, flour, salt, black pepper, cayenne pepper, and garlic powder. Stir these ingredients together until well-blended, achieving an even mixture. You’ll want to see the vibrant yellow of the cheese contrasting with the white of the flour, indicating your base mix is ready for the next step.
Step 3: Incorporate Butter
Next, add room-temperature butter into the dry mixture. Using your hands, mix everything until the dough holds together, ensuring the butter is evenly distributed. This should take about 2-3 minutes. You will know it’s ready when you can form a cohesive ball without any loose crumbs.
Step 4: Shape the Dough
Take small portions of the dough and roll them into balls, roughly the size of a tablespoon. Arrange them on the prepared baking sheets, leaving some space in between each ball. They will expand slightly during baking, so give them room to breathe.
Step 5: Flatten and Design
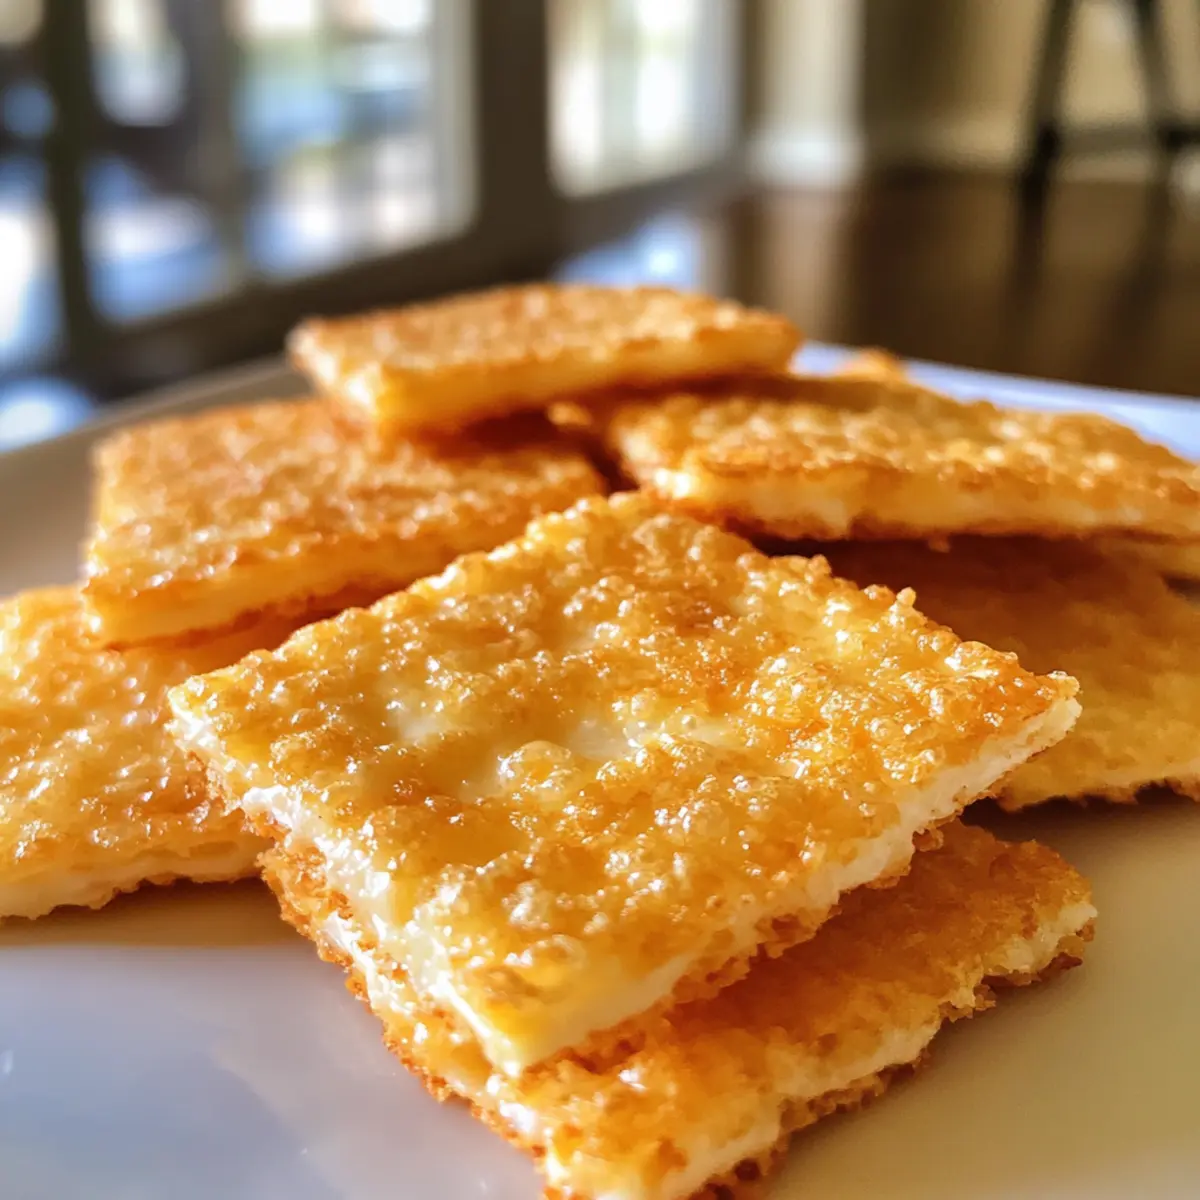
Using a wet fork, gently press down on each ball to flatten them slightly, creating a criss-cross pattern on top. This step not only ensures uniformity in shape but also adds a decorative touch to your Rice Krispies Cheese Crackers, making them visually appealing.
Step 6: Bake for Perfection
Place the baking sheets in the preheated oven and bake for about 12-14 minutes. Keep a close eye on the crackers; they should turn a light golden brown around the edges, signaling they’re done. The aroma of melted cheese will fill your kitchen, hinting at the deliciousness to come.
Step 7: Cool and Transfer
Once baked, remove the crackers from the oven and let them cool on the sheets for 10 minutes. This cooling period helps them firm up and maintain their shape. Afterward, gently transfer them to wire racks to cool completely before storing.
Step 8: Store and Enjoy
Once your Rice Krispies Cheese Crackers are completely cool, store them in an airtight container to keep them fresh. These delightful snacks can last up to a week at room temperature, but I bet they won’t last that long with how irresistible they are!
What to Serve with Rice Krispies Cheese Crackers
These delightful snacks are perfect for building the ultimate spread, making any gathering special and delicious.
-
Creamy Hummus: A rich, nutty flavor that balances the crackers’ crunchiness; perfect for dipping and sharing.
-
Fresh Veggie Platter: Crisp carrot sticks, cucumber slices, and bell pepper strips add freshness and crunch, enhancing your snack experience.
-
Savory Guacamole: Smooth and creamy, this avocado dip pairs wonderfully, offering a zesty contrast to the cheese and rice.
-
Cheese Board: Create a stunning cheese platter with assorted cheeses and fruits; the flavors harmonize beautifully for a gourmet touch.
-
Olives and Pickles: Tangy notes from olives or pickles can brighten up your spread, complementing the richness of the crackers.
-
Chilled White Wine: A crisp, refreshing white wine pairs well with these savory bites, making every bite even more enjoyable.
-
Dark Chocolate: For a surprising sweet twist, serve alongside dark chocolate; the bittersweet flavor beautifully contrasts with the salty cheese.
Enjoy these Rice Krispies Cheese Crackers with your favorite accompaniments for a snack that tantalizes the taste buds and brings everyone together!
Expert Tips for Rice Krispies Cheese Crackers
-
Room Temperature Butter: Ensure your butter is at room temperature for easier mixing. Cold butter will create a denser cracker texture.
-
Don’t Overmix: Mix just until the dough holds together to maintain a light and airy texture. Over-mixing can lead to tough crackers.
-
Flavor Variations: Feel free to experiment with different cheeses or spices! Adding herbs can personalize your Rice Krispies Cheese Crackers for any occasion.
-
Watch Baking Time: Keep a close eye on your crackers while baking. They can quickly go from golden to overly browned, so set a timer and check in!
-
Proper Storage: Store in an airtight container to keep them fresh for about a week. These crackers can also be frozen, providing you with a quick snack on busy days.
Make Ahead Options
These Rice Krispies Cheese Crackers are perfect for meal prep enthusiasts! You can prepare the cracker dough up to 24 hours in advance by mixing together the grated cheese, Rice Krispies, flour, and seasonings, then storing it in an airtight container in the refrigerator to keep the flavors fresh. To maintain optimal quality, make sure the dough is well-sealed to prevent it from drying out. When you’re ready to bake, simply take the chilled dough out, form it into balls, flatten them, and bake as directed. With a little advance prep, you’ll have delicious, homemade crackers ready in no time, making snack time effortless during your busy week!
How to Store and Freeze Rice Krispies Cheese Crackers
Room Temperature: Store your Rice Krispies Cheese Crackers in an airtight container at room temperature for up to 1 week to maintain their crunchy texture.
Refrigerator: If you prefer, you can refrigerate the crackers in an airtight container for slightly longer freshness, about 10 days; however, this may alter their crispiness.
Freezer: For longer storage, freeze the crackers in a single layer on a baking sheet before transferring to a freezer-safe bag or container. They can last up to 4 months in the freezer.
Reheating: To enjoy the crackers again after freezing, simply thaw at room temperature and reheat in a preheated oven at 350°F (175°C) for 5-10 minutes to restore their delightful crunch.
Rice Krispies Cheese Crackers Variations
Feel free to unleash your creativity and modify these delightful crackers to suit your taste preferences!
-
Cheese Swap: Use your favorite cheese like gouda or pepper jack for unique flavor variations. The sky’s the limit!
-
Gluten-Free Option: Swap regular flour for almond or coconut flour to make these crackers gluten-free. They’ll still be deliciously crunchy!
-
Herb Infusion: Toss in dried herbs, like oregano or thyme, to impart a Mediterranean flair. These subtle flavors elevate the taste experience.
-
Nutty Crunch: Add chopped nuts, such as almonds or cashews, for added texture and a wholesome boost. The combination of flavors and crunch will be irresistible!
-
Heat Level: Adjust cayenne pepper amounts or replace it with smoked paprika to find the perfect spicy balance for your palate.
-
Savory Twist: Experiment by replacing garlic powder with onion powder for a different savory dimension. You’ll find new depths to this simple snack!
-
Puffed Grain Alternative: Switch out Rice Krispies for puffed quinoa or puffed rice cereal for a delightful twist that’s equally crunchy.
-
Sweet Variation: For a unique contrast, try drizzling a bit of honey on top before baking; this will create a sweet and savory snack that surprises!
Don’t forget, serving these crispy morsels alongside dips like Cream Cheese Salsa or with items from a cheese platter can further enhance the experience!
Rice Krispies Cheese Crackers Recipe FAQs
What cheese works best for Rice Krispies Cheese Crackers?
Absolutely! Cheddar cheese is a popular choice due to its rich flavor, but feel free to experiment with other varieties like gouda or pepper jack for a unique twist. Just ensure the cheese is grated for easy incorporation into the dough.
How should I store my Rice Krispies Cheese Crackers?
You can store your crackers in an airtight container at room temperature for up to 1 week. If you want to maintain their crunchiness, avoid refrigerating them, as moisture can affect their texture. For even longer storage, consider freezing them!
Can I freeze Rice Krispies Cheese Crackers?
Yes, these crackers freeze beautifully! Simply place them in a single layer on a baking sheet and freeze until solid. Then, transfer them to a freezer-safe bag or container. They can be stored for up to 4 months. When you’re ready to enjoy, just thaw and reheat in the oven at 350°F (175°C) for 5-10 minutes to bring back that delightful crunch.
What if my dough is too dry?
No worries! If your dough feels crumbly or too dry, it might need a little moisture. Add a teaspoon of water or more room-temperature butter until the dough holds together well. Just take care not to overwork it, as you want to keep that light texture.
Can I make these crackers gluten-free?
Very! Substitute the all-purpose flour with almond flour or coconut flour for a gluten-free option. Just keep in mind that coconut flour may absorb more moisture, so you might need to increase the butter or add a bit more cheese to achieve the right consistency.
Are Rice Krispies Cheese Crackers pet-friendly?
It’s best to keep these crackers away from pets. Ingredients like cheese and salt can be harmful to dogs and other animals. Always double-check the ingredients before sharing any human food with your furry friends!
Crispy Rice Krispies Cheese Crackers for Easy Snacking
Ingredients
Equipment
Method
- Preheat your oven to 375°F (190°C) and line baking sheets with parchment paper.
- Combine grated cheese, Rice Krispies, flour, salt, black pepper, cayenne pepper, and garlic powder in a large mixing bowl.
- Add room-temperature butter and mix until the dough holds together.
- Roll the dough into balls, about the size of a tablespoon, and place on the prepared baking sheets.
- Flatten each ball slightly with a wet fork to create a criss-cross pattern.
- Bake for 12-14 minutes until light golden brown around the edges.
- Cool on the sheets for 10 minutes, then transfer to wire racks to cool completely.
- Store in an airtight container and enjoy within a week.
Leave a Reply