
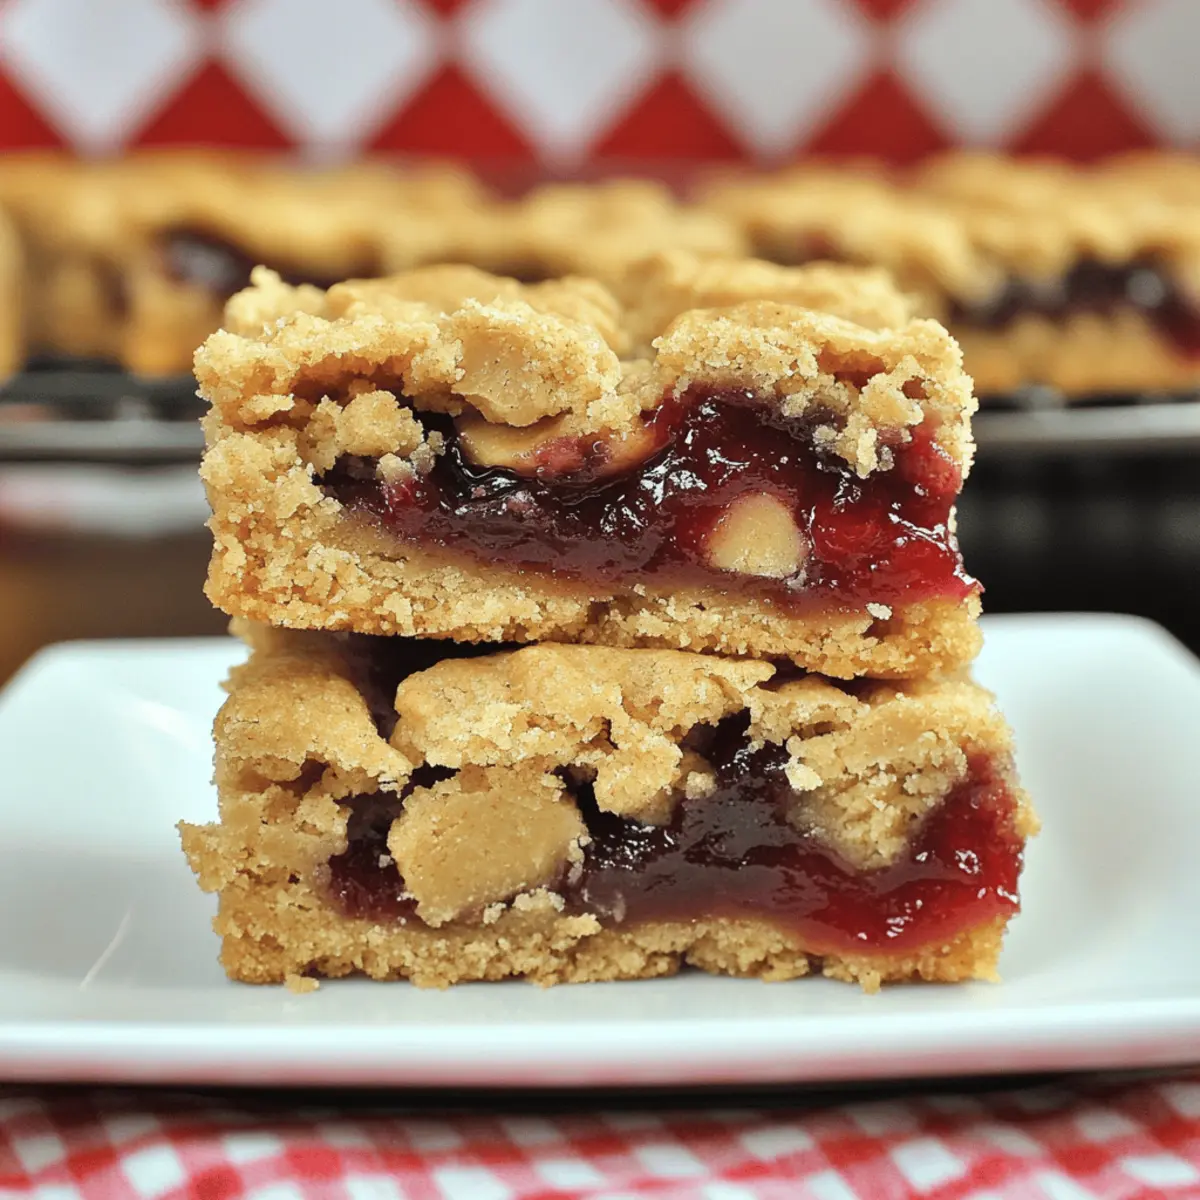
Standing at the counter, I couldn’t help but be transported back to childhood, where every lunchbox contained a trusty peanut butter and jelly sandwich. Today, I’m thrilled to take that nostalgic flavor and transform it into Quick & Easy Peanut Butter and Jelly Bars. These delightful treats not only capture the classic combination of creamy peanut butter and sweet strawberry jam, but they also come together in just 40 minutes, making them a perfect choice for any family gathering or spontaneous picnic. The best part? They’re family-friendly and easy to customize with whatever jam you have on hand. Who can resist sharing a bite of this chewy, comforting dessert? Are you ready to create your own delicious memories with these bars?
Why are these bars so irresistible?
Nostalgic Flavor: Forget ordinary desserts; these bars offer a heartwarming taste of childhood that everyone will love!
Quick to Make: In just 40 minutes, you can whip up a batch that’s perfect for parties, school lunches, or a cozy snack.
Customizable Goodness: Feel free to swap out the strawberry jam for your favorite flavors like raspberry or blueberry, ensuring a treat for every palate!
Family-Friendly Fun: Kids and adults alike will get excited about these delightful bars, making them a perfect addition to any gathering.
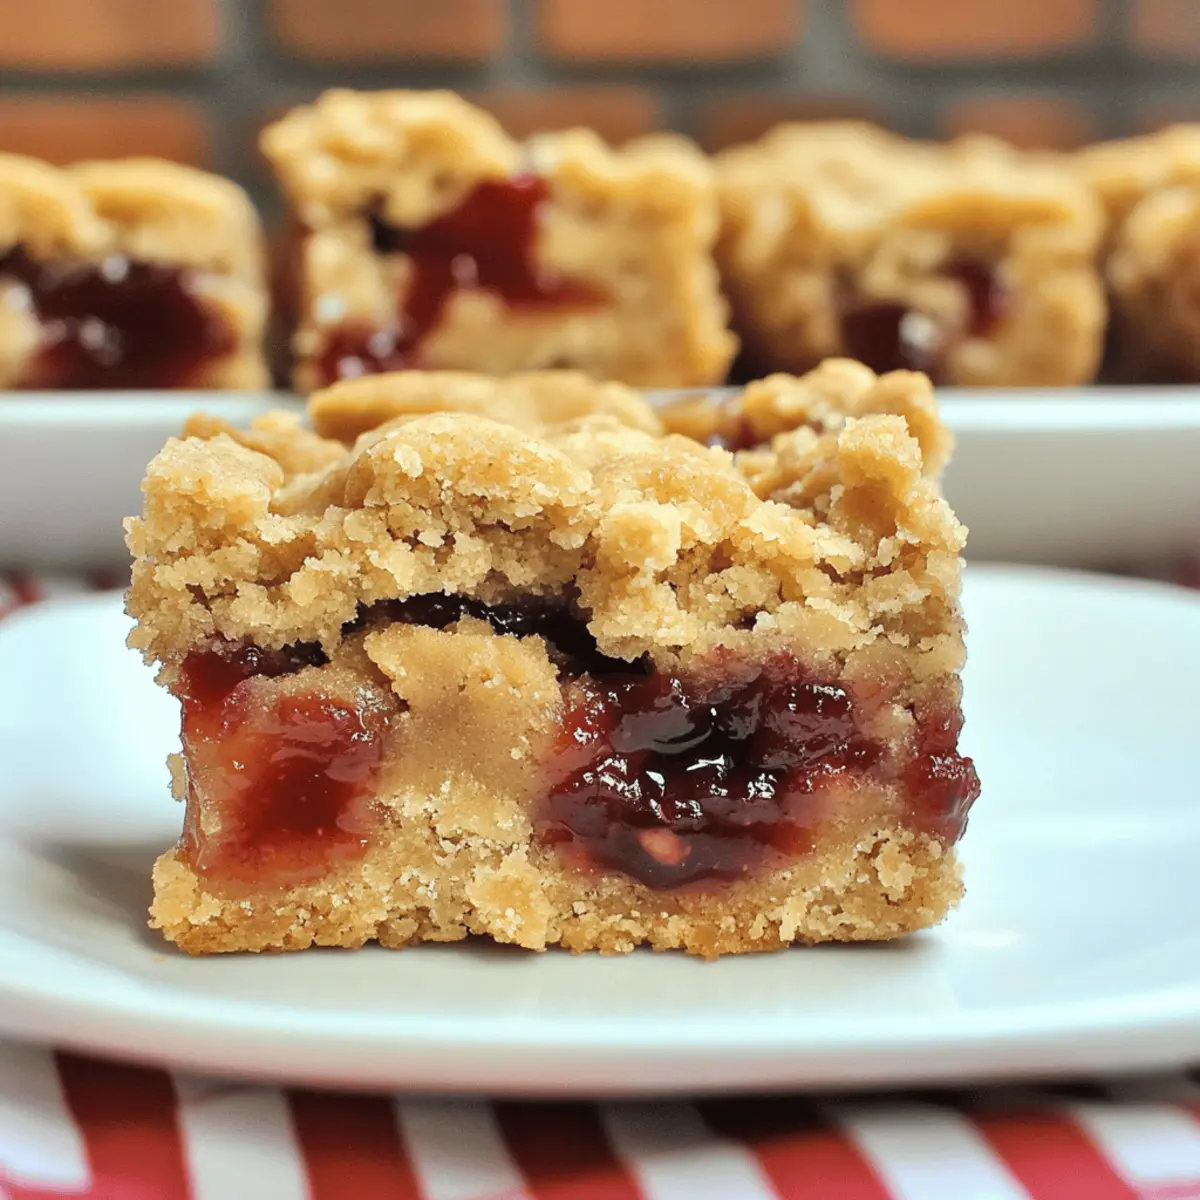
Perfect Texture: Enjoy the soft, chewy base paired with a crumbly topping that creates a truly satisfying dessert experience!
Pair these bars with a glass of cold milk for the ultimate indulgence, or add a scoop of vanilla ice cream to take it over the top!
Peanut Butter and Jelly Bars Ingredients
For the Batter
• Unsalted Butter – Provides richness and contributes to the soft texture. Substitution Note: Use salted butter if unsalted is unavailable, but reduce added salt in the recipe.
• Sugar – Sweetens and helps structure the bars. Substitution Note: Brown sugar can be used for a deeper flavor.
• Vanilla Extract – Adds an aromatic note. Substitution Note: Almond extract can be a flavorful alternative.
• Eggs – Binds the ingredients and helps with leavening. Substitution Note: Ground flaxseed mixed with water can be used for a vegan option.
• Creamy Peanut Butter – Provides flavor and a chewy texture. Substitution Note: Crunchy peanut butter can be used for added texture.
• All-Purpose Flour – Gives structure to the bars. Substitution Note: Gluten-free flour can be used for a gluten-free version.
• Baking Powder – Helps the bars rise slightly. No substitution available.
For the Filling
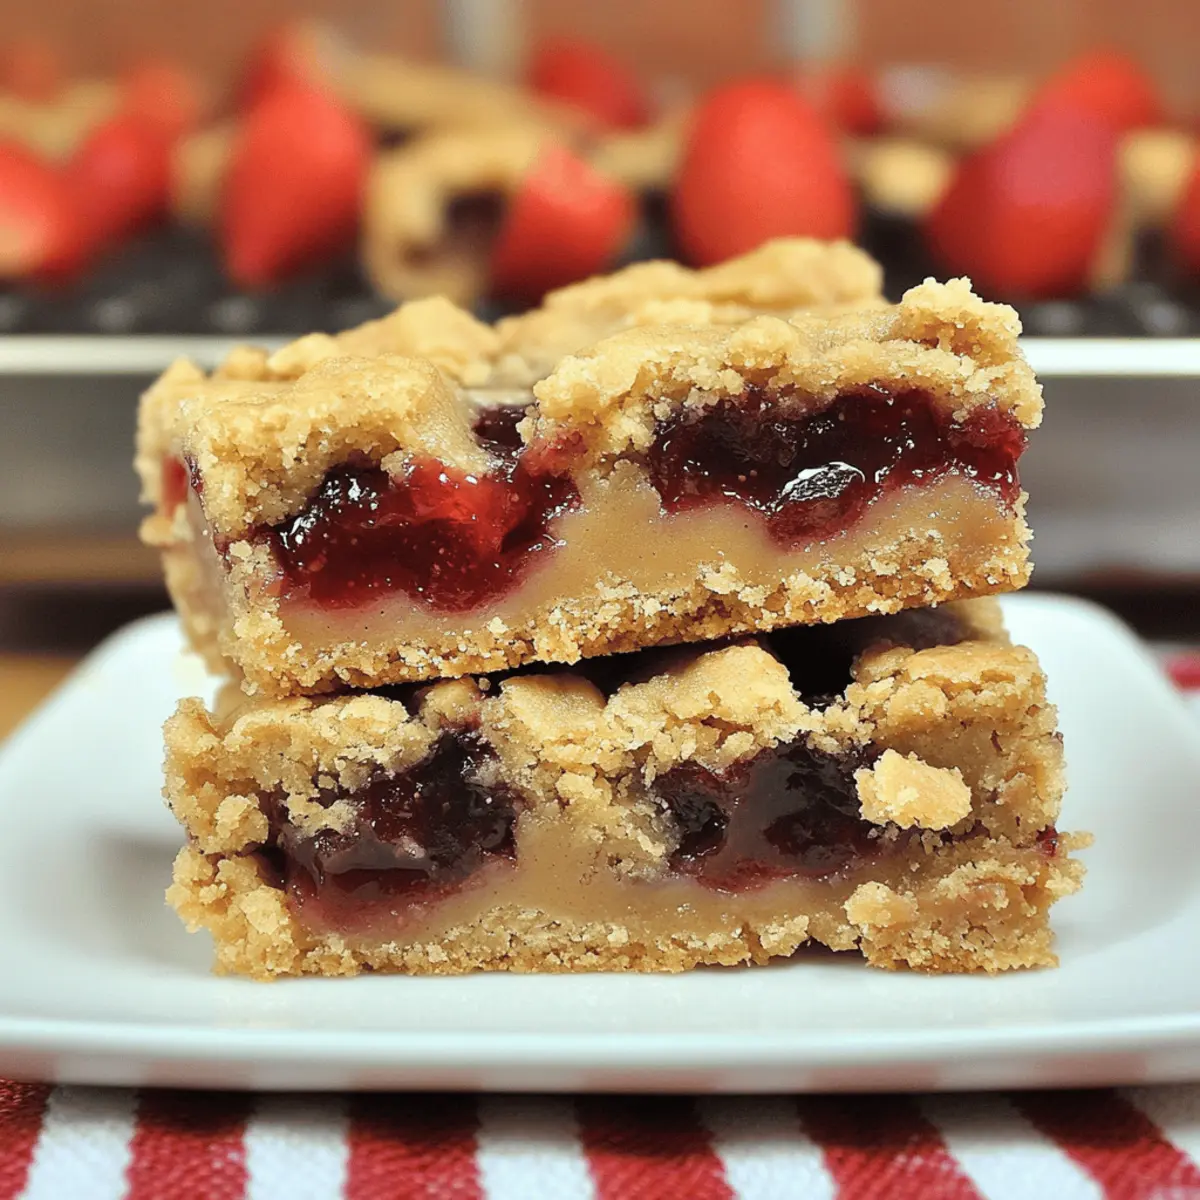
• Strawberry Jam – Offers sweetness and moisture. Substitution Note: Other jams like raspberry or blueberry can also be used for the ultimate Peanut Butter and Jelly Bars experience.
Step‑by‑Step Instructions for Peanut Butter and Jelly Bars
Step 1: Preheat the Oven
Begin by preheating your oven to 350°F (175°C). While the oven heats, line a 9×13-inch baking dish with parchment paper, allowing some overhang for easy removal later. This will ensure the Peanut Butter and Jelly Bars bake evenly and can be easily lifted out when ready to cut.
Step 2: Cream Together Ingredients
In a standing mixer, combine the softened unsalted butter, creamy peanut butter, and sugar. Beat the mixture on medium speed for about 2–3 minutes until it becomes light and fluffy, creating a creamy base for your bars. This step is crucial as it incorporates air, giving your bars that delightful texture.
Step 3: Incorporate Eggs and Vanilla
Add the eggs one at a time into the creamy mixture, mixing well after each addition until fully combined. Then, gently stir in the vanilla extract to enhance the flavors. The mixture should be smooth and slightly voluminous, ready for the dry ingredients to be folded in.
Step 4: Mix Dry Ingredients
In a separate bowl, whisk together the all-purpose flour and baking powder until they are well blended. Gradually add this dry mixture into the wet ingredients in your standing mixer, mixing on low speed until just combined. Be careful not to overmix; you want the dough to remain tender for your Peanut Butter and Jelly Bars.
Step 5: Form the Base Layer
Take about two-thirds of the dough and evenly press it into the bottom of the prepared baking dish. Use your hands or a spatula to ensure the layer is smooth and evenly distributed. This base layer will provide the perfect foundation for your jam and crumble topping.
Step 6: Spread the Jam
Now, spread a generous layer of strawberry jam over the pressed dough. Aim for an even coverage, allowing the sweetness of the jam to flow into every bite of your Peanut Butter and Jelly Bars. Ensure the base layer remains intact as you spread to maintain its structure.
Step 7: Crumble the Top Layer
With the remaining dough, crumble it evenly over the layer of strawberry jam. This creates a topping that will crisp up beautifully in the oven. Make sure to leave some gaps for the jam to peek through, allowing for a delightful presentation when baked.
Step 8: Bake to Perfection
Place the baking dish in the preheated oven and bake for 30-35 minutes. Keep an eye on the bars; you’re looking for a lightly golden brown color on top. The edges should be firm while the center may still be a bit soft, signaling that they’ll set up as they cool.
Step 9: Cool and Slice
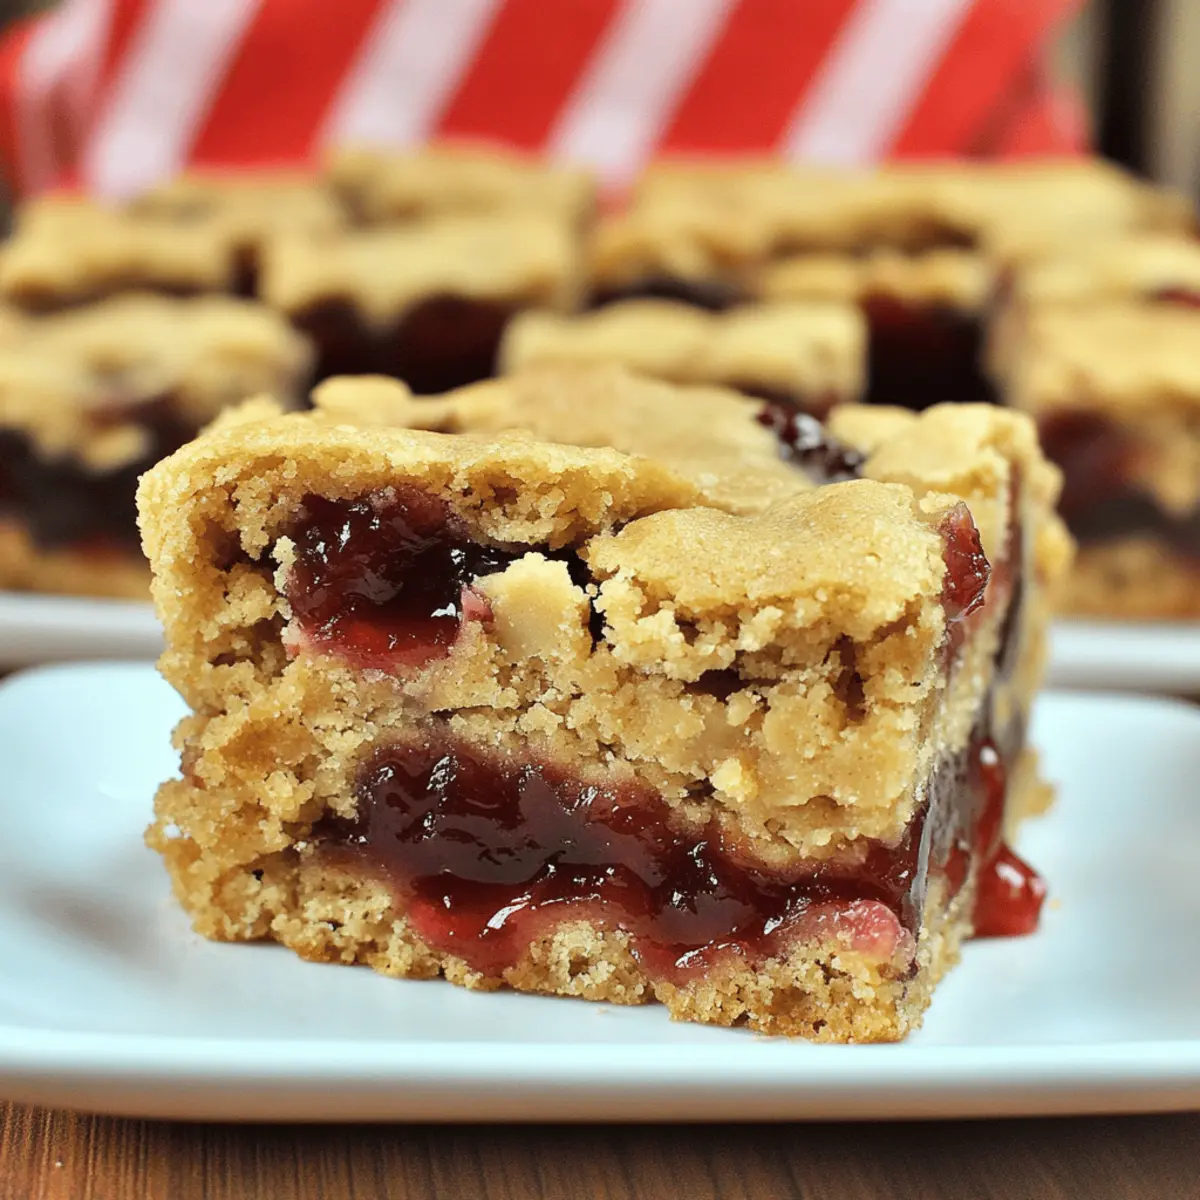
Once baked, remove the Peanut Butter and Jelly Bars from the oven and let them cool completely in the pan. This cooling period is essential for achieving the right texture. Once cooled, use the parchment paper overhang to lift the bars out and slice them into squares for serving.
Expert Tips for Peanut Butter and Jelly Bars
Room Temperature Eggs: Ensure your eggs are at room temperature for better incorporation into the batter, resulting in a fluffier texture.
Avoid Overbaking: Keep an eye on the bars as they bake. Checking for doneness at the lower end of the time will help keep them soft and chewy.
Use Parchment Paper: Lining your baking dish with parchment makes it easier to lift out the Peanut Butter and Jelly Bars, allowing for clean cuts and no sticky mess.
Don’t Overmix: When combining wet and dry ingredients, mix just until combined to prevent tough bars. A tender dough is key for that perfect chew!
Even Jam Layer: Spread the jam evenly, but don’t press it too hard; this ensures a delightful fruity flavor in every bite without compromising the base layer.
Flavor Variations: Experiment with different jams or add-ins, like chocolate chips or nuts, to customize these bars to your family’s taste preferences.
Peanut Butter and Jelly Bars Variations
Feel free to customize these bars to suit your taste, adding your own unique twist to this classic treat.
-
Jam Flavor Swaps: Use raspberry, apricot, or blueberry jam for a delightful twist that keeps things fresh and exciting. The variety brings new flavor profiles, delighting your palate with every bite.
-
Chocolate Delight: Sprinkle chocolate chips into the dough or layer them with the jam for a rich, indulgent experience. This adds a wonderful sweetness that chocolate lovers will adore.
-
Nutty Crunch: Fold in chopped nuts like walnuts or pecans for an extra layer of crunch and flavor. The texture complements the creamy peanut butter and jam beautifully.
-
Dried Fruits: Incorporate dried cranberries or cherries into the dough for a chewy surprise that pairs perfectly with the nutty base. This twist adds a fruity burst to each bar.
-
Vegan Friendly: Substitute eggs with ground flaxseed mixed with water and use a vegan butter alternative for a plant-based version that everyone can enjoy. It’s a fantastic way to share a sweet treat with all your friends.
-
Gluten-Free Alternative: Swap out all-purpose flour for gluten-free flour blends to make these bars suitable for those with gluten sensitivities, ensuring everyone can join in on the fun!
-
Strawberry Cream: Mix in a touch of cream cheese with your jam for a delightful strawberry cheesecake-inspired flavor that will elevate these bars to a whole new level.
-
Cinnamon Sugar Topping: Sprinkle a mix of cinnamon and sugar on the top layer before baking for a warm, sweet twist that’s sure to please the family. It adds a crunchy layer of incredible flavor and aroma as it bakes.
These Peanut Butter and Jelly Bars are perfect for sharing, so why not serve them alongside a glass of cold milk or as a sweet finish after a hearty meal? If you’re in the mood for more delicious treats, check out these Butter Garlic Crab or Sweet Potato Pie Bars for additional inspiration!
What to Serve with Quick & Easy Peanut Butter and Jelly Bars
The perfect meal isn’t just about the main attraction; it’s about creating a symphony of flavors that complement each other beautifully.
- Cold Milk: This classic pairing enhances the nostalgic flavor of the bars, offering a refreshing contrast that kids adore.
- Vanilla Ice Cream: A scoop of creamy vanilla ice cream elevates the experience, balancing the sweetness of the bars with a chilly treat.
- Fresh Berries: Serve with an assortment of fresh strawberries, raspberries, or blueberries to add a burst of refreshing flavor and vibrant color.
- Yogurt Parfait: Layer your peanut butter bars with yogurt and granola for a delightful, textured breakfast or snack that’s equally indulgent and nutritious!
- Coffee: A warm cup of coffee brings a rich, robust element, making this a delightful choice for adults to enjoy with their dessert.
- Chia Seed Pudding: The creamy, nutritious pudding complements the bars’ chewiness while adding a fun texture that contrasts beautifully.
- Fruit Salad: A light, citrusy fruit salad refreshes the palate, providing a bright and healthy balance to this indulgent treat.
- Nutty Trail Mix: The crunch from a homemade nut and seed mix can add an exciting texture and a healthy punch alongside the chewy bars.
- Chocolate Milkshake: For a truly indulgent experience, a thick and creamy chocolate milkshake is a delightful, sweet companion.
- Tea: A warm cup of herbal or chai tea adds a soothing element, creating a comforting treat perfect for any afternoon snack.
Make Ahead Options
These Peanut Butter and Jelly Bars are ideal for meal prep, saving you time during busy weekdays! You can prepare the dough up to 24 hours in advance by following the first five steps, then cover and refrigerate it. Additionally, the assembled bars can be made ahead, but it’s best to bake them fresh. To maintain quality, keep the bars tightly wrapped at room temperature for up to 3 days or refrigerate for up to a week. When you’re ready to enjoy them, simply let the bars come to room temperature before serving, ensuring they remain just as delicious and chewy as when freshly baked!
How to Store and Freeze Peanut Butter and Jelly Bars
Room Temperature: Store the bars in an airtight container at room temperature for up to 3 days; this keeps them soft and chewy, ready to enjoy at a moment’s notice.
Fridge: For a longer shelf life, place the bars in the refrigerator for up to a week. Just let them sit at room temperature for a few minutes before serving for the best texture.
Freezer: These Peanut Butter and Jelly Bars freeze beautifully! Wrap them tightly in plastic wrap and then place them in a freezer-safe bag; they can be frozen for up to 3 months.
Reheating: To enjoy again, simply thaw the bars in the refrigerator overnight, or heat them briefly in the microwave for a warm, comforting treat!
Peanut Butter and Jelly Bars Recipe FAQs
What type of jam should I use for the best flavor?
Absolutely! Strawberry jam is the classic choice, but feel free to experiment with other flavors like raspberry, blueberry, or apricot. Each offers a unique twist on this nostalgic treat while still delivering that delicious peanut butter flavor.
How should I store my Peanut Butter and Jelly Bars to keep them fresh?
To maintain the delightful texture of your bars, store them in an airtight container at room temperature for up to 3 days. If you want them to last longer, refrigerate them for up to a week. Just remember to let them sit at room temperature for a few minutes before serving to soften back up.
Can I freeze these Peanut Butter and Jelly Bars?
Yes, you can! To freeze, wrap the cooled bars tightly in plastic wrap and then place them in a freezer-safe bag. They can be safely stored in the freezer for up to 3 months. When you’re ready to enjoy, simply thaw them in the refrigerator overnight or warm them slightly in the microwave.
What can I do if my Peanut Butter and Jelly Bars come out too dry?
Great question! To avoid dryness, make sure not to overbake the bars; keep an eye on them towards the end of the baking time. If your bars do turn out dry, consider drizzling a bit of more jam on top after they cool for added moisture or pair them with a scoop of ice cream when serving for a deliciously creamy contrast.
Are there any dietary substitutions I should know about?
Very! If you need a vegan option, substitute the eggs with ground flaxseed mixed with water. Just use 1 tablespoon of ground flaxseed and 2.5 tablespoons of water for each egg. Additionally, for those with gluten sensitivities, you can use a gluten-free flour blend in place of all-purpose flour without sacrificing texture or flavor.
Ultimate Peanut Butter and Jelly Bars for Sweet Family Moments
Ingredients
Equipment
Method
- Preheat the oven to 350°F (175°C) and line a 9x13-inch baking dish with parchment paper.
- In a standing mixer, cream together the softened unsalted butter, creamy peanut butter, and sugar on medium speed for about 2–3 minutes until light and fluffy.
- Add the eggs one at a time, mixing well after each addition, then gently stir in the vanilla extract.
- In a separate bowl, whisk together the all-purpose flour and baking powder, then gradually add it to the wet ingredients, mixing on low until just combined.
- Press about two-thirds of the dough into the bottom of the prepared baking dish.
- Spread a generous layer of strawberry jam evenly over the pressed dough.
- Crumble the remaining dough over the layer of strawberry jam.
- Bake in the preheated oven for 30-35 minutes until lightly golden brown on top.
- Allow the bars to cool completely in the pan before lifting out and slicing into squares.
Leave a Reply