
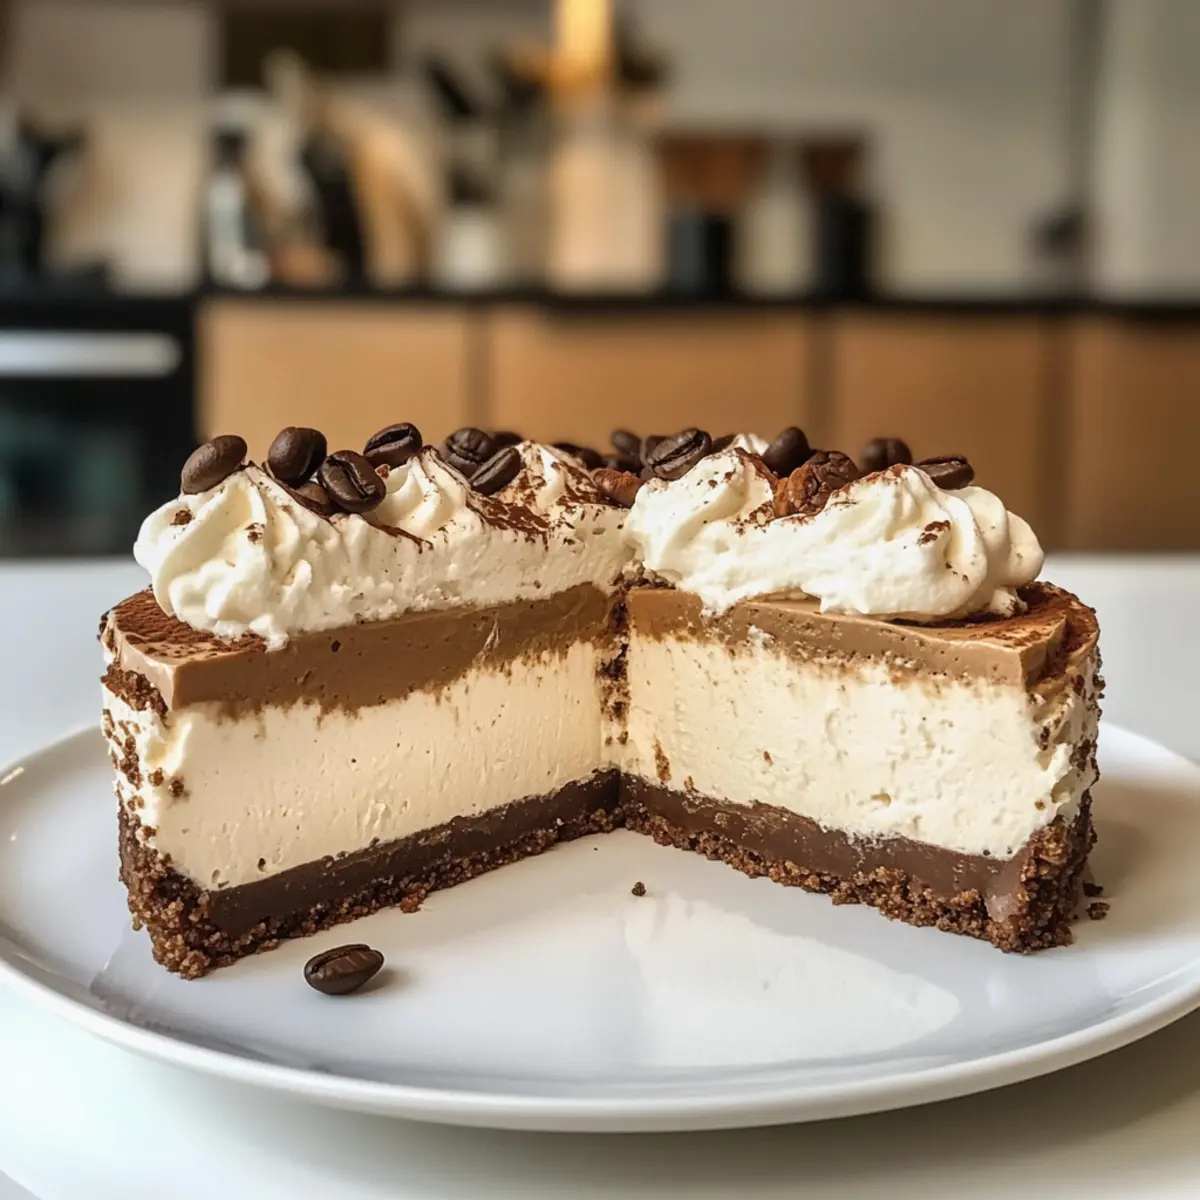
The aroma of freshly brewed espresso fills the kitchen, pulling me in with its rich, inviting scent. If there’s one dessert that captures the essence of that coffee moment, it’s the No-Bake Espresso Cheesecake. This recipe is a game-changer, offering a creamy and luxurious treat that requires zero baking! Not only is it a delightful crowd-pleaser for gatherings, but it’s also incredibly easy to whip together, leaving you plenty of time to savor each velvety bite. Perfectly balanced and irresistibly rich, this cheesecake combines all the indulgence of a classic dessert with a lighter, refreshing feel. So, are you ready to treat yourself to a slice of this coffee-infused delight? Let’s dive in!
Why is this cheesecake a must-try?
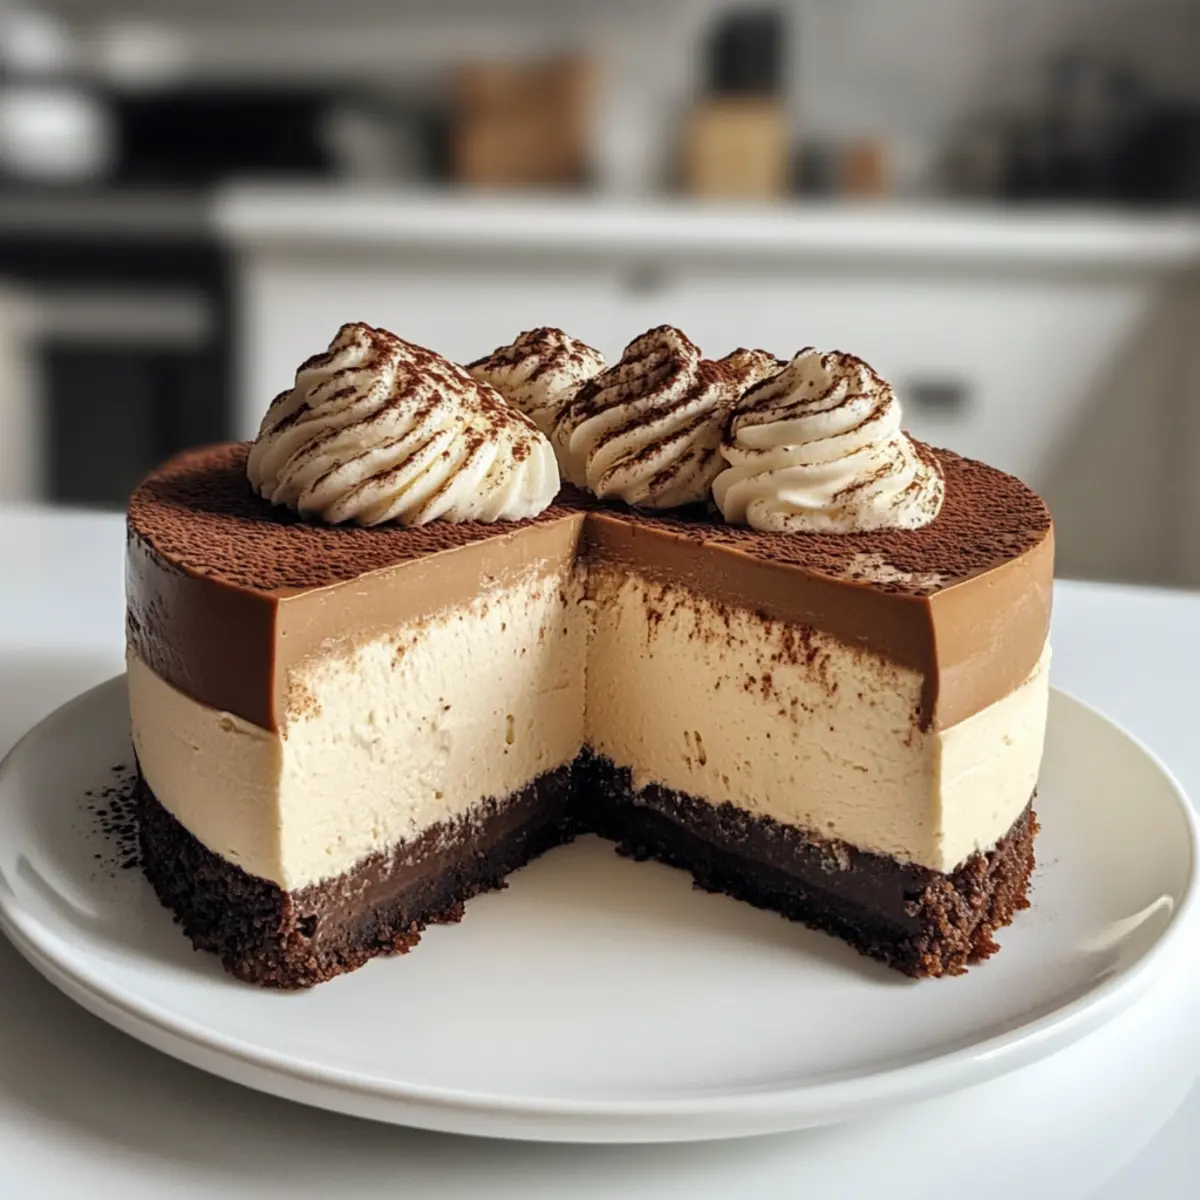
Creamy Indulgence: This luscious No-Bake Espresso Cheesecake is perfect for coffee lovers who crave a decadent dessert without the hassle of baking.
Quick and Easy: With straightforward instructions, you’ll have it ready in no time—no ovens, no fuss.
Versatile Base: Feel free to experiment! Swap espresso for flavored coffee or fold in chocolate chips for a personal twist.
Crowd-Pleaser: Serve this stunning cheesecake at your next gathering, and watch as it becomes the star of the show, delighting every guest.
Make Ahead: Prepare it a day in advance for a richer flavor and hassle-free serving on your special occasion.
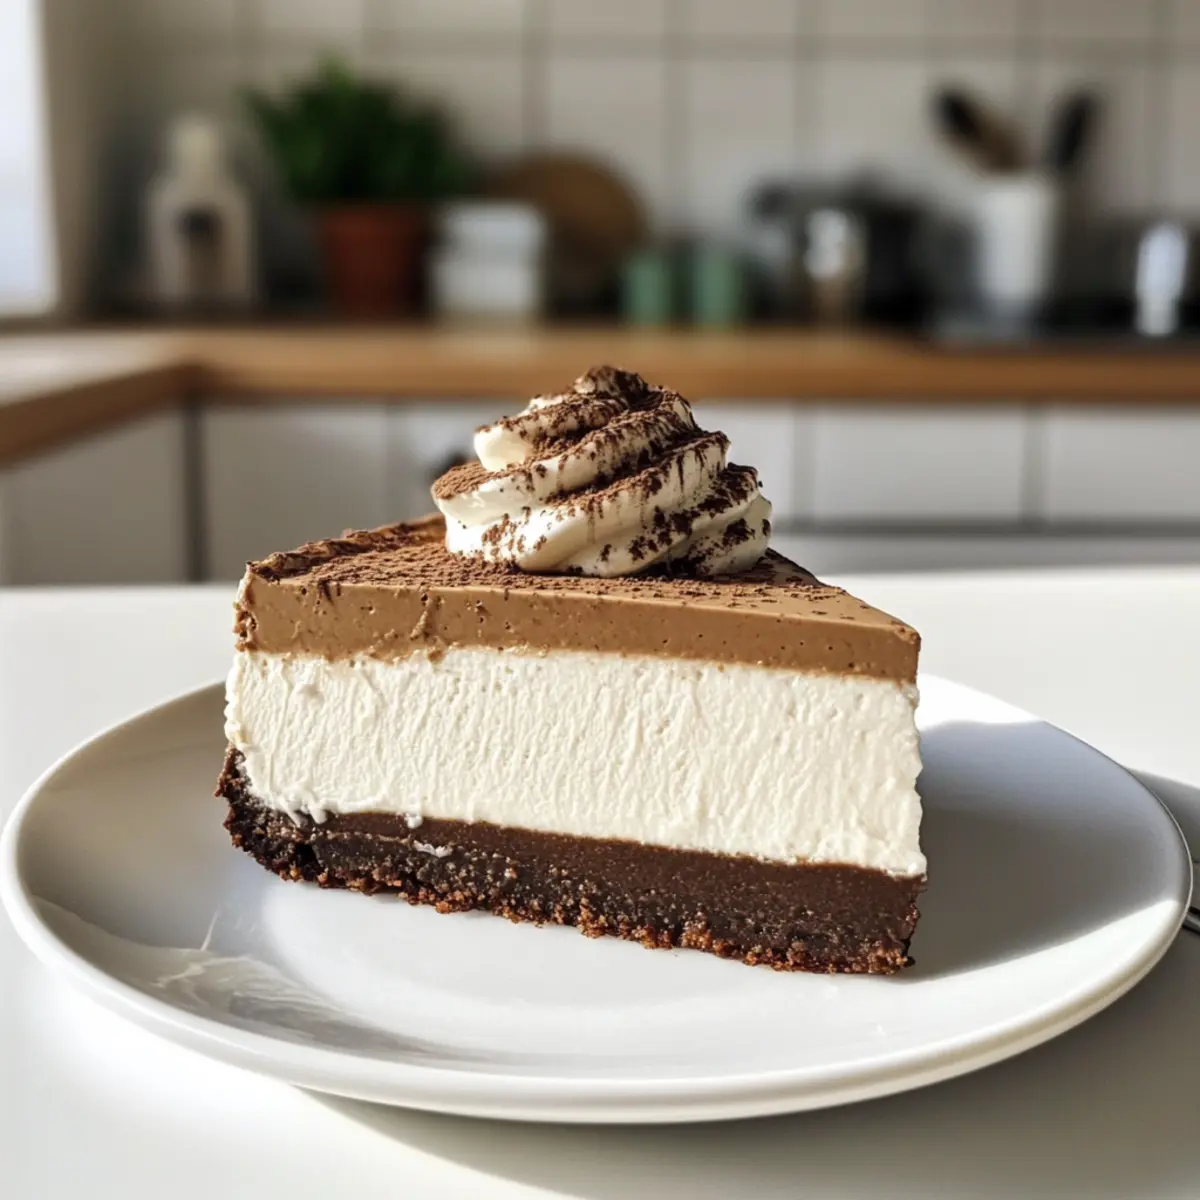
Savor each bite and feel the joy of indulging in a dessert that brings everyone together!
No-Bake Espresso Cheesecake Ingredients
• For the Cheesecake Filling
- Cream Cheese – Provides the creamy base and structure of the cheesecake; ensure it’s softened for easy mixing.
- Whipped Cream – Adds lightness and a fluffy texture; use fresh whipped cream for the best results.
- Espresso – Infuses a rich coffee flavor throughout the cheesecake; instant espresso powder can be a handy substitute.
• For the Crust
- Graham Crackers – Forms the buttery crust; can easily substitute with digestive biscuits or gluten-free options.
- Butter – Binds the crust together and adds richness; opt for unsalted butter for controlled saltiness.
Indulge in this creamy No-Bake Espresso Cheesecake that will please every coffee lover at the table!
Step‑by‑Step Instructions for No-Bake Espresso Cheesecake
Step 1: Prepare the Crust
Start by crushing graham crackers into fine crumbs using a food processor or a plastic bag and rolling pin for about 2-3 minutes. Melt 4 tablespoons of unsalted butter in a microwave or saucepan, then mix it into the crumbs until fully combined. Press this buttery mixture evenly into the bottom of a 9-inch springform pan, creating a solid crust. Refrigerate for 15 minutes to set.
Step 2: Make the Filling
In a mixing bowl, combine 8 ounces of softened cream cheese with an electric mixer on medium speed until smooth and creamy, about 2-3 minutes. Gradually fold in 1 cup of fresh whipped cream, then add 2 tablespoons of brewed espresso or instant espresso powder dissolved in a splash of hot water. Mix until the filling is fluffy and all ingredients are thoroughly combined.
Step 3: Combine and Chill
Pour the luscious filling over the chilled crust, using a spatula to spread it evenly, smoothing the top for a professional finish. Cover the springform pan with plastic wrap or aluminum foil and place it in the refrigerator. Allow the No-Bake Espresso Cheesecake to chill for at least 4 hours, or preferably overnight, to ensure it sets fully and develops rich flavors.
Step 4: Serve
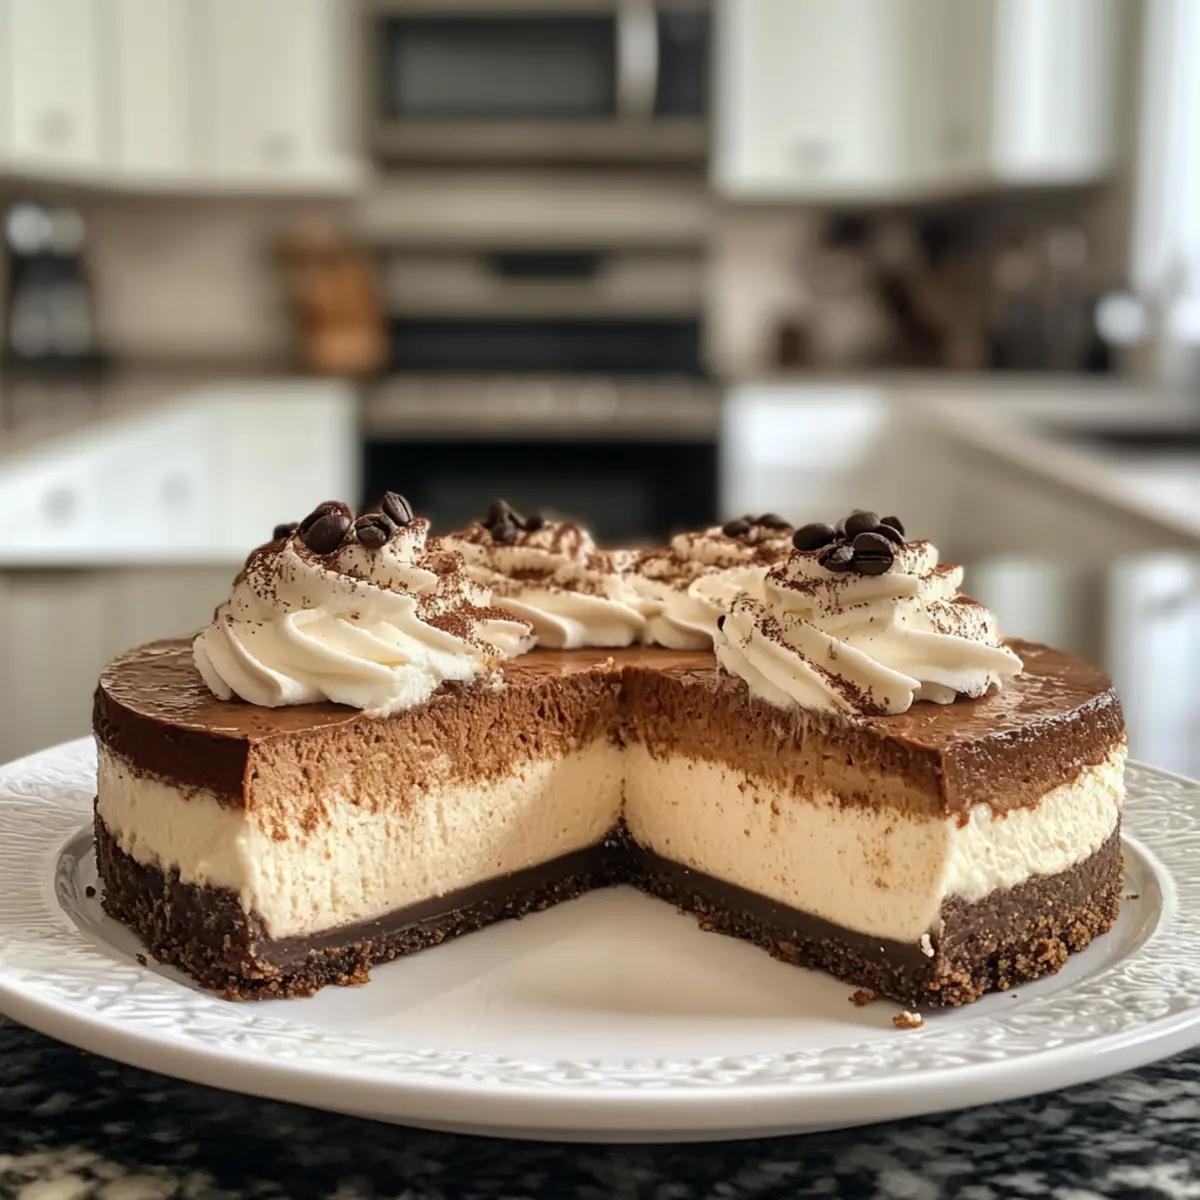
Once set, remove the cheesecake from the refrigerator and gently unclip the springform pan. Carefully slice the No-Bake Espresso Cheesecake into wedges using a sharp knife warmed with hot water for clean cuts. Serve chilled for the best texture, perhaps with a dollop of whipped cream and a sprinkle of cocoa powder for that extra touch of elegance.
No-Bake Espresso Cheesecake Variations
Feel free to explore these delightful twists that elevate your No-Bake Espresso Cheesecake even further!
-
Flavored Coffee: Use mocha or hazelnut coffee in place of espresso for a new taste sensation. Each alternate flavor will create an entirely different experience.
-
Chocolate Chips: Fold in chocolate chips for bites of sweetness throughout the cheesecake. These chocolatey morsels not only add texture but also a lovely contrast to the coffee.
-
Nutty Crunch: Sprinkle chopped nuts, like almonds or hazelnuts, into the crust for an added crunch. This will bring a satisfying contrast to the creamy filling.
-
Make it Minty: Add a drop of mint extract for a refreshing twist. Imagine enjoying a creamy mint coffee cheesecake that’s as invigorating as it is delicious!
-
Salted Caramel: Drizzle some salted caramel sauce over the top before serving. The combination of salty and sweet will tantalize your taste buds and make every bite unforgettable.
-
Layered Goodness: Create layers by alternating cheesecake filling with chocolate or coffee ganache. This adds visual appeal and a delightful surprise with each forkful.
-
Fruit Topping: Top with fresh fruit like berries or bananas for a hint of natural sweetness and a pop of color. The fresh fruit can lighten the richness of the cheesecake beautifully.
-
Mini Cheesecakes: Create individual servings in muffin cups for a fun presentation. Perfectly portioned delights will please your guests and make serving a breeze!
Whether you choose to stick with the classic or experiment with these suggestions, each variation guarantees an exciting experience for your taste buds! For an effortless dessert, don’t forget to check out my delicious Mini Pumpkin Cheesecakes or indulge in the delightful Lemon Cheesecake Mousse. Enjoy your baking adventure!
How to Store and Freeze No-Bake Espresso Cheesecake
Fridge: Store the No-Bake Espresso Cheesecake in an airtight container in the refrigerator for up to 5 days. This keeps it fresh and creamy for indulgent day-after bites.
Freezer: If you need longer storage, wrap individual slices tightly in plastic wrap, then place them in a freezer-safe container. They can last for up to 3 months without losing flavor.
Thawing: To enjoy the frozen cheesecake, remove it from the freezer and let it thaw in the refrigerator overnight. This helps maintain the texture and richness of the dessert.
Reheating: Generally, this cheesecake is enjoyed chilled. If desired, you can let it sit at room temperature for about 15 minutes before serving for optimal creaminess.
Expert Tips for No-Bake Espresso Cheesecake
- Room Temperature Cream Cheese: Ensure your cream cheese is at room temperature. This helps achieve a silky-smooth filling without lumps.
- Whipped Cream Finesse: Be gentle when folding in the whipped cream. Over-mixing can deflate the airy texture you want for this No-Bake Espresso Cheesecake.
- Chill Thoroughly: Don’t skip the chilling time! Allow at least 4 hours, but overnight is best. This ensures the cheesecake sets properly and flavors meld beautifully.
- Crust Consistency: Press the graham cracker crust firmly. A well-packed crust will hold together nicely when slicing, preventing crumbling.
- Quality Ingredients: Use high-quality espresso and fresh cream for the best flavor. The richness of these ingredients really elevates your cheesecake experience!
What to Serve with No-Bake Espresso Cheesecake
Looking to elevate your dessert experience? Pair this creamy cheesecake with delightful sides that will enchant your taste buds.
-
Dark Chocolate Shavings: Adds an elegant, rich touch that perfectly complements the espresso flavor in the cheesecake. A delicate sprinkle can enhance both visual appeal and taste.
-
Fresh Berries: Strawberries or raspberries bring a refreshing tartness, brightening each bite and creating a beautiful contrast with the creamy texture.
-
Vanilla Ice Cream: The classic scoop of vanilla ice cream offers a smooth, creamy pairing that balances the boldness of the coffee while keeping things refreshing.
-
Espresso Martini: For adult gatherings, this coffee-flavored cocktail perfectly matches the cheesecake, enriching the coffee experience and adding a fun twist to dessert.
-
Almond Biscotti: Crunchy and slightly sweet, these cookies provide a delightful textural contrast and an Italian flair, perfect for dipping alongside each slice.
-
Whipped Cream Topping: Serve with an extra dollop for added lightness and creaminess. Dust it with cocoa powder for that extra touch of elegance.
Each accompaniment plays beautifully off the luscious No-Bake Espresso Cheesecake, promising to make your dessert experience unforgettable!
Make Ahead Options
These No-Bake Espresso Cheesecakes are perfect for meal prep enthusiasts! You can prepare the crust and filling up to 24 hours in advance, saving valuable time on busy days. Simply crush the graham crackers and mix them with melted butter, then press into the springform pan. For the filling, blend the cream cheese, whipped cream, and espresso, and pour it over the crust. Cover the cheesecake tightly with plastic wrap and refrigerate it. This keeps it fresh and allows the flavors to meld beautifully. When ready to serve, just slice and enjoy this creamy dessert that’s just as delicious as when freshly made!
No-Bake Espresso Cheesecake Recipe FAQs
How do I choose the right espresso for my No-Bake Espresso Cheesecake?
Absolutely! For the best flavor, opt for high-quality espresso beans. If you’re using instant espresso powder, look for brands that emphasize smoothness and richness. You may also experiment with flavored espresso for a unique twist, like vanilla or caramel, which can add a delightful hint of sweetness to your cheesecake.
What’s the best way to store the No-Bake Espresso Cheesecake?
You can keep your No-Bake Espresso Cheesecake in an airtight container in the refrigerator for up to 5 days. This way, it remains fresh, and you’ll be able to enjoy luscious slices each day! If you’re thinking beyond that, wrap individual slices in plastic wrap and store them in a freezer-safe container for up to 3 months.
Can I freeze the No-Bake Espresso Cheesecake?
Certainly! To freeze, wrap the cheesecake tightly in plastic wrap, then place it in a freezer-safe container. For individual slices, do the same with each slice wrapped separately. When you’re ready to indulge, thaw it overnight in the refrigerator. This method preserves its delightful creaminess and rich flavor.
Why did my cheesecake not set properly?
Very! If your No-Bake Espresso Cheesecake doesn’t set as expected, it might be due to under-chilling it; always aim for at least 4 hours, but ideally overnight. Ensure you’ve also properly folded in the whipped cream without deflating it, which can affect the overall texture. If you’re short on time, consider adding gelatin (2 teaspoons dissolved in hot water) to your filling to help it set more firmly.
Can I make this cheesecake gluten-free?
Yes, you absolutely can! Simply substitute regular graham crackers with gluten-free ones or crushed nuts for the crust. For other allergies, check your whipped cream and cream cheese brands to ensure they are free of allergens. Always read the labels or choose trusted brands that cater to specific dietary needs to make a safe dessert for everyone.
Luscious No-Bake Espresso Cheesecake for Coffee Lovers
Ingredients
Equipment
Method
- Crush graham crackers into fine crumbs using a food processor or a rolling pin for about 2-3 minutes.
- Melt 4 tablespoons of unsalted butter and mix it into the crumbs until fully combined.
- Press the mixture into the bottom of a 9-inch springform pan and refrigerate for 15 minutes to set.
- In a mixing bowl, combine 8 ounces of softened cream cheese and mix until smooth and creamy.
- Fold in 1 cup of fresh whipped cream and 2 tablespoons of brewed espresso or instant espresso powder.
- Pour the filling over the chilled crust and smooth the top. Cover and refrigerate for at least 4 hours.
- Remove from the refrigerator, unclip the springform pan, and slice into wedges before serving.
Leave a Reply