
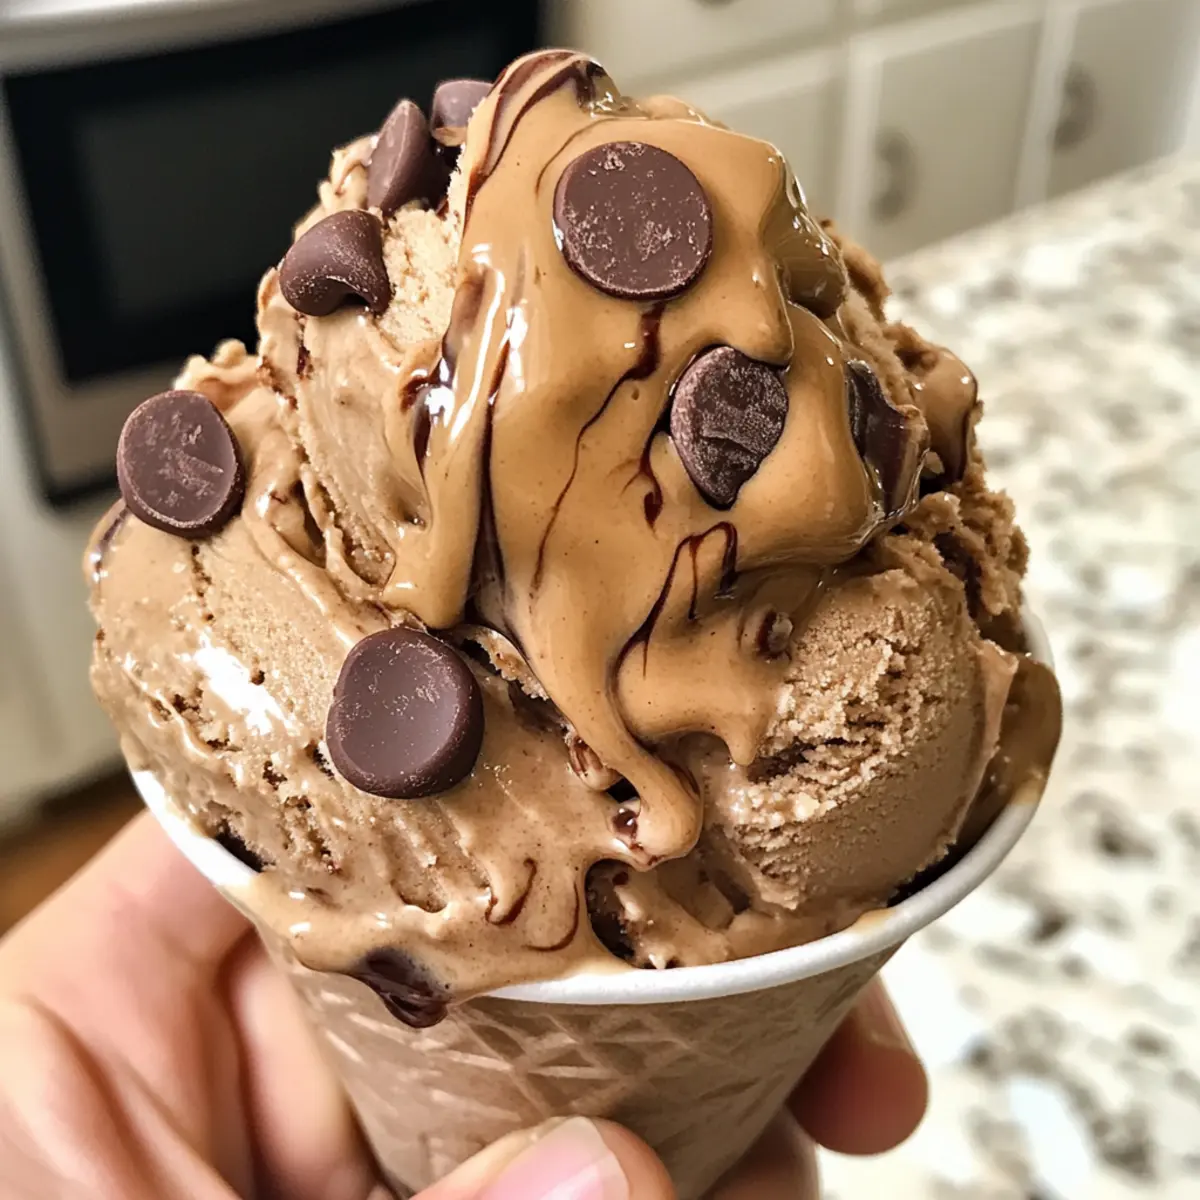
The sweet symphony of coffee and chocolate wafts through the air as I prepare to indulge in my latest creation: Ninja Creami Mocha Espresso Protein Ice Cream. This dessert isn’t just a treat; it’s a guilt-free haven for those of us looking to blend nutrition with flavor. Bursting with high-protein goodness, this ice cream is quick to whip up and can be tailored to fit your taste buds. You can easily swap out the chocolate protein powder for vanilla or add in your favorite mix-ins like peanut butter for an extra creamy twist. Whether you crave the robust notes of espresso or the sweet echoes of cocoa, it’s the ideal way to satisfy your sweet tooth without compromising your health goals. Are you ready to dive into this delightful blend of ice cream perfection?
Why is this ice cream so special?
Indulgent yet Healthy: This Ninja Creami Mocha Espresso Protein Ice Cream satisfies your dessert cravings without the guilt.
Customizable Delight: Tailor it to your taste by simply swapping protein flavors or adding in nuts and chocolate chips for a unique twist.
Time-Saving Treat: With just a few simple steps, you can whip up this delicious ice cream in no time—ideal for busy weeknights.
Versatile Enjoyment: Enjoy it for dessert, as a topping on pancakes, or even as a protein-packed afternoon snack.
Crowd Pleaser: Whether you’re hosting friends or treating yourself, this ice cream is sure to impress everyone. You might also love other delightful treats like Pumpkin Spice Gooey or Oatmeal Protein Cookies.
Ninja Creami Mocha Espresso Protein Ice Cream Ingredients
For the Base
- Chocolate Protein Powder – This adds a delicious protein boost; feel free to experiment with vanilla protein powder for a different flavor.
- Cocoa Powder – Ensures a rich chocolate flavor; make sure to use unsweetened to keep it guilt-free.
- Chilled Espresso or Cold Brew Coffee – Infuses your ice cream with robust coffee notes; go for decaf if you’re caffeine-sensitive.
- Milk of Choice – Provides that creamy texture; options like whole, almond, or oat milk work wonderfully for a dairy-free version.
Optional Add-Ins
- Chocolate Chips – For an extra chocolatey burst; customize the amount to your liking!
- Peanut Butter – Mix in a scoop for a delightful creaminess and nutty flavor; it makes for a rich, satisfying twist you won’t want to miss!
With these simple ingredients, you’ll create your very own Ninja Creami Mocha Espresso Protein Ice Cream that is both delicious and nutritious. Happy cooking!
Step‑by‑Step Instructions for Ninja Creami Mocha Espresso Protein Ice Cream
Step 1: Combine Dry Ingredients
In a Ninja Creami pint, whisk together the chocolate protein powder and cocoa powder until smooth and well combined. This should take about 1-2 minutes. Ensuring there are no lumps will help achieve a silken texture in your Ninja Creami Mocha Espresso Protein Ice Cream.
Step 2: Add Espresso
Pour in the chilled espresso or cold brew coffee, stirring gently to blend everything together. Continue mixing for about 1 minute until the coffee is fully incorporated, creating a rich and aromatic coffee base. This step is essential for infusing those delightful coffee notes into your ice cream.
Step 3: Mix in Milk
Gradually add your milk of choice to the mixture, whisking continuously. Aim for a rich, thick consistency similar to cake batter, which should take about 2-3 minutes. This helps ensure that your Ninja Creami Mocha Espresso Protein Ice Cream maintains that creamy texture upon freezing.
Step 4: Freeze Mixture
Transfer the blended mixture back into the Ninja Creami pint, seal it well, and place it in the freezer. Allow it to freeze for at least 8 hours, or overnight for best results. This ensures the base is solid and ready for the ice cream processing stage.
Step 5: Process Ice Cream
Once frozen, remove the pint from the freezer and process the mixture using the “Lite Ice Cream” or “Ice Cream” setting on your Ninja Creami for about 2-3 minutes. Watch as the frozen mixture transforms into a delightful ice cream, perfect for indulging in your Ninja Creami Mocha Espresso Protein Ice Cream cravings.
Step 6: Re-spin for Creaminess
If the texture of the ice cream appears crumbly or chunky, re-spin it in the Ninja Creami for an additional minute. This helps to achieve a super smooth and creamy consistency, making your dessert even more enjoyable.
Step 7: Add Optional Mix-ins
If desired, gently stir in chocolate chips or peanut butter at this stage, incorporating them evenly throughout the ice cream. This extra step adds delightful flavor bursts and richness, enhancing your overall Ninja Creami Mocha Espresso Protein Ice Cream experience.
Step 8: Serve and Enjoy
Scoop the finished ice cream into bowls, optionally topping with a drizzle of syrup or a sprinkle of sea salt for an extra flavor boost. Store any leftovers back in the freezer in an airtight container, and don’t forget to re-spin before serving for that perfect texture.
Expert Tips for Ninja Creami Mocha Espresso Protein Ice Cream
- Mix Thoroughly: Ensure you whisk the dry ingredients fully to avoid lumps. A smooth base guarantees a silky texture in your ice cream.
- Choose Quality Powder: Opt for high-quality chocolate protein powder. Cheaper options may affect the flavor, making your Ninja Creami Mocha Espresso Protein Ice Cream less enjoyable.
- Freeze Solidly: Allow the mixture to freeze completely for at least 8 hours before processing. This step is crucial for achieving the perfect soft-serve texture.
- Re-spin for Creaminess: If your ice cream is crumbly post-processing, don’t hesitate to re-spin! This will restore the creamy consistency you desire.
- Customize Wisely: When adding mix-ins like chocolate chips or peanut butter, do so gradually. It allows you to control the flavor and texture to suit your taste.
What to Serve with Ninja Creami Mocha Espresso Protein Ice Cream
Create the perfect dessert experience that tantalizes your taste buds and elevates this delightful treat.
-
Fresh Berries: The tartness of strawberries or blueberries balances the rich chocolate flavor, adding a burst of freshness with every scoop.
-
Nutty Granola: A crunchy texture and nutty flavor from granola provides a satisfying contrast, making each bite even more enjoyable.
-
Whipped Coconut Cream: Light and airy, this non-dairy topping complements the rich ice cream while introducing a tropical flair that enhances the overall dessert experience.
-
Dark Chocolate Sauce: Rich and decadent, a drizzle of dark chocolate sauce provides an indulgent touch that chocolate lovers won’t want to miss. This pairing dips you into absolute bliss!
-
Espresso Martini: For an adult twist, enjoy a chilled espresso martini alongside your ice cream, perfectly balancing the mocha flavors while adding a touch of elegance.
-
Almond Biscotti: Crisp and slightly sweet, these delightful cookies add delightful texture and a hint of nuttiness, ideal for dipping into your creamy dessert.
-
Banana Slices: Fresh banana slices offer a soft sweetness and a great contrast to the chilled ice cream, making it a wholesome addition to your dessert.
-
Chocolate-Covered Almonds: The crunchy, nutty flavor pairs beautifully with the ice cream, creating a delightful melange of textures that keeps you coming back for more.
-
Iced Mocha: Sip an iced mocha as you enjoy your dessert, harmonizing the flavors and providing a lovely cooling experience on a warm day.
Ninja Creami Mocha Espresso Protein Ice Cream Variations
Feel free to unleash your creativity and make this ice cream truly yours with these fun twists and substitutions!
-
Vanilla Delight: Substitute the chocolate protein powder with vanilla for a lighter, sweeter ice cream base. This opens the door to endless flavor possibilities!
-
Decadent Caramel: Swap in caramel protein powder for a luscious, sweet finish. Pair it with a drizzle of homemade caramel sauce for a delightful experience.
-
Nutty Addition: Mix in crushed nuts like almonds or walnuts for a delightful crunch. They add not only texture but also rich, nutty flavors that harmonize beautifully with the chocolate.
-
Fruity Fusion: Blend in ripe bananas or strawberries for a fresh twist. Just slice and mix them in before processing for a creamy, fruity delight.
-
Spicy Mocha Kick: For those who enjoy a little heat, add a pinch of cayenne pepper. It brings a surprising warmth that complements the mocha beautifully.
-
Vegan Option: Use coconut milk or cashew milk instead of regular milk for a fully plant-based treat. It’s creamy, delicious, and totally guilt-free!
-
Coffee Lovers Extra: Add crushed espresso beans for an extra coffee kick and a bit of crunch. Ideal for serious coffee enthusiasts who crave bold flavors!
-
Sweet & Salty: A sprinkle of sea salt on top adds a delicious contrast to the sweetness. This simple touch elevates your ice cream to a gourmet treat.
Mix and match these variations to create endless combinations, much like you might with other recipes such as Healthy Chocolate Protein donuts or Vegan Maple Cream cookies! Enjoy your delicious journey!
Make Ahead Options
These Ninja Creami Mocha Espresso Protein Ice Creams are a busy cook’s best friend! You can prepare the base mixture (steps 1-3) up to 24 hours in advance by whisking together the dry ingredients, espresso, and milk. Simply store the mixture in the Ninja Creami pint and freeze for at least 8 hours (or overnight) before processing. This ensures the ice cream is just as delicious and creamy upon serving. When you’re ready to enjoy, process the frozen base in your Ninja Creami (steps 5-8) for that delightful ice cream treatment. Enjoying this guilt-free treat has never been easier with these make-ahead tips!
How to Store and Freeze Ninja Creami Mocha Espresso Protein Ice Cream
Fridge: Store in an airtight container for up to 3 days if you prefer a softer texture. This allows for easy scooping, but it’s best enjoyed frozen.
Freezer: Keep your Ninja Creami Mocha Espresso Protein Ice Cream in an airtight container for up to 2 weeks. This keeps it fresh and flavorful.
Re-spinning: When you’re ready to serve, if the ice cream has hardened, re-spin it in the Ninja Creami to restore that creamy texture.
Storage Tip: Always remember to seal it well before placing it in the freezer to prevent ice crystals from forming. Enjoy every delicious bite!
Ninja Creami Mocha Espresso Protein Ice Cream Recipe FAQs
What type of milk should I use for this recipe?
You can use any milk of your choice! Whole milk provides a rich creaminess, while almond or oat milk makes for a wonderful dairy-free option. Each will give a slightly different texture, so feel free to experiment with your favorite!
How long can I store the Ninja Creami Mocha Espresso Protein Ice Cream in the freezer?
Store your ice cream in an airtight container in the freezer for up to 2 weeks. For best results, enjoy it within the first week, as the flavor and texture are at their peak during that time.
Can I freeze this ice cream longer?
Absolutely! While it’s best consumed within 2 weeks for optimal flavor, you can keep it in the freezer for up to 2 months. Just remember to seal it well to prevent freezer burn and ice crystal formation.
My ice cream is too hard after freezing. What can I do?
If your ice cream feels too hard after freezing, you can let it sit at room temperature for about 10-15 minutes to soften slightly. If it’s still difficult to scoop, re-spin it in the Ninja Creami for a smooth and creamy texture!
Are there any dietary considerations for this recipe?
Yes! If you’re accommodating allergies or dietary restrictions, consider using dairy-free milk alternatives like oat or rice milk. Additionally, ensure that your selected protein powder is free from allergens. Always check ingredient labels for potential allergens, especially if serving to others.
Can I add other flavors or mix-ins to the ice cream?
Very! This recipe is highly customizable. Feel free to add in crushed bananas, nuts, or different flavors of protein powder like vanilla or caramel for a delightful twist. You can also mix in chocolate chips or even swirl in some peanut butter for extra creaminess!
Guilt-Free Ninja Creami Mocha Espresso Protein Ice Cream Delight
Ingredients
Equipment
Method
- Combine dry ingredients: whisk together chocolate protein powder and cocoa powder until smooth for 1-2 minutes.
- Add espresso: pour in chilled espresso or cold brew coffee, stirring gently for about 1 minute.
- Mix in milk: gradually add milk while whisking, achieving a thick, cake batter-like consistency in 2-3 minutes.
- Freeze mixture: seal in Ninja Creami pint and freeze for at least 8 hours.
- Process ice cream: remove from freezer and process using 'Lite Ice Cream' or 'Ice Cream' setting for 2-3 minutes.
- Re-spin for creaminess: if texture is crumbly, re-spin in Ninja Creami for an additional minute.
- Add optional mix-ins: stir in chocolate chips or peanut butter evenly throughout the ice cream.
- Serve and enjoy: scoop into bowls and optionally drizzle with syrup or sprinkle with sea salt.
Leave a Reply