
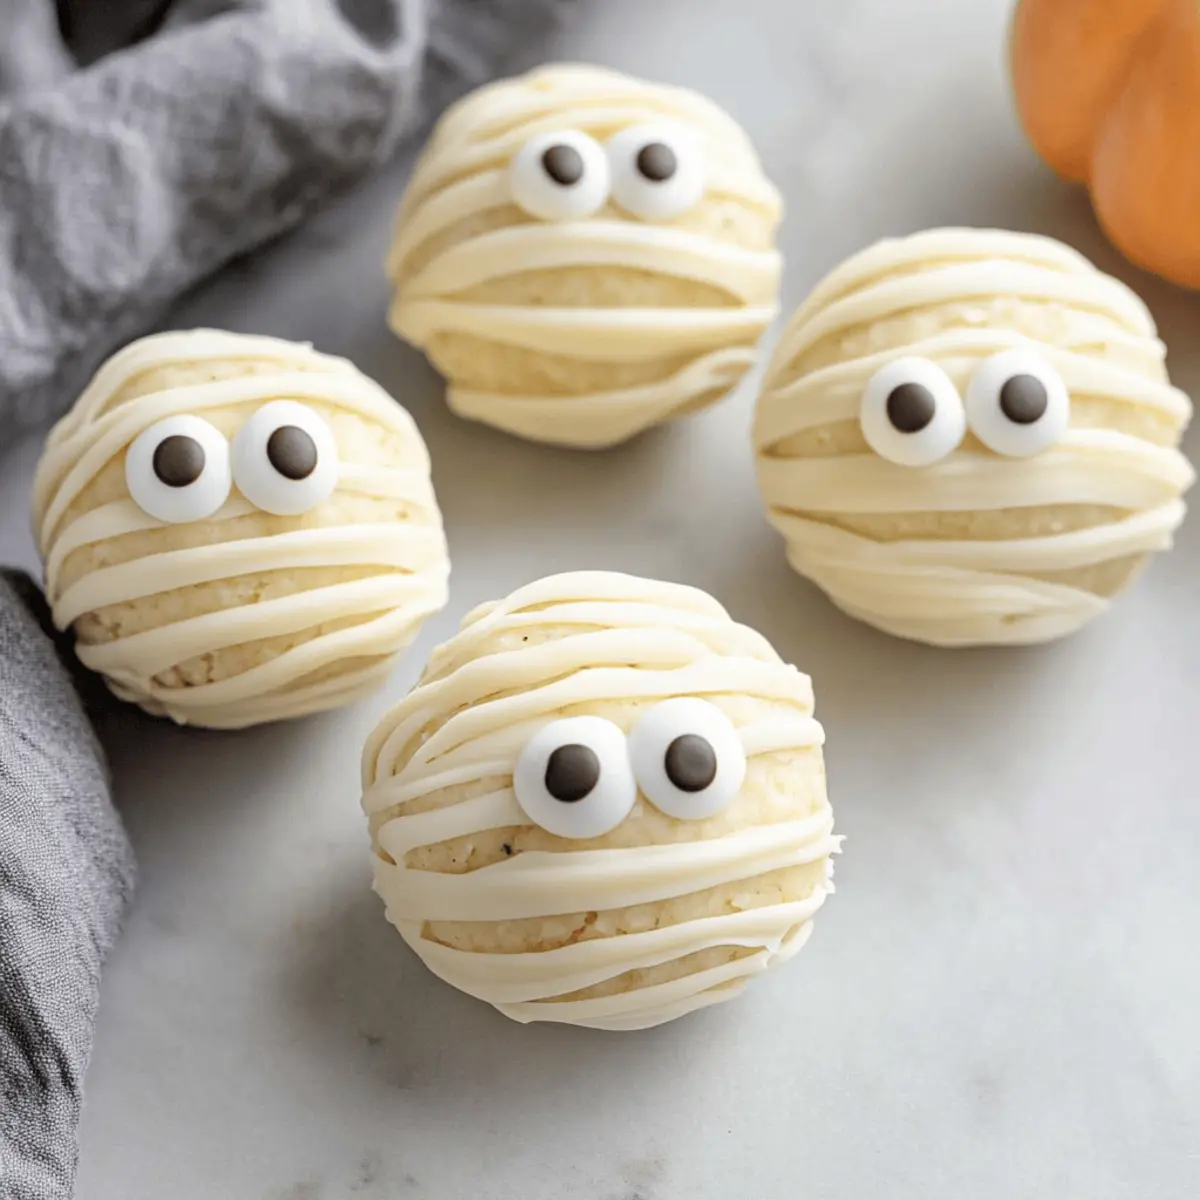
As I stood in my kitchen, surrounded by the delightful chaos of Halloween preparations, I felt an urge to create something both fun and delicious. Enter the Mummy Oreo Balls: a no-bake treat made with just four simple ingredients that can easily transform your dessert game this spooky season. These little bites not only bring a smile to kids’ faces but are also a fantastic way to bond in the kitchen. With their crunchy chocolate coating and creamy, dreamy center, they are perfect for last-minute gatherings or festive parties. Plus, the easy prep means you can whip them up in no time, making them a stress-free addition to your Halloween festivities! Curious about how to bring these adorable mummies to life? Let’s dive into the recipe!
Why Are Mummy Oreo Balls a Must-Try?
Irresistible Fun: Mummy Oreo Balls are not just treats; they’re a playful activity for the whole family. Effortless prep: With only four easy ingredients, you’ll have these spooky delights ready in no time. Deliciously creamy: The combination of Golden Oreos and cream cheese creates a filling that’s absolutely addictive. Versatile options: Don’t hesitate to play around with flavors—mint or pumpkin spice Oreos bring fun twists! Perfect for gatherings: These bites are sure to be a hit with kids and adults alike, making them an essential Halloween party treat. Consider serving them alongside your favorite warm drinks, just like those Tuna Rice Balls for a delightful spread.
Mummy Oreo Balls Ingredients
Unleash your baking magic with these four essential ingredients!
For the Mummy Center
- Golden Oreos – The star ingredient that provides the perfect flavor and structure; feel free to swap in regular Oreos for a different twist.
- Cream Cheese – This creamy binder holds everything together; use softened cream cheese for easy mixing, or Neufchâtel as a lighter option.
For the Chocolate Coating
- Vanilla Candy Melts – These create a hard shell that keeps the mummies intact; if you can’t find them, chocolate chips work too, though melting times will vary.
For the Mummy Look
- Candy Eyes – The finishing touch that transforms them into adorable mummies; look for these at craft stores, or use candy corn for a spookier effect!
Now, gather these ingredients, and you’re just steps away from creating delightful Mummy Oreo Balls that will charm everyone this Halloween!
Step‑by‑Step Instructions for Mummy Oreo Balls
Step 1: Prepare Your Workspace
Begin by lining a large baking sheet with parchment paper to prevent the Mummy Oreo Balls from sticking. This will make cleanup easier later on, so ensure it’s ready before you dive into the mixing. Having all your equipment in place, including a food processor and mixing bowls, will streamline the process beautifully.
Step 2: Process the Cookies
In a food processor, pulse the Golden Oreos until they become very fine crumbs, resembling sand. This should take about 30 seconds. If you don’t have a food processor, placing the cookies in a ziplock bag and crushing them with a rolling pin works too! These fine crumbs are essential for a smooth texture in your Mummy Oreo Balls.
Step 3: Mix the Filling
Transfer the cookie crumbs to a mixing bowl and add softened cream cheese. Use a spatula or electric mixer to combine until the mixture is smooth and well-blended, which should take about 1-2 minutes. The cream cheese will help bind the Oreo crumbs together, creating a delicious filling for your Mummy Oreo Balls.
Step 4: Shape the Mummy Balls
Using a cookie scoop or your hands, form the mixture into 1-inch balls and roll them to smooth out any uneven edges. Place these formed balls onto the prepared parchment-lined baking sheet. Aim for uniform sizes to ensure even coating later on, and don’t worry if they seem a bit messy; they will look adorable once finished!
Step 5: Freeze the Balls
Carefully place the baking sheet in the freezer and chill the formed balls for about 30 minutes. This step is crucial; it helps the balls firm up and hold their shape when dipped in chocolate. While they freeze, you can prepare your chocolate coating, making this a seamless transition to the next step.
Step 6: Melt the Chocolate
In a microwave-safe bowl, melt the vanilla candy melts according to package instructions, usually in 30-second intervals. Stir between each interval until smooth and fully melted. If you find your candy melts too thick, adding a little vegetable oil can help achieve the perfect dipping consistency for your Mummy Oreo Balls.
Step 7: Coat the Balls
Once the Mummy Oreo Balls are set, dip each one into the melted chocolate, making sure to coat them thoroughly. Gently shake off any excess chocolate, which ensures a nice, even layer remains. As you do this, place the coated balls back on the parchment-lined sheet, preparing them for decoration.
Step 8: Decorate the Mummies
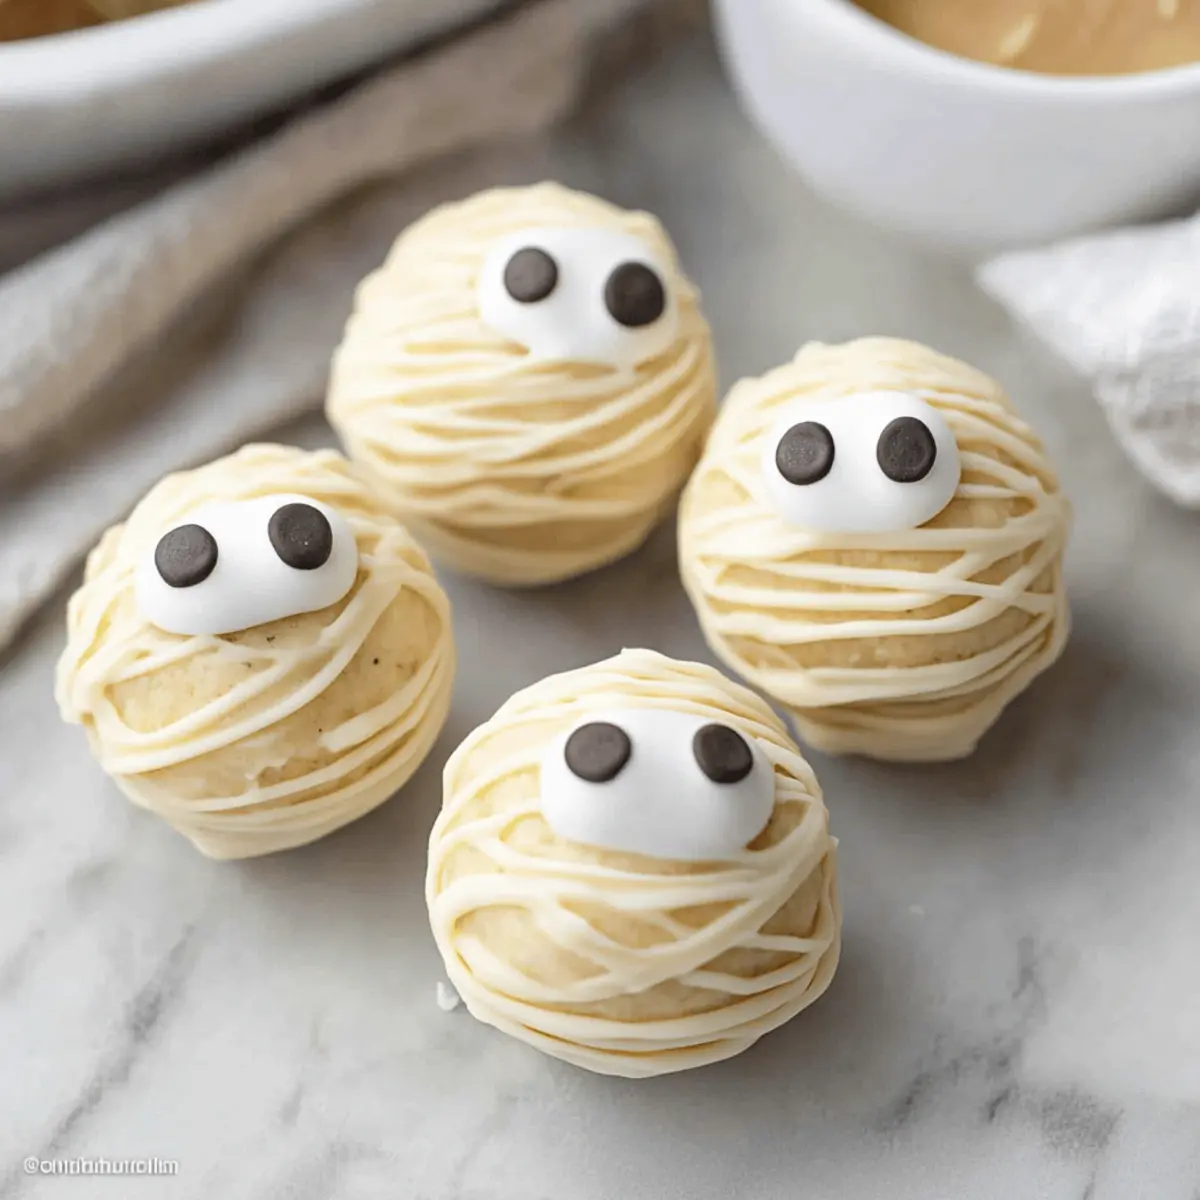
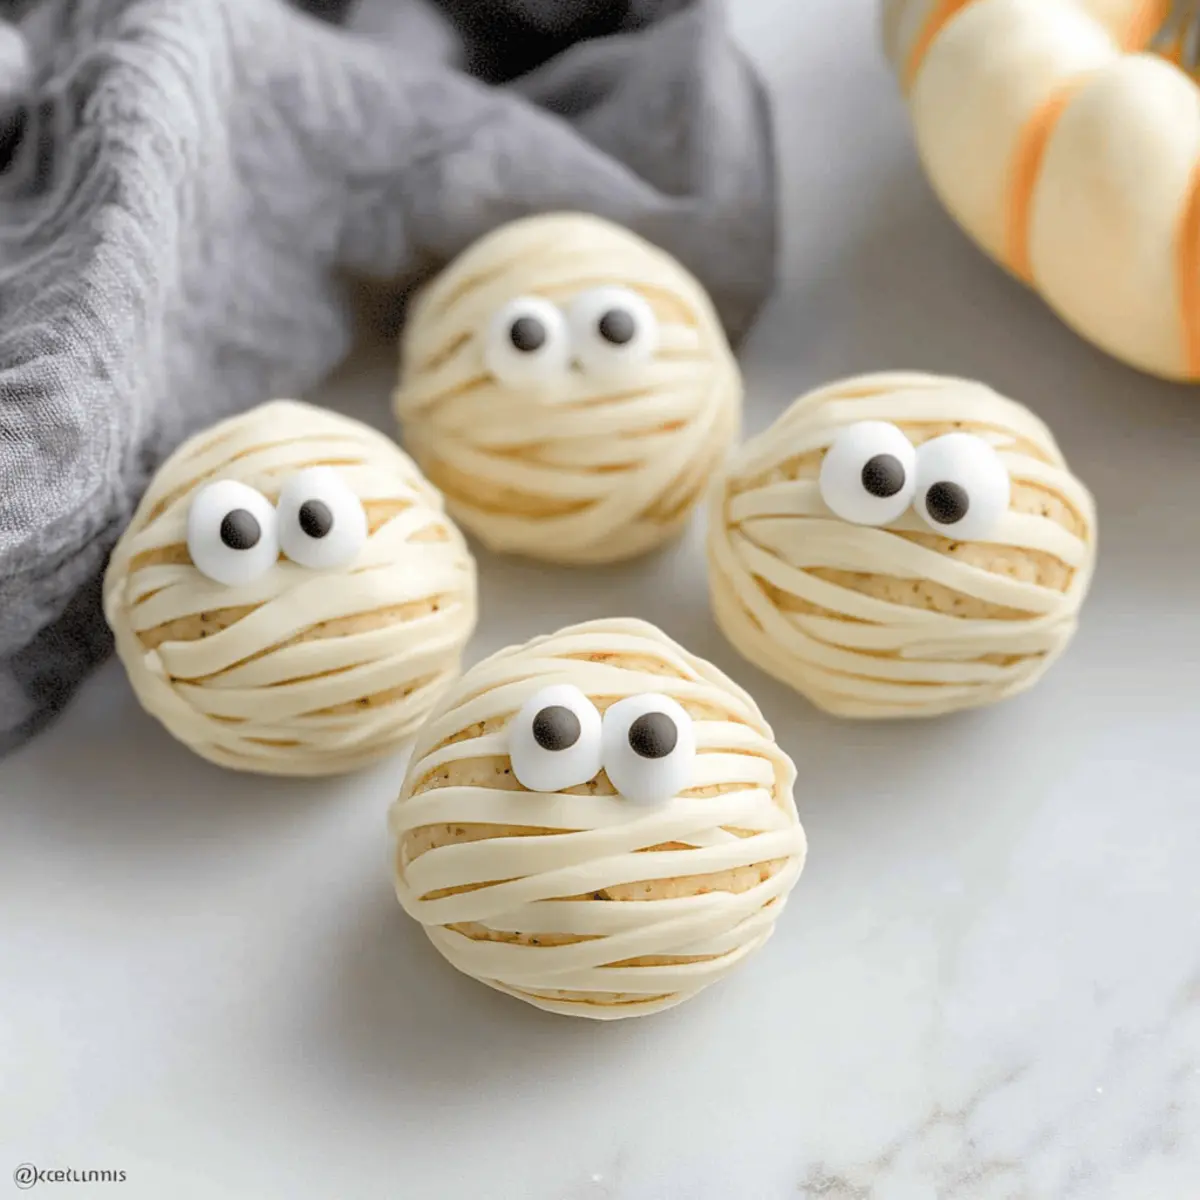
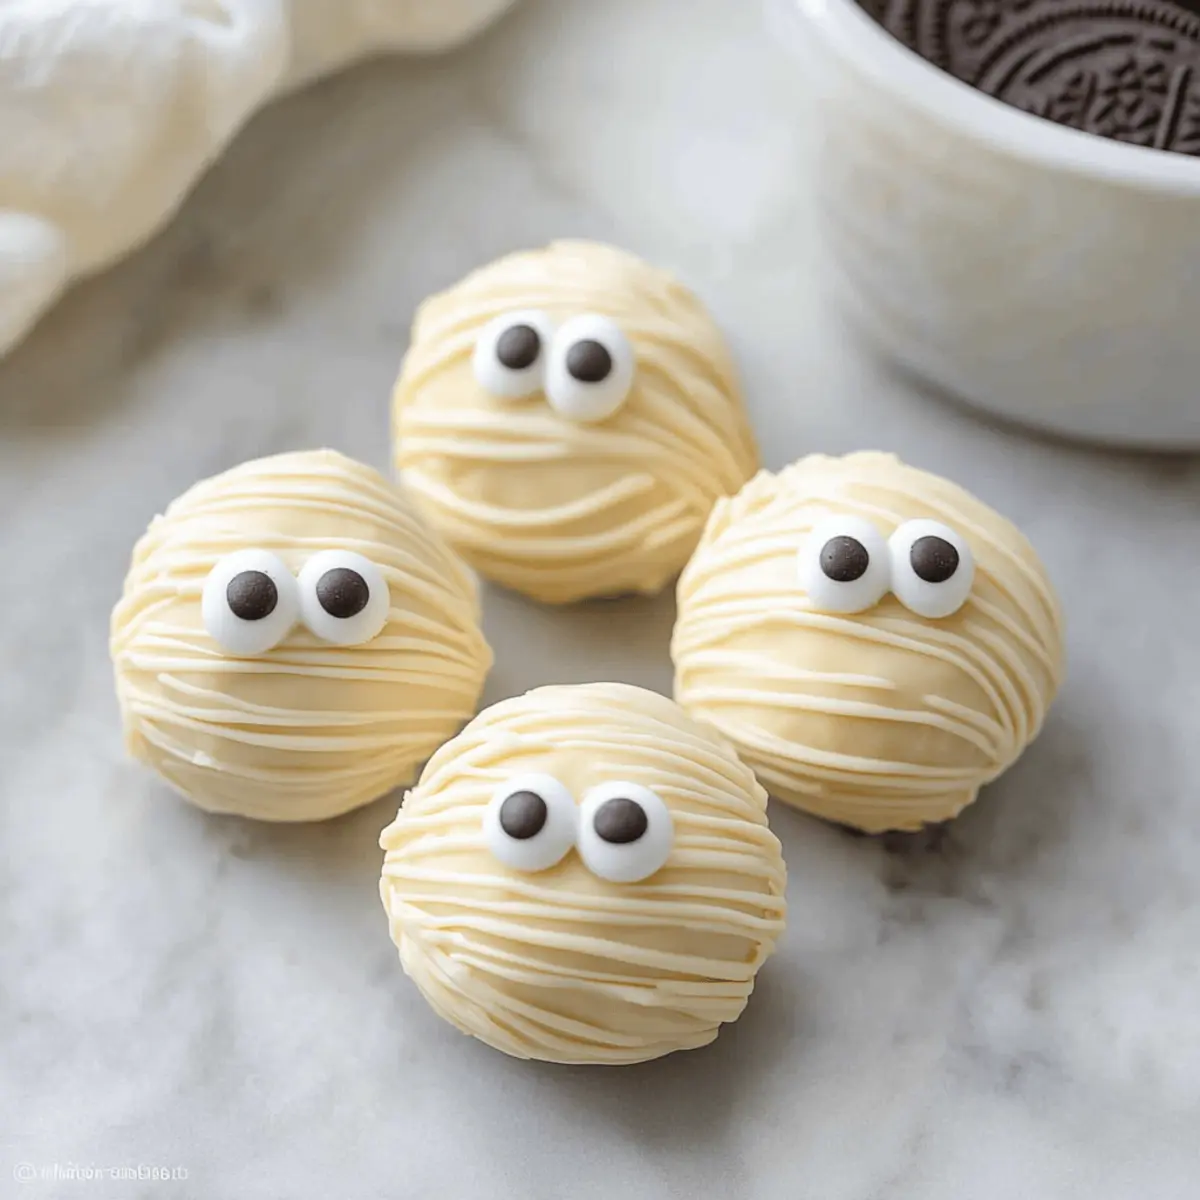
Using a ziplock bag filled with any leftover melted chocolate, drizzle it over the coated Oreo balls in a random pattern to mimic mummy wrappings. Act quickly to ensure the chocolate stays soft enough for decoration. Immediately attach candy eyes on top of each ball before the chocolate hardens to give them their charming mummy appearance.
Step 9: Chill to Set
Place the decorated Mummy Oreo Balls back in the fridge for 15-20 minutes, allowing the chocolate to set completely. This final chilling step helps create a solid outer shell, ensuring that your Mummy Oreo Balls maintain their shape while being eaten and look perfect for Halloween festivities.
Step 10: Serve and Enjoy
Once set, your delightful Mummy Oreo Balls are ready to be served! Enjoy these as playful treats for your Halloween parties or indulge in them as a sweet snack. Remember to keep them stored in an airtight container in the fridge for up to five days, so you can savor their deliciousness every day!
Storage Tips for Mummy Oreo Balls
Fridge: Store your Mummy Oreo Balls in an airtight container in the refrigerator for up to 5 days to keep them fresh and creamy.
Freezer: For longer storage, freeze the Mummy Oreo Balls for up to 3 months. Layer parchment paper between them to prevent sticking if stacking.
Thawing: To enjoy frozen Mummy Oreo Balls, simply transfer them to the fridge for several hours or overnight to thaw.
Reheating: These treats are best enjoyed chilled, so no need to reheat! Just serve straight from the fridge for a delightful bite.
What to Serve With Mummy Oreo Balls
Imagine a festive Halloween gathering, filled with laughter and sweet treats that everyone loves.
- Cold Milk: The classic pairing! A tall glass of cold milk balances the sweetness and enhances the chocolate flavor of the Mummy Oreo Balls.
- Hot Chocolate: Rich and creamy, hot chocolate adds to the cozy fall vibes while complementing the chocolatey goodness.
- Fruit Platter: Fresh fruits like strawberries or apple slices provide a refreshing contrast, cleansing the palate between indulgent bites.
- Pumpkin Spice Cookies: Embrace the season! These cookies add a delightful spiced twist that pairs wonderfully with the sweetness of your Oreo balls.
- Caramel Dipping Sauce: A drizzled caramel sauce can bring a sweet sophistication, perfect for those who enjoy mixing flavors and textures.
- Halloween Punch: A fun, fruity punch with spooky garnishes makes for a festive drink option that enhances the playful atmosphere of your Halloween party.
- Ice Cream: Serve with a scoop of vanilla or pumpkin ice cream for a luxurious dessert experience that combines creamy and crunchy textures.
- Chocolate-Covered Pretzels: For a salty and sweet combo, these crunchy treats are a fantastic sidekick, adding another layer of texture to the dessert spread.
Make Ahead Options
These Mummy Oreo Balls are perfect for meal prep enthusiasts! You can prepare the filling (Oreo and cream cheese mixture) up to 24 hours in advance; simply form the balls and place them on a baking sheet before covering and refrigerating. Moreover, you can also melt the candy melts ahead of time and let them cool; store them in an airtight container at room temperature. When you’re ready to serve, just dip the chilled balls in the melted coating and proceed with the decoration by adding candy eyes. Storing these treats in the fridge keeps them just as delicious and ensures they’re ready for your Halloween festivities!
Expert Tips for Mummy Oreo Balls
• Chill for Success: Ensure that the formed balls are fully chilled before dipping; this prevents them from melting in the hot chocolate coating.
• Mixing Magic: For a smoother filling, make sure your cream cheese is softened before mixing—it makes combining the ingredients a breeze!
• Chocolate Consistency: If using chocolate chips instead of candy melts, add a teaspoon of shortening to achieve a silky, easy-to-work-with texture for coating your Mummy Oreo Balls.
• Quick Drizzling: Use a ziplock bag to drizzle chocolate on your mummies; just snip off a corner to create a makeshift piping bag. This adds charm and helps mimic mummy wrappings!
• Storage Savvy: Keep your Mummy Oreo Balls in an airtight container and refrigerate them until it’s time to serve—this helps maintain their deliciously creamy texture.
Mummy Oreo Balls Variations & Substitutions
Explore the ways you can make these Mummy Oreo Balls fit your taste and occasion perfectly!
-
Mint Twist: Swap Golden Oreos for mint-flavored ones for a refreshing and festive vibe. The cooling sensation of mint will surprise and delight your guests!
-
Pumpkin Spice Delight: Use pumpkin spice Oreos to embrace the fall flavors. These will be a seasonal favorite that captures the essence of Halloween.
-
Chocolate Indulgence: Substitute white candy melts with dark chocolate for a rich, fudgy pop. This swap appeals to chocolate lovers who crave a decadent treat.
-
Nutty Crunch: Add crushed almonds or walnuts to the filling for an unexpected crunch. This texture twist elevates the creaminess and makes it unforgettable!
-
Colorful Festivity: Use colorful candy melts instead of regular ones for a vibrant look. This way, you can match your treats to your Halloween theme or party décor!
-
Heat Up: Toss in a sprinkle of cayenne pepper to the cream cheese for subtle heat. This adds an adventurous twist, perfect for those who enjoy a spicy kick.
-
No Cream Cheese: Replace the cream cheese with vegan cream cheese for a plant-based option. Enjoy the same deliciousness without sacrificing taste!
-
Mummy Variants: Instead of using candy eyes, go for chocolate-covered pretzels or mini marshmallows for different mummy faces! These also add a creative spin to your festive presentation.
Embrace your creativity, and feel free to mix and match these variations! And if you’re in the mood for another delectable treat, don’t forget to check out these incredible Tuna Rice Balls for a savory compliment to your festive goodies.
Mummy Oreo Balls Recipe FAQs
What type of Oreos should I use for Mummy Oreo Balls?
Absolutely! I recommend using Golden Oreos for the best flavor and texture, but you can also substitute regular Oreos if you prefer a chocolatey twist. Just remember, the cookies need to be finely crushed for the best results!
How should I store Mummy Oreo Balls, and how long will they last?
For optimal freshness, store your Mummy Oreo Balls in an airtight container in the fridge for up to 5 days. This will keep them nice and creamy! If you happen to have any left after the spooky festivities, you can freeze them for up to 3 months. Just remember to place parchment paper between layers when stacking to prevent sticking.
What’s the best way to freeze Mummy Oreo Balls?
Freezing is an excellent way to extend the shelf-life of your treats! To freeze Mummy Oreo Balls, first, chill them in the fridge until solid. Then, space them out on a baking sheet and freeze until firm. Next, transfer the balls to an airtight container with parchment paper between them. They will be delightful after thawing in the fridge for a few hours when you’re ready to enjoy them again!
Can I make Mummy Oreo Balls in advance?
Very! They are perfect for making ahead of time. You can prepare them a day or two before your celebration, and they will keep beautifully chilled in the fridge. If you decide to freeze them, remember to thaw them before serving for the best texture and flavor.
Are Mummy Oreo Balls suitable for people with allergies?
While Mummy Oreo Balls are delicious, they do contain common allergens like dairy and gluten. If you’re preparing them for someone with specific dietary needs, consider using gluten-free Oreos and non-dairy cream cheese alternatives. Always check labels for allergens and adapt as necessary!
How can I fix Mummy Oreo Balls that are too sticky?
If your Mummy Oreo Balls are sticking too much while rolling them into shapes, it could be due to the warmth from your hands. To prevent this, try chilling the mixture for 10-15 minutes before shaping. If they’re already made and too sticky after chilling, you can lightly dust them with powdered sugar before dipping to provide a non-stick layer!
Delightfully Easy Mummy Oreo Balls for Halloween Fun
Ingredients
Equipment
Method
- Prepare your workspace by lining a baking sheet with parchment paper.
- Pulse the Golden Oreos in a food processor until very fine crumbs.
- Mix the cookie crumbs and softened cream cheese until smooth.
- Form the mixture into 1-inch balls and place them on the prepared baking sheet.
- Freeze the balls for about 30 minutes to firm them up.
- Melt the vanilla candy melts in a microwave-safe bowl.
- Dip each ball into the melted chocolate, shaking off the excess.
- Drizzle melted chocolate over the coated balls and attach candy eyes.
- Chill the decorated Mummy Oreo Balls for 15-20 minutes to set.
- Serve and enjoy your delightful Mummy Oreo Balls!
Leave a Reply