
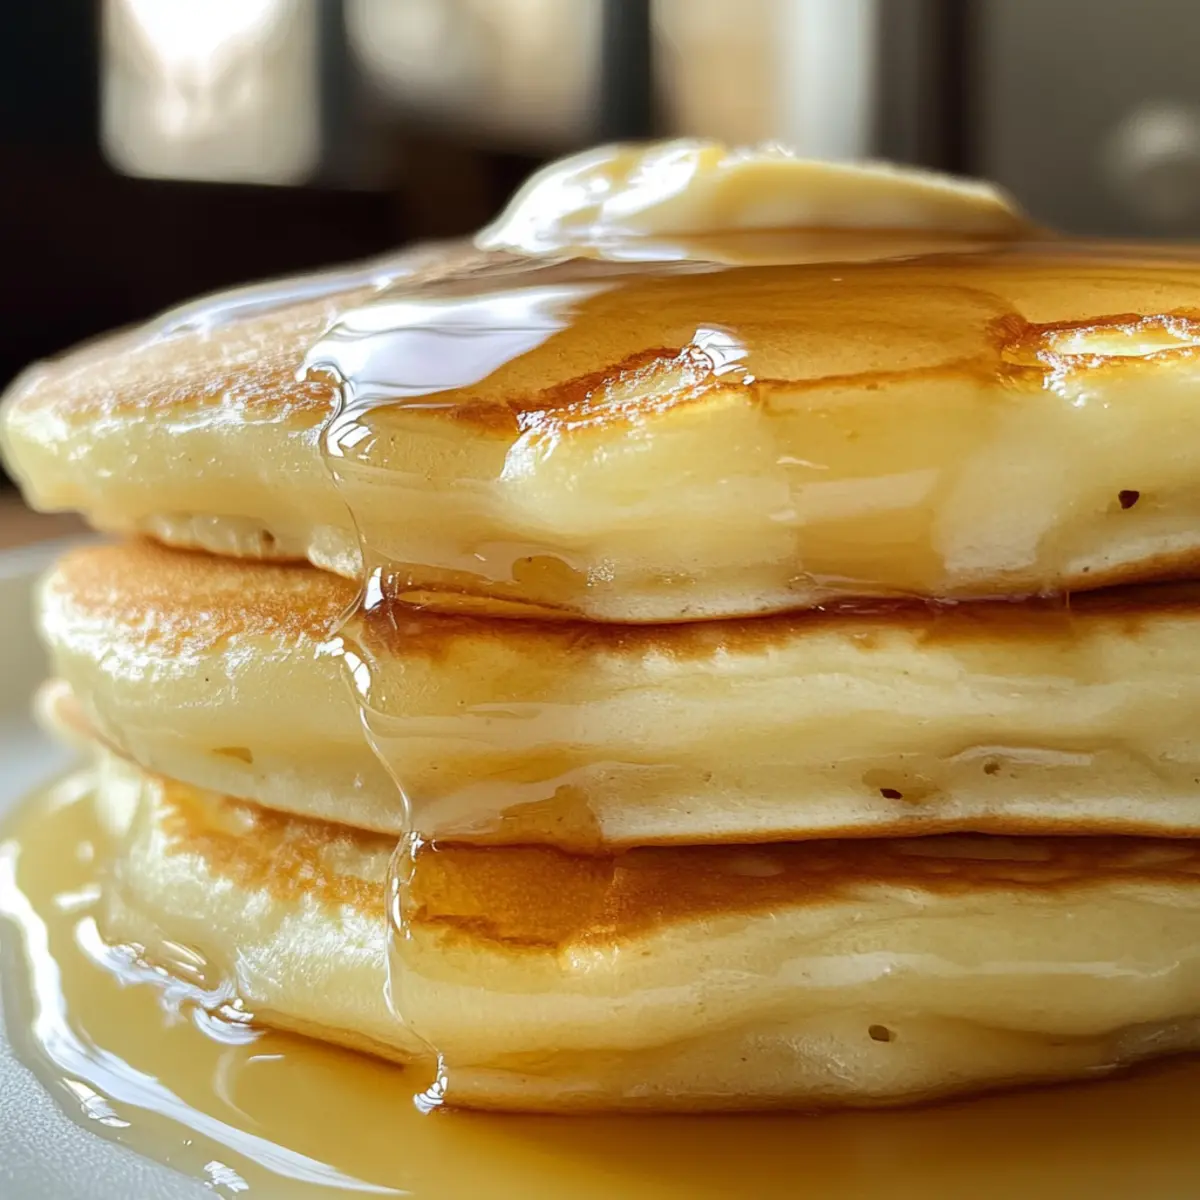
It was a chilly Sunday morning when the sweet aroma of melted butter filled my kitchen, instantly warming my spirits. This Homemade Butter Syrup Recipe is the ultimate game changer for your brunch lineup, bringing together rich, creamy goodness that will have everyone asking for seconds. Not only is it a quick recipe ready in just 15 minutes, but it also offers a fun twist with the option of almond extract, allowing you to customize the flavor to your liking. Imagine drizzling this silky syrup over pancakes, waffles, and even ice cream, all while knowing you’ve crafted something special at home. Ready to elevate your breakfast experience? Let’s dive into the delightful world of homemade syrup!
Why is Homemade Butter Syrup a Must-Try?
Easy to Make: Start your day off right with a syrup that’s ready in just 15 minutes! This recipe requires minimal kitchen skills yet results in impressive, homemade deliciousness.
Versatile Flavor: With a delightful twist from almond extract, you can easily swap it for vanilla to suit your taste buds. The choice is yours!
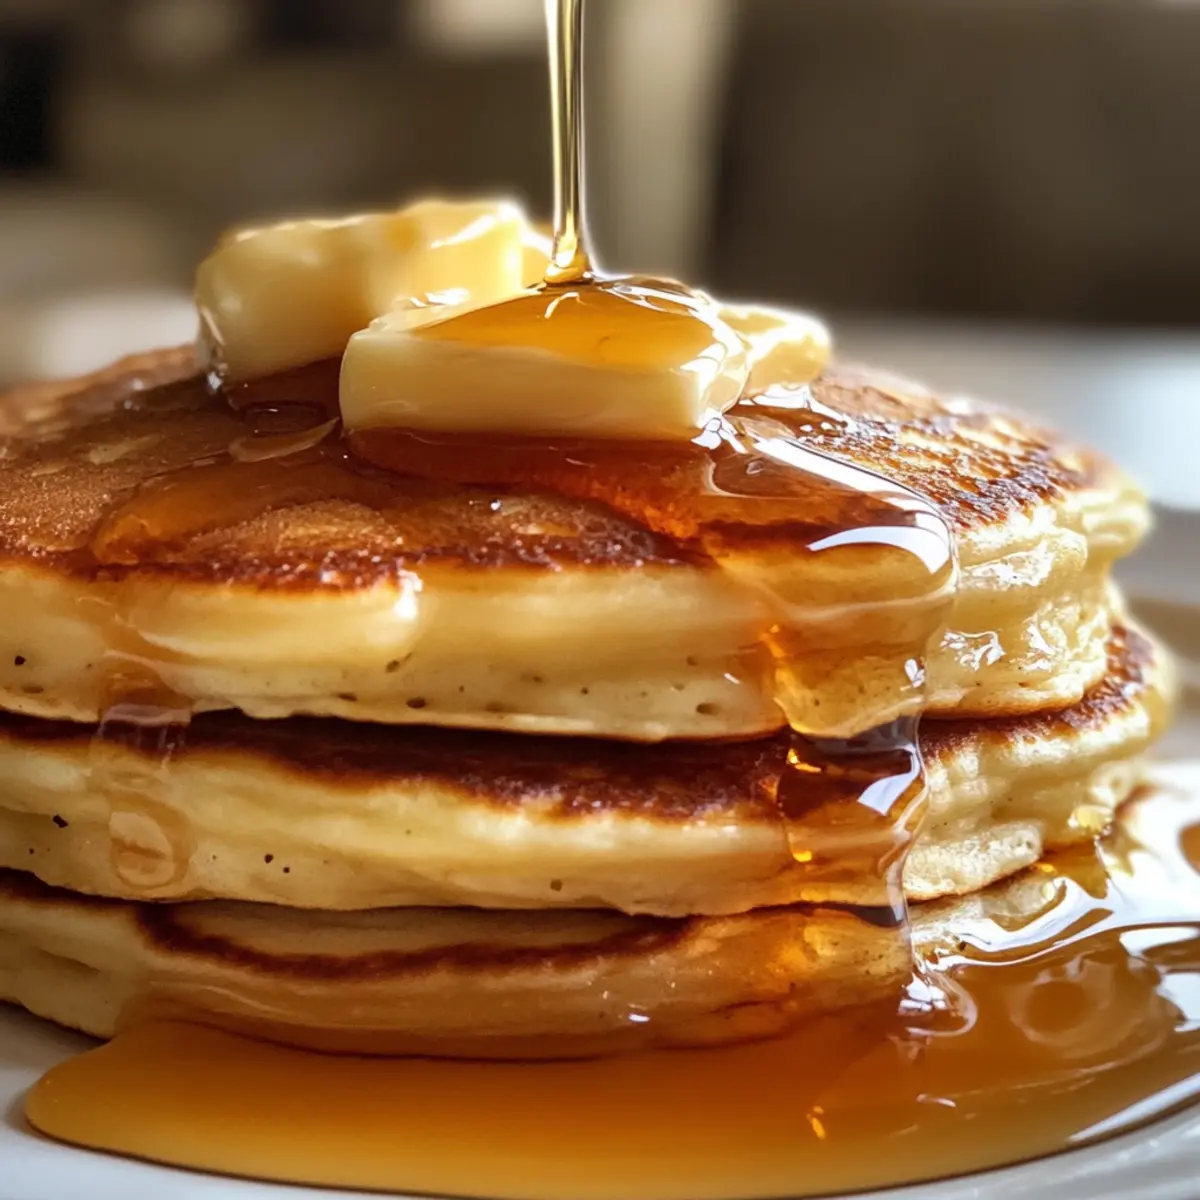
Thick & Creamy Texture: Experience a dreamy syrup that’s as thick as caramel, perfect for drizzling. From pancakes to french toast, it’ll transform everything it touches.
Control Sweetness: Unlike store-bought versions, you can tailor the sweetness to your liking, ensuring each drizzle is just right! For an autumn twist, try it with a touch of cinnamon.
Perfect for Any Occasion: Whether it’s a cozy family brunch or a weekday treat, this syrup is sure to impress. Everyone will be clamoring for more, just like with my Peanut Butter Oatmeal bars or the luscious Butter Garlic Crab dish!
Homemade Butter Syrup Ingredients
For the Syrup
• Butter – Adds richness and creamy texture; can be substituted with plant-based butter for a dairy-free version.
• Sugar – Provides sweetness and structure; consider using brown sugar for a deeper flavor.
• Milk – Delivers creaminess; regular milk is ideal, but buttermilk offers a delightful tang.
• Honey – Introduces depth and smoothness; choose any honey type, although lighter varieties work best.
• Baking Soda – Essential for creating a foamy texture; do not replace with baking powder.
• Almond Extract – Infuses a distinct flavor; pure extract yields the best results, but vanilla can be a tasty swap.
Optional Toppings
• Cinnamon – For an autumn twist, sprinkle over your syrup for a warm flavor boost.
• Chopped Nuts – Add a crunchy texture to enhance your pancakes or waffles.
With these ingredients at your disposal, you’re just moments away from whipping up your very own homemade butter syrup recipe!
Step‑by‑Step Instructions for Homemade Butter Syrup Recipe
Step 1: Combine Ingredients
In a 2.5-quart (or larger) saucepan, add 1 cup of butter, 1 cup of sugar, 1 cup of milk, and ½ cup of honey. Place the saucepan over medium-high heat, stirring occasionally to help the butter melt and the sugar dissolve. Watch as the ingredients blend into a creamy mixture, which should take about 3-5 minutes.
Step 2: Reach a Boil
Continue to stir as you heat the mixture until it comes to a full rolling boil, where bubbles are rapidly rising to the surface. This should take around 5 minutes. Keep a close eye on the pan to prevent overflowing, as the bubbling can become quite vigorous.
Step 3: Boil for 2 Minutes
Once boiling, set a timer for exactly 2 minutes and let the mixture boil without stirring. During this time, the syrup will thicken slightly, and you’ll see the surface start to foam up beautifully—this is a crucial step for achieving the right consistency in your homemade butter syrup.
Step 4: Add Baking Soda and Extract
After exactly 2 minutes, remove the saucepan from heat and immediately whisk in 1 teaspoon of baking soda and 1 teaspoon of almond extract. Be prepared for an intense bubbling reaction as the baking soda interacts with the syrup, enhancing its foamy texture and creamy flavor.
Step 5: Let It Rest
Allow the syrup to rest for 3-4 minutes in the saucepan. During this time, the foam will settle down, and the syrup will thicken even more, developing its rich, buttery texture. This resting phase is essential for ensuring your homemade butter syrup recipe has the perfect pourable consistency.
Step 6: Store or Serve
Once your syrup has settled, transfer it to a heat-safe container if not serving immediately. If you’re storing it for later use, remember that it will thicken in the refrigerator. Simply reheat gently in a saucepan, stirring until smooth before drizzling over pancakes, waffles, or ice cream.
Make Ahead Options
These Homemade Butter Syrup recipes are perfect for busy home cooks looking to save time during hectic mornings! You can prepare the syrup up to 3 weeks in advance and store it in an airtight container in the refrigerator. To maintain its creamy texture, after cooling, simply reheat gently on the stove, stirring until smooth before serving. If you want to enjoy the syrup within 24 hours, you can make it the night before and refrigerate it overnight. By following these make-ahead tips for your homemade butter syrup, you’ll always have a delicious topping ready to elevate your breakfast pancakes or waffles with ease!
Expert Tips for Homemade Butter Syrup
• Use the Right Pan: Ensure your saucepan is at least 2.5 quarts to handle the bubbling. This prevents any messy overflow during cooking.
• Master the Boil Time: Boil for exactly 2 minutes without stirring to achieve the perfect consistency. Too long or too short can alter the syrup’s texture.
• Flavor Enhancements: For a richer flavor, consider browning the butter slightly before adding other ingredients. This adds depth to your homemade butter syrup.
• Gentle Reheating: When storing syrup, gently reheat to restore its creamy texture. Stir continuously to avoid scorching.
• Experiment with Sweetness: Don’t hesitate to adjust the sugar level to your taste. Customize sweetness to make your homemade butter syrup just right for your palette!
Homemade Butter Syrup Recipe Variations
Feel free to get creative with this recipe and enjoy customizing your syrup experience!
-
Vanilla Swap: Replace almond extract with vanilla for a classic twist. The rich aroma will elevate your breakfast game!
-
Brown Sugar Boost: Use brown sugar instead of white for a deeper, molasses-like flavor that adds complexity to your syrup.
-
Coconut Creamy: Substitute regular milk with coconut milk for a tropical vibe. This swap not only adds creaminess but also a delightful flavor.
-
Maple Infusion: Swap honey for maple syrup for a unique taste. This variation will provide a warm, cozy flavor profile reminiscent of autumn.
-
Spiced Delight: Add a pinch of cinnamon or nutmeg during cooking for a cozy, spiced twist. The warm aroma perfectly complements pancakes and waffles.
-
Honey Variance: Try using flavored honey, such as lavender or orange blossom, to brighten the taste and introduce new notes to your syrup.
-
Nutty Crunch: Stir in chopped nuts after removing from heat for a delightful texture and flavor contrast. Almonds or pecans work particularly well!
-
Chili Kick: For those who crave some heat, a small pinch of chili powder can add an unexpected but tasty kick to your syrup, perfect for drizzling over spicy pancakes!
Experimenting with these variations can make your homemade butter syrup uniquely yours! Just like my favorite Fried Mushrooms or the ever-delicious Okonomiyaki Flavorful Pancake, the possibilities are endless. Enjoy each bite of your customized delightful treat!
What to Serve with Homemade Butter Syrup?
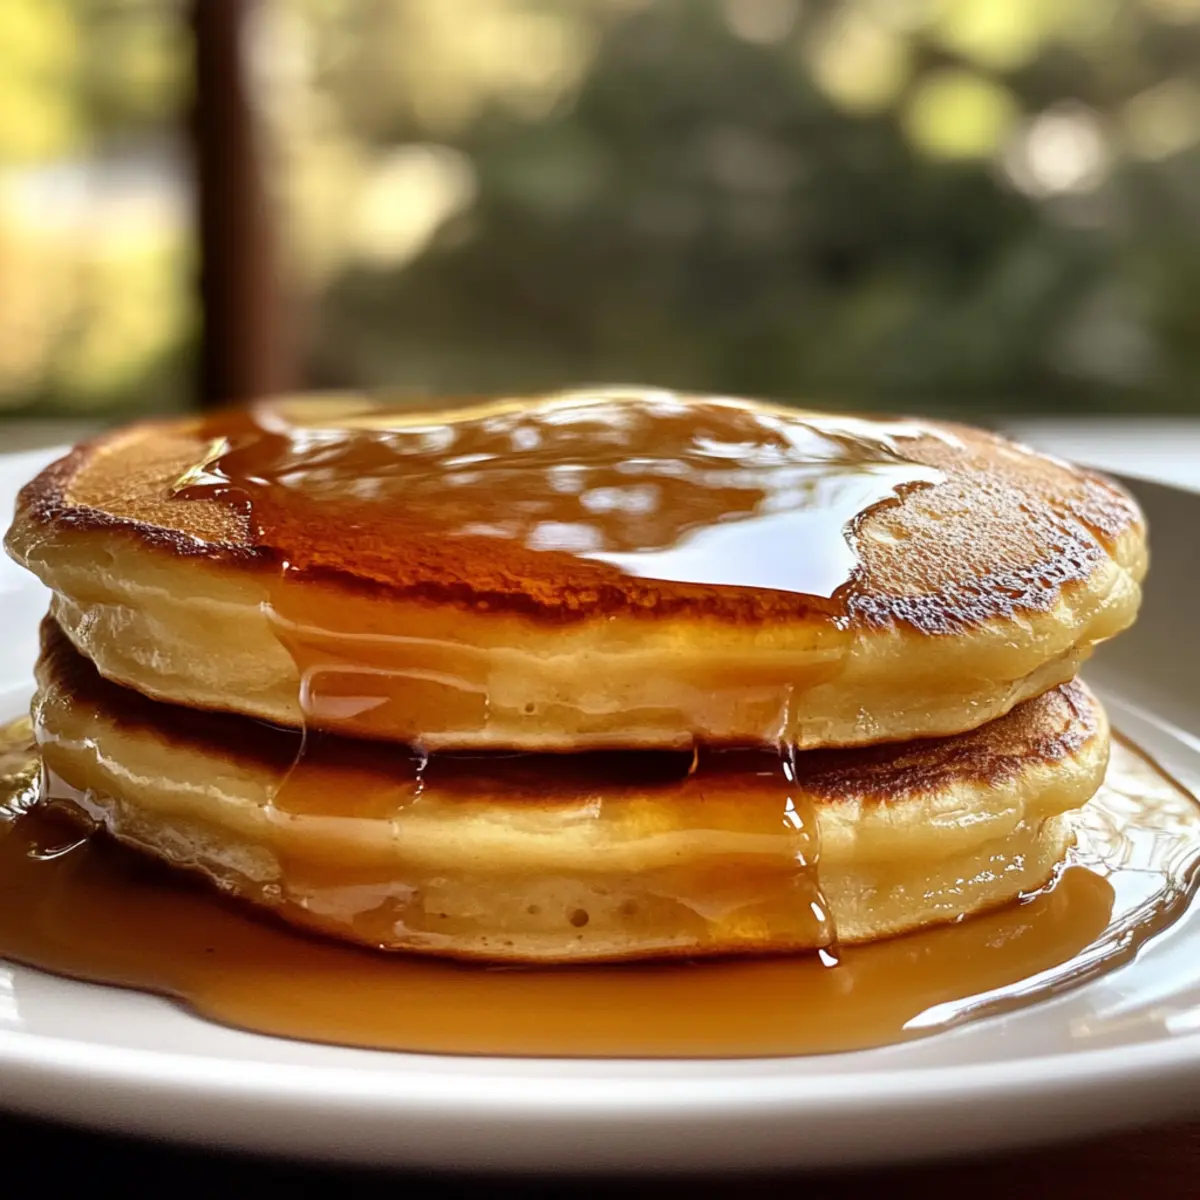
Imagine a delightful breakfast table, adorned with crispy waffles and fluffy pancakes, beckoning you to indulge in sweet goodness.
-
Fluffy Pancakes: These soft cakes provide the perfect canvas for your syrup, soaking up every buttery drop for a deliciously sweet bite.
-
Crispy Waffles: Their unique texture captures pools of syrup, creating a delightful contrast that makes each mouthful a mini celebration.
-
French Toast: Golden brown and infused with warm spices, this dish complements the creamy richness of the syrup beautifully.
-
Vanilla Ice Cream: Elevate your dessert game by drizzling this syrup over a scoop, creating a decadent treat that’s sure to impress.
-
Overnight Oats: A hearty breakfast option that pairs wonderfully with homemade butter syrup, adding richness and flavor to your morning routine.
-
Fresh Fruit Salad: The lightness of fresh, juicy fruits balances the sweetness of the syrup, giving your meal a refreshing touch.
-
Chopped Nuts: Sprinkle atop pancakes or waffles for an added crunch that enhances the syrup’s creamy texture, offering delightful contrast.
-
Hot Chocolate: Enjoy a cozy cup where the syrup can be swirled in for a buttery twist that warms you from within.
Ready to satisfy your breakfast cravings? Let your taste buds explore these delicious pairings!
Storage Tips for Homemade Butter Syrup
Fridge: Store your homemade butter syrup in an airtight container in the refrigerator for up to 3 weeks. It will thicken as it cools, so don’t worry if it appears denser.
Freezer: You can freeze the syrup in an ice cube tray for easy servings. Just transfer to a freezer-safe bag after solidifying and use within 3 months.
Reheating: When you’re ready to enjoy, gently reheat the syrup in a saucepan or microwave, stirring until it regains its silky smoothness before drizzling over your favorite breakfast items.
Separation: It’s normal for the syrup to separate slightly during storage. Simply stir or whisk it well after reheating to restore the creamy texture of your homemade butter syrup recipe.
Homemade Butter Syrup Recipe FAQs
What kind of butter should I use for the syrup?
Absolutely! For the best richness and creamy texture, I recommend using unsalted butter. This way, you can control the saltiness of your syrup. You can also substitute with plant-based butter for a dairy-free version while still maintaining that rich flavor.
How should I store homemade butter syrup?
For optimal freshness, store your homemade butter syrup in an airtight container in the refrigerator for up to 3 weeks. It may thicken as it cools, but don’t worry! Just give it a gentle stir or reheat it on low heat before serving to restore its silky texture.
Can I freeze homemade butter syrup?
Definitely! You can freeze it in an ice cube tray for convenient single servings. Once solid, transfer the cubes to a freezer-safe bag, and use them within 3 months. Just remember to reheat gently after thawing to keep its creamy consistency.
What if my syrup doesn’t thicken properly?
If your syrup isn’t thickening as expected, it’s likely due to not boiling for the full 2 minutes or if it was stirred during boiling. Make sure to let it boil without stirring, and keep an eye on your timer. If all else fails, you can reheat it and add a touch more sugar to help with thickening.
Are there any dietary considerations to keep in mind?
Yes! If you’re concerned about allergies, be aware that this recipe contains butter, milk, and honey, all of which can trigger reactions in some individuals. For vegan or dairy-free options, consider substituting plant-based butter and non-dairy milk, as well as using agave syrup instead of honey to cater to different dietary needs.
Can I adjust the sweetness of the syrup?
Very much! One of the joys of this homemade butter syrup recipe is that you can adjust the sugar to your taste. If you prefer a sweeter syrup, feel free to add a little more sugar or experiment with alternatives like maple syrup or agave for different flavor profiles. Try it out to find that perfect pour!

Irresistibly Creamy Homemade Butter Syrup Recipe in 15 Minutes
Ingredients
Equipment
Method
- In a 2.5-quart saucepan, add 1 cup of butter, 1 cup of sugar, 1 cup of milk, and ½ cup of honey. Place over medium-high heat, stirring occasionally for 3-5 minutes until melted and combined.
- Continue to stir as you heat the mixture until it boils fully, which takes about 5 minutes.
- Once boiling, set a timer for exactly 2 minutes and let boil without stirring.
- Remove from heat and whisk in 1 teaspoon of baking soda and 1 teaspoon of almond extract.
- Allow to rest for 3-4 minutes in the saucepan.
- Transfer to a heat-safe container if not serving immediately.
Leave a Reply