
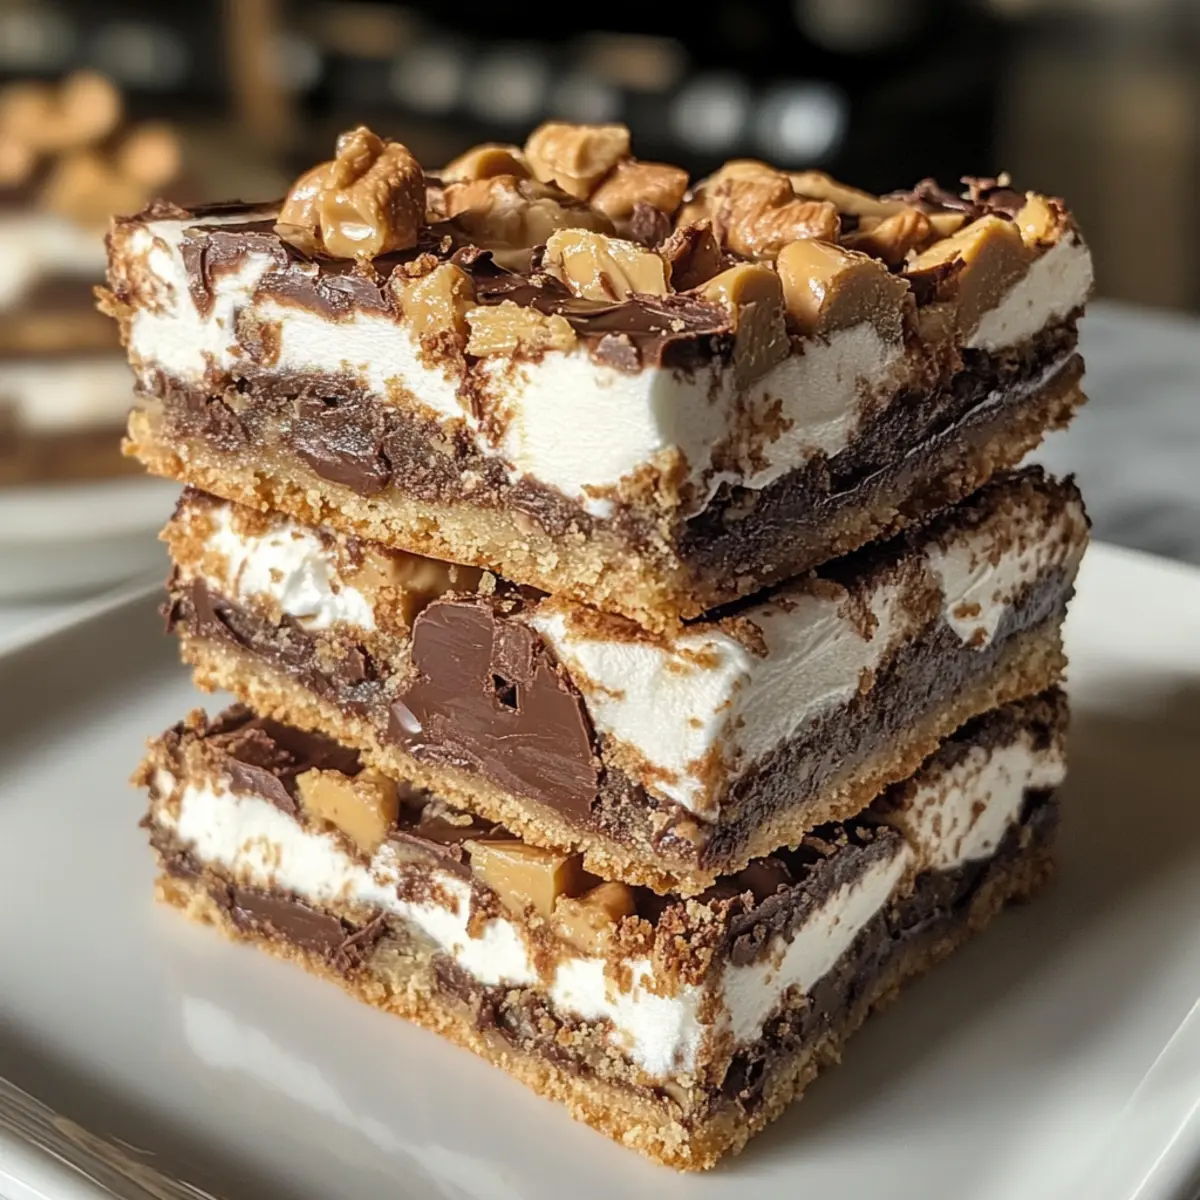
“Do you ever find yourself craving something sweet and utterly comforting?” That’s exactly how I feel when I think about Fluffernutter Bars. These bars bring together the incredible duo of peanut butter and chocolate in a delightfully gooey treat that’s impossible to resist. With just a handful of ingredients, you can whip up a batch that not only satisfies your sweet tooth but also makes you the star of any gathering—talk about a quick triumph! Imagine sinking your teeth into a soft cookie base layered with creamy marshmallow fluff and crunchy peanut butter cups, creating a melt-in-your-mouth experience with every bite. Whether for a potluck or a cozy night in, these bars offer the perfect mix of nostalgia and indulgence. Curious about how to bring this irresistible dessert to life? Let’s dive into the recipe!
Why Are Fluffernutter Bars a Must-Try?
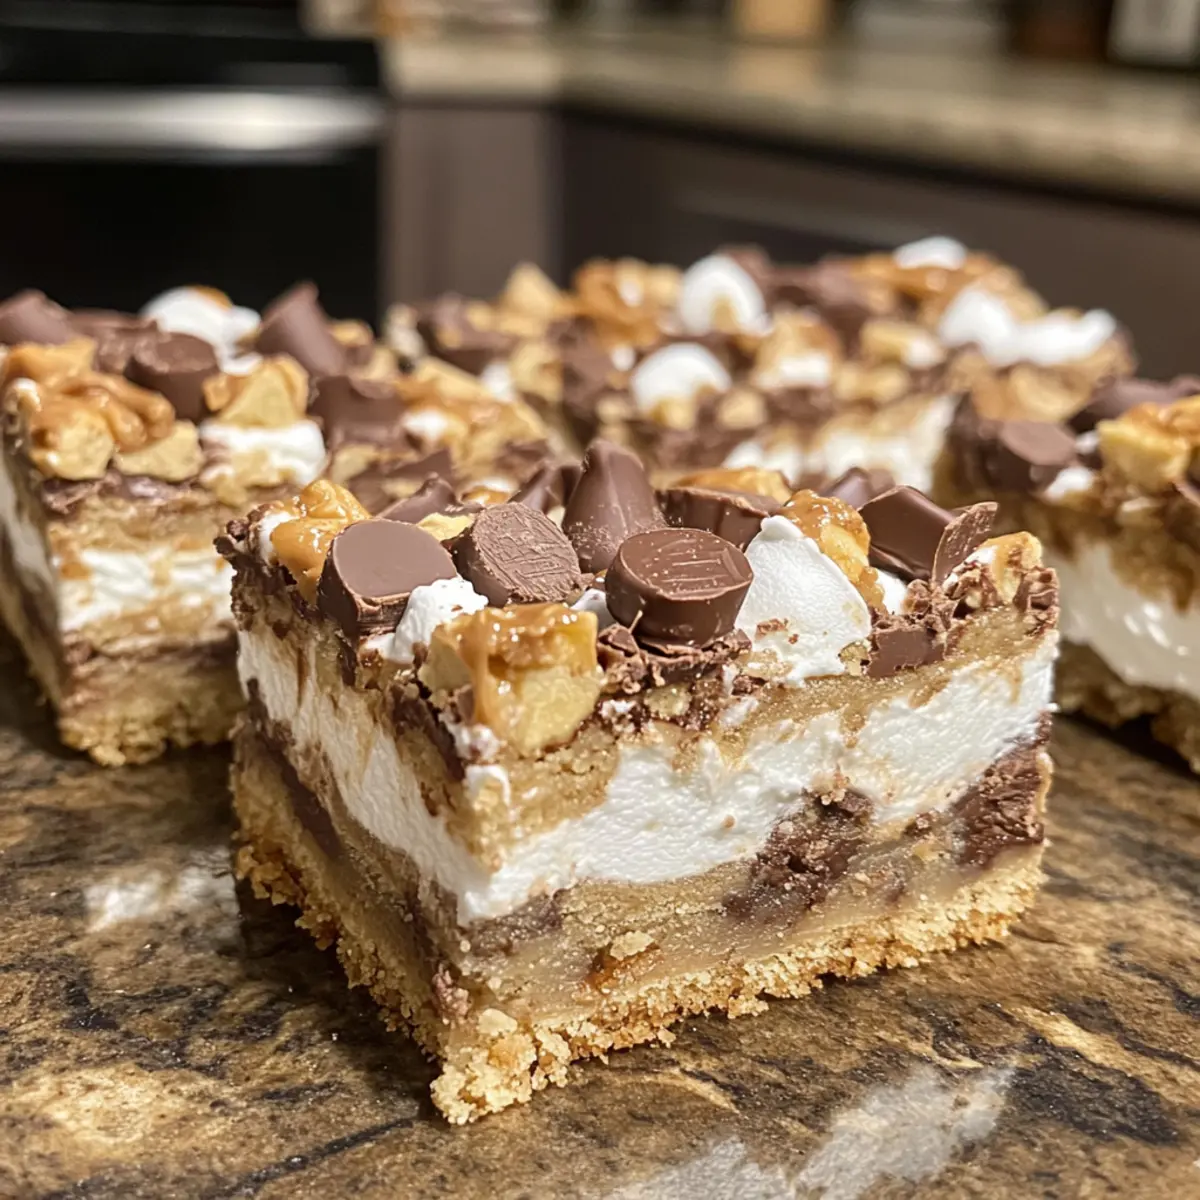
Decadent Flavor: Each bite of these Fluffernutter Bars is a delightful blend of peanut butter and chocolate that hits all the right notes.
Easy to Make: With just a handful of pantry staples like butter, sugar, and marshmallow fluff, you can whip these up without breaking a sweat.
Crowd-Pleasing Treat: Whether for a family gathering or a potluck, these bars are sure to impress and leave everyone asking for the recipe!
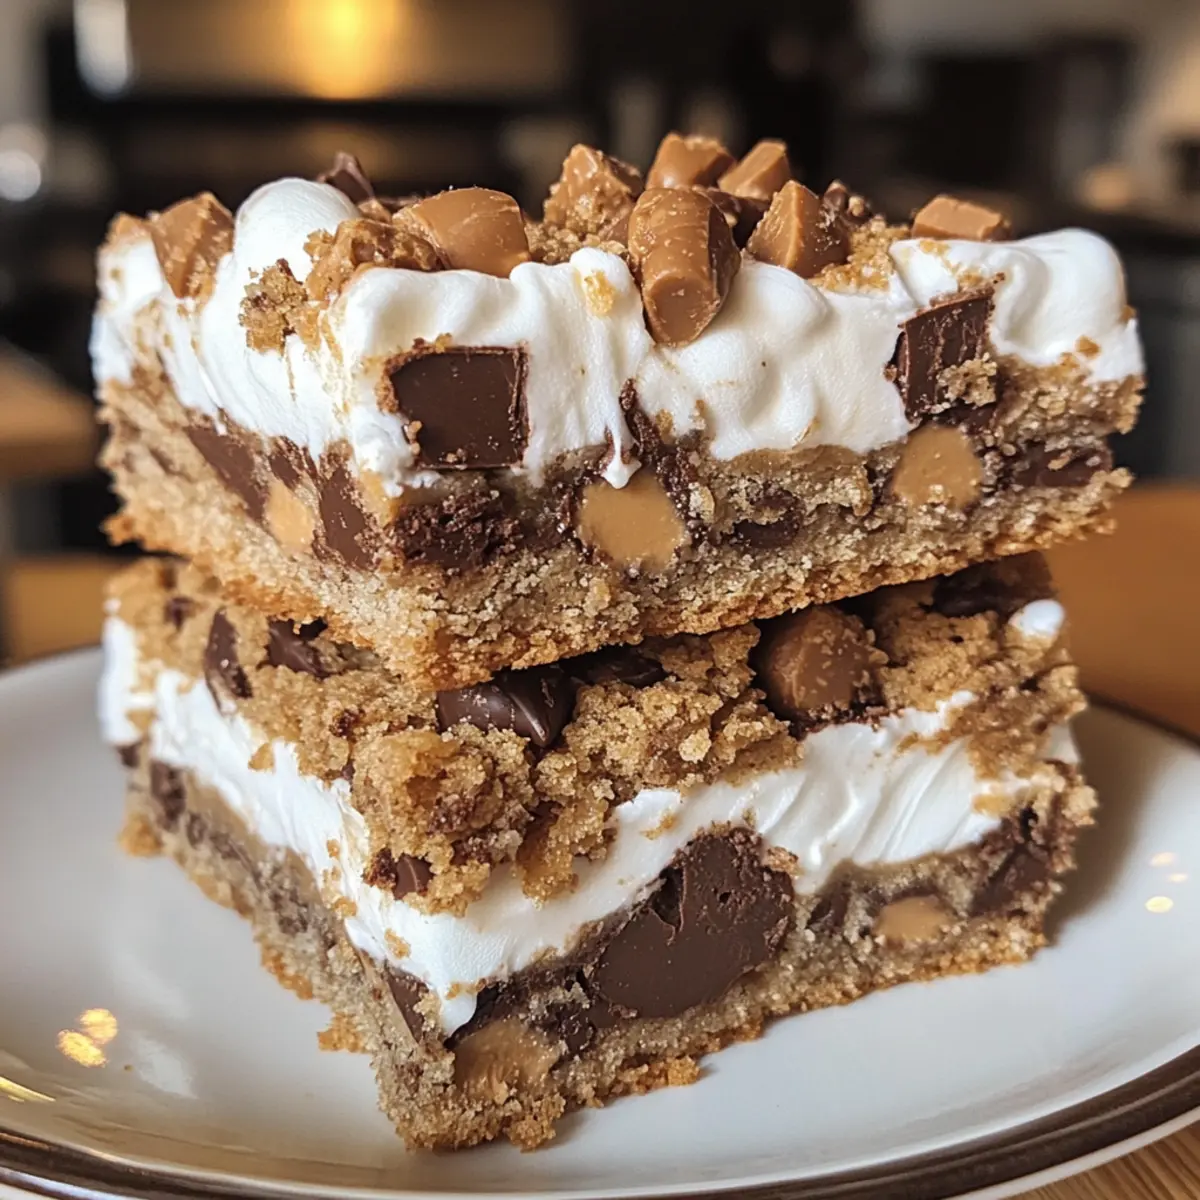
Texture Satisfaction: Enjoy the perfect combination of chewy cookie, creamy fluff, and crunchy peanut butter cups, creating a multi-layered dessert experience.
Versatile Options: Want to mix things up? Try substituting butterscotch chips or crushed graham crackers to create your own decadent spin!
Dive into this delicious dessert adventure and don’t forget to pair your bars with a glass of milk or hot chocolate for an unforgettable treat!
Fluffernutter Bars Ingredients
For the Cookie Base
• Butter – Softened for moisture and richness; use unsalted for better control over saltiness.
• Peanut Butter – Smooth or creamy; adds that nutty flavor, but steer clear of natural peanut butter to avoid oil separation.
• Brown Sugar – Packed; enhances sweetness and chewiness; you can substitute it with white sugar if needed.
• Egg – Provides structure and binds all the ingredients; no substitutions recommended.
• Vanilla Extract – Adds depth to the flavor; opt for pure vanilla for the best result.
• All-Purpose Flour – Forms the base of the cookie dough; gluten-free flour is a good alternative for gluten-sensitive friends.
For the Additions
• Peanut Butter Cups – Chopped, regular size; offers delightful chunks of peanut butter sweetness; use a gluten-free variety if necessary.
• Chocolate Chips – Semi-sweet; enriches the bars with extra chocolatey goodness; feel free to substitute dark chocolate chips for a richer flavor.
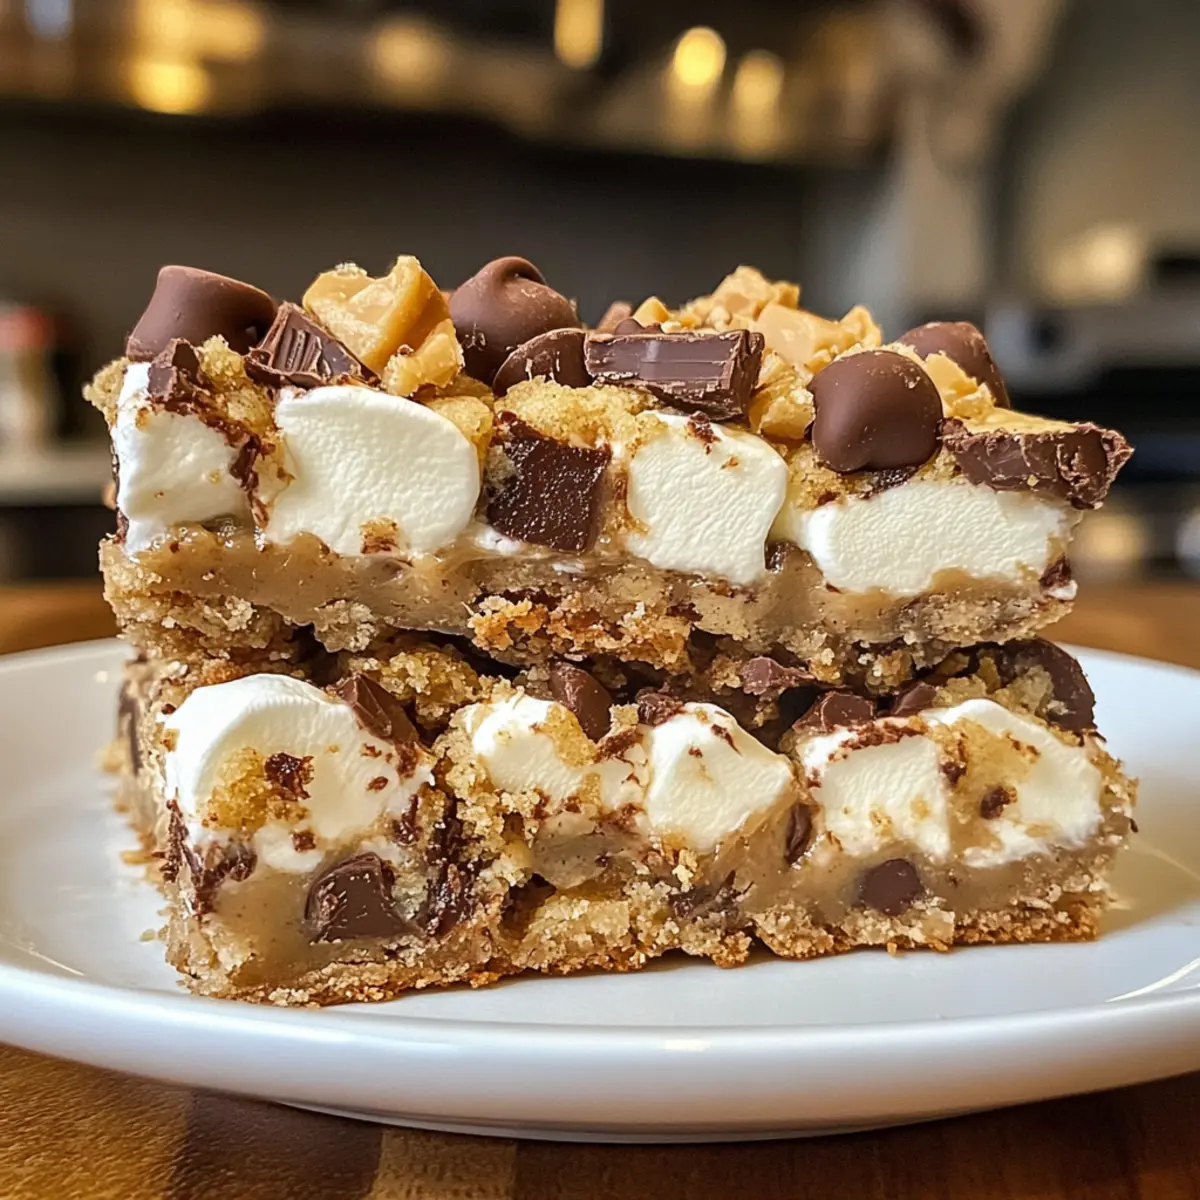
• Marshmallow Creme/Fluff – Adds that creamy layer; in a pinch, mini marshmallows work—just adjust baking times.
Now that you have all your ingredients ready, let’s get baking these decadent Fluffernutter Bars that are sure to be a hit!
Step‑by‑Step Instructions for Fluffernutter Bars
Step 1: Preheat and Prepare Your Pan
Start by preheating your oven to 350°F (175°C). While it warms up, take an 8×11 inch baking pan and line it with parchment paper, allowing some overhang on the sides for easier removal later. This setup ensures your Fluffernutter Bars will come out smoothly once baked.
Step 2: Make the Cookie Dough
In a large mixing bowl, beat together 1 cup of softened butter and 1 cup of packed brown sugar until the mixture is light and fluffy, which should take about 3 minutes. Next, add in 1 egg, 1 cup of peanut butter, and 1 teaspoon of vanilla extract, mixing until fully combined to create a deliciously rich cookie base.
Step 3: Add the Dry Ingredients
Gradually incorporate 2 cups of all-purpose flour into the cookie dough mixture, stirring until just combined. Gently fold in 1 cup of semi-sweet chocolate chips, ensuring they are evenly distributed throughout the dough for that delightful chocolatey flavor in your Fluffernutter Bars.
Step 4: Press Dough into Pan
Take about two-thirds of your cookie dough and press it evenly into the bottom of the prepared baking pan. Use your hands or a spatula to ensure an even layer that forms the foundation of your Fluffernutter Bars, creating a sturdy base for the upcoming layers.
Step 5: Layer with Peanut Butter Cups
Evenly sprinkle 1 cup of chopped peanut butter cups over the cookie layer you just pressed down. Make sure to distribute them well so every bite of your Fluffernutter Bars is filled with that delightful peanut butter crunch, enhancing the texture of your bars.
Step 6: Add Marshmallow Fluff
Spread a generous layer of marshmallow fluff over the peanut butter cups, ensuring it’s evenly coated. This creamy layer adds richness and a sweet texture that will make your Fluffernutter Bars incredibly gooey and irresistible once they’re baked.
Step 7: Top with Remaining Dough
Take the remaining cookie dough and gently spoon it over the marshmallow fluff layer. Use your fingers to press it down lightly, ensuring even coverage without disturbing the layers below. This seals in all the delicious flavors and gives your Fluffernutter Bars a beautiful finish.
Step 8: Bake to Perfection
Bake in the preheated oven for about 25 minutes or until the top is golden brown and slightly firm to the touch. The aroma of baking should fill your kitchen as your Fluffernutter Bars transform into a delicious dessert that’s hard to resist.
Step 9: Cool and Slice
Once baked, take the pan out of the oven and allow it to cool for 1 hour. Then, using the parchment overhang, lift the bars out of the pan. Let them cool completely on a wire rack before slicing into squares, ensuring each piece has that perfect gooey texture.
What to Serve with Irresistibly Gooey Fluffernutter Bars
Indulging in these delightful bars? Let’s explore the perfect accompaniments that enhance their sweetness and texture.
- Glass of Milk: A classic pairing that complements the richness of the bars, balancing sweetness with creamy goodness.
- Vanilla Ice Cream: Top your Fluffernutter Bars with a scoop of vanilla ice cream for a luscious contrast as it melts into the warm layers.
- Fresh Strawberries: Their juicy freshness adds a vibrant flavor contrast, cutting through the bar’s sweetness while bringing a pop of color to your plate.
- Whipped Cream: Light and airy, it enhances the treats’ decadence and adds a delightful creamy texture. A simple homemade version makes it even better!
- Chocolate Sauce Drizzle: A drizzle of chocolate sauce amplifies the chocolate flavors of the bars, providing an extra indulgent touch that chocolate lovers will adore.
- Decaf Coffee or Hot Chocolate: These warm beverages can bring out the flavors of peanut butter and chocolate, making every bite even more satisfying.
- Peanut Butter Smoothie: A thick, creamy smoothie with banana and peanut butter would harmonize with the bars’ flavors, creating a delightful treat with a healthy twist.
- Mini Fruit Tartlets: Their crunchy crusts and creamy filling offer refreshing bites, creating a delightful textural contrast to the chewy bars.
- Salted Caramel Sauce: A little drizzle brings out the peanut butter without overpowering the delicate balance of flavors—sweet, salty bliss!
These pairings elevate your dessert experience, ensuring every bite of your Fluffernutter Bars is a celebration to savor!
Variations & Substitutions for Fluffernutter Bars
Feel free to get creative and make these delightful Fluffernutter Bars your own with these fun twists!
-
Chocolate Swap: Substitute semi-sweet chocolate chips with dark chocolate chips for a richer, more intense chocolate experience. The deep cocoa depth beautifully complements the sweetness of the marshmallow fluff.
-
Nutty Crunch: Try using crunchy peanut butter instead of smooth for an added texture layer that creates an even more satisfying bite. This little swap adds delightful crunchiness, enhancing the classic flavor combo.
-
S’mores Style: Incorporate crushed graham crackers into the dough for a nostalgic s’mores twist. Just fold in about 1 cup of graham cracker crumbs for a deliciously familiar addition that kids (and adults) will adore!
-
Butterscotch Bliss: Swap out chocolate chips for butterscotch chips to give these bars a unique flavor twist. The sweet, buttery flavor of butterscotch complements the peanut butter perfectly, creating a delightful contrast.
-
Mini Marshmallows: If you’re out of marshmallow fluff, use mini marshmallows instead. Just spread them on the peanut butter cup layer and increase bake time slightly, allowing them to melt beautifully throughout the bars.
-
Coconut Delight: Add shredded toasted coconut to the dough for a tropical flair. This subtle coconut flavor pairs so well with the chocolate and peanut butter—it’s like a beach vacation in every bite!
-
Spicy Kick: Feeling adventurous? Add a sprinkle of cayenne or a dash of cinnamon to the cookie dough for a flavor surprise that plays beautifully with the sweetness.
-
Nut-Free Option: For a nut-free version, simply swap the peanut butter for sunflower seed butter. It maintains the creamy texture while giving those with nut allergies a chance to enjoy these scrumptious bars!
Now that you have an array of options, why not try adding your personal touch? And if you’re looking for more delicious bars, check out my recipes for Butter Jelly Bars or Butter Oatmeal Bars. Happy baking!
How to Store and Freeze Fluffernutter Bars
Room Temperature: Store leftover Fluffernutter Bars in an airtight container at room temperature for up to 3 days for the best texture.
Fridge: If you prefer a firmer texture, refrigerate the bars in an airtight container for up to one week.
Freezer: To freeze, wrap the bars tightly in plastic wrap and then place them in a freezer-safe bag. They can be frozen for up to 2 months.
Reheating: When ready to enjoy, thaw in the fridge overnight and gently warm in the microwave for a few seconds to restore their gooey goodness.
Make Ahead Options
These Fluffernutter Bars are ideal for busy home cooks who want to save time without sacrificing taste! You can prepare the cookie dough up to 24 hours in advance; simply mix the ingredients and store the dough in an airtight container in the refrigerator. The layers of peanut butter cups and marshmallow fluff can also be prepped ahead—just layer them in the pan and cover it tightly with plastic wrap, refrigerating for up to 3 days. When you’re ready to bake, simply add the remaining dough on top and pop them in the oven. This way, the bars will be just as gooey and delicious, making them a convenient option for quick dessert cravings!
Expert Tips for Fluffernutter Bars
Storage Solutions: Keep any leftovers in an airtight container at room temperature for 2-3 days; refrigeration extends freshness but might alter texture.
Chill Before Slicing: For cleaner cuts, refrigerate the cooled bars for an hour. This helps achieve that perfect slice, making your presentation beautiful.
Watch the Bake Time: If you’re using a larger 9-inch square pan, check the bars a few minutes earlier, as they may bake faster than anticipated. Adjust baking time accordingly for the best results.
Marshmallow Substitute Notes: When substituting marshmallows for fluff, be certain to add a few extra minutes to the baking time to allow for even melting and integration.
Ingredient Quality: Opt for pure vanilla extract and unsalted butter for a richer flavor in your Fluffernutter Bars – it makes a delightful difference!
Fluffernutter Bars Recipe FAQs
How do I know if my ingredients are ripe and ready to use?
For the best flavor and texture in your Fluffernutter Bars, ensure your butter is softened but not melted. Look for a creamy consistency that’s easily spreadable, which usually takes about 30 minutes at room temperature. Your peanut butter should be smooth and creamy, avoiding natural types that can separate. Check your chocolate chips for taste freshness; they should be clean and not have an off smell.
How should I store leftover Fluffernutter Bars?
You can store leftover Fluffernutter Bars in an airtight container at room temperature for up to 3 days. To maintain their chewy texture, refrigeration is an option; they’ll last up to one week in the fridge, though this might slightly alter their gooeyness. Just remember to let them sit at room temperature for a few minutes before enjoying!
Can I freeze Fluffernutter Bars?
Absolutely! To freeze your Fluffernutter Bars, first cool them completely once baked. Wrap each bar tightly in plastic wrap and then place them in a freezer-safe zip bag. They can be stored in the freezer for up to 2 months. When you’re ready to indulge, simply thaw them overnight in the refrigerator and warm slightly in the microwave for that irresistible gooey texture.
What should I do if my bars don’t seem to be baking properly?
If you find your Fluffernutter Bars are undercooked, it might be that your oven temperature is off, or the pan size you used is larger. I recommend checking them a few minutes earlier or ensuring you stick to the cooking time and pan size specified in the recipe. If they’re overcooked and too dry, next time try reducing the baking time by a few minutes or covering with foil if the edges get too brown.
Are Fluffernutter Bars safe for people with allergies?
These Fluffernutter Bars contain common allergens such as peanuts and eggs, so they’re not suitable for individuals with peanut allergies. If you’re looking to make a nut-free version, you could substitute almond butter or sunflower seed butter, but double-check all your other ingredients, including chocolate chips and marshmallow fluff, to ensure they’re allergy-friendly.
Can I make substitutions in this recipe?
Yes! If you’re allergic to allergens or simply want to change things up, you can use crunchy peanut butter instead of smooth for added texture. Additionally, butterscotch chips can swap with chocolate chips to create a unique flavor, or mix in crushed graham crackers for a s’mores-inspired twist. Enjoy experimenting!
Decadent Fluffernutter Bars for Sweet Tooth Adventures
Ingredients
Equipment
Method
- Preheat your oven to 350°F (175°C) and line an 8x11 inch baking pan with parchment paper.
- In a large mixing bowl, beat together 1 cup of softened butter and 1 cup of packed brown sugar until light and fluffy.
- Add in 1 egg, 1 cup of peanut butter, and 1 teaspoon of vanilla, mixing until fully combined.
- Gradually incorporate 2 cups of all-purpose flour and fold in 1 cup of chocolate chips.
- Press two-thirds of the cookie dough into the bottom of the prepared baking pan.
- Sprinkle 1 cup of chopped peanut butter cups over the cookie layer.
- Spread marshmallow fluff over the peanut butter cups to form a creamy layer.
- Top with remaining dough, pressing it down gently for even coverage.
- Bake for about 25 minutes until golden brown. Allow to cool for 1 hour.
- Lift the bars out of the pan and cool completely before slicing into squares.
Leave a Reply