
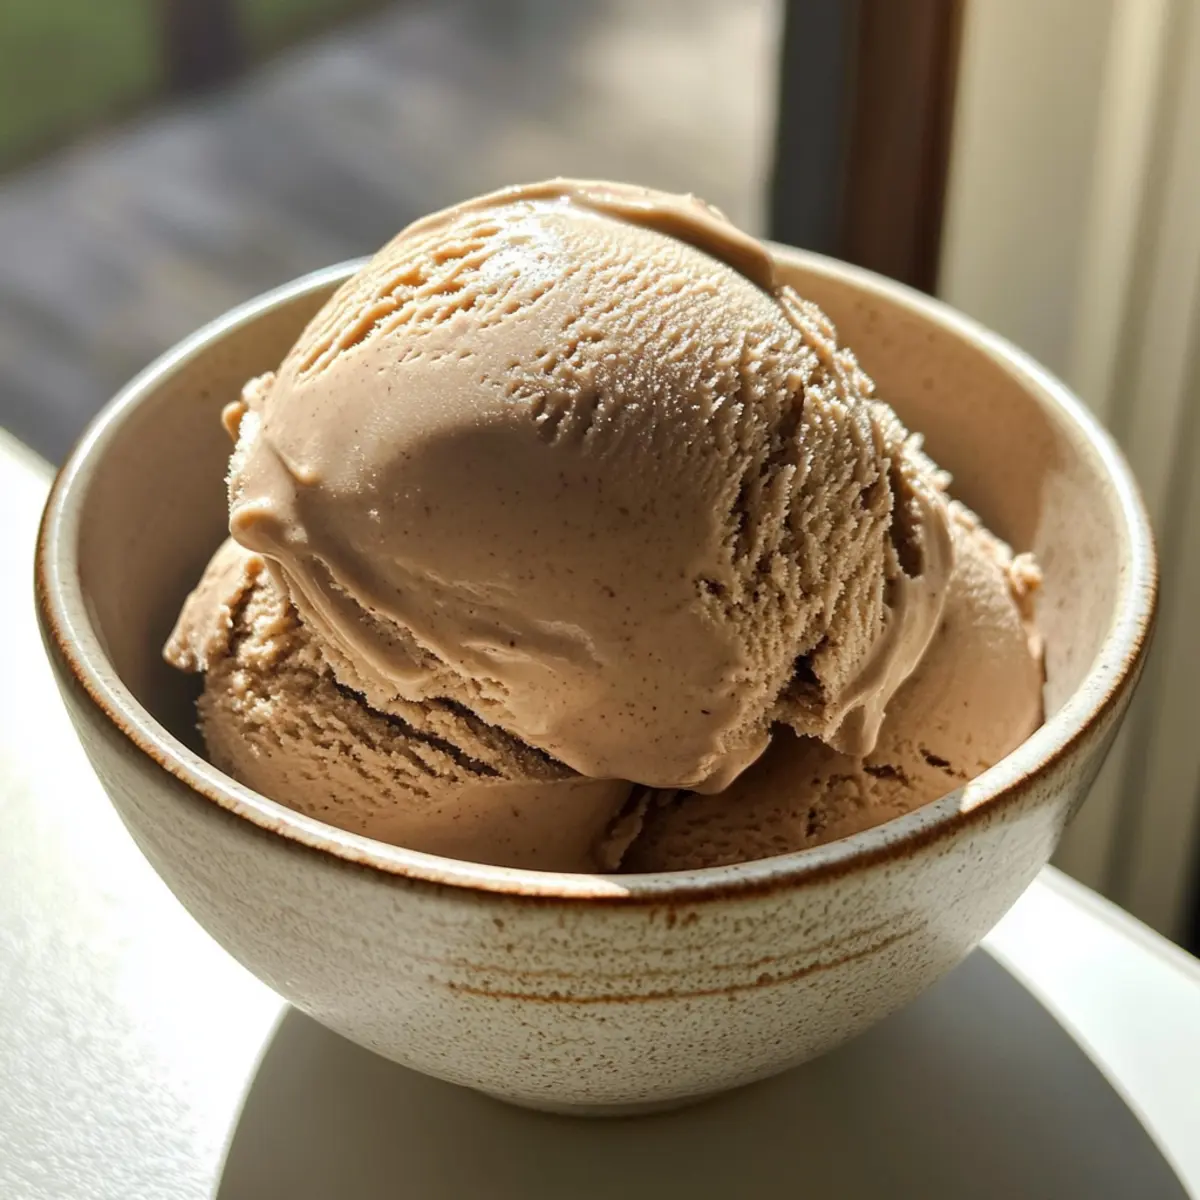
The aroma of freshly brewed espresso fills the air, whisking me away to my favorite café, where desserts seem to dance with indulgence. Yet, who needs to venture out when you can create your very own homemade espresso coffee ice cream right in your kitchen? This rich, creamy treat will make coffee lovers weak in the knees, thanks to its luxurious custard base that brings out the deep notes of espresso beautifully. Whether it’s a sunny summer day or a special occasion, this recipe is not just a crowd-pleaser but also surprisingly simple to whip up. With the joy of real ingredients—think glorious cream and farm-fresh eggs—you’ll relish every scoop. Ready to impress your friends and family with this inviting homemade gem? Let’s dive into the details of crafting the perfect espresso coffee ice cream!
Why Homemade Espresso Coffee Ice Cream?
Irresistible Flavor: This espresso coffee ice cream captures the rich essence of coffee, delivering a robust taste in every creamy scoop.
Simple Steps: You don’t need to be a culinary expert; the recipe is straightforward, allowing anyone to create this café-worthy treat at home.
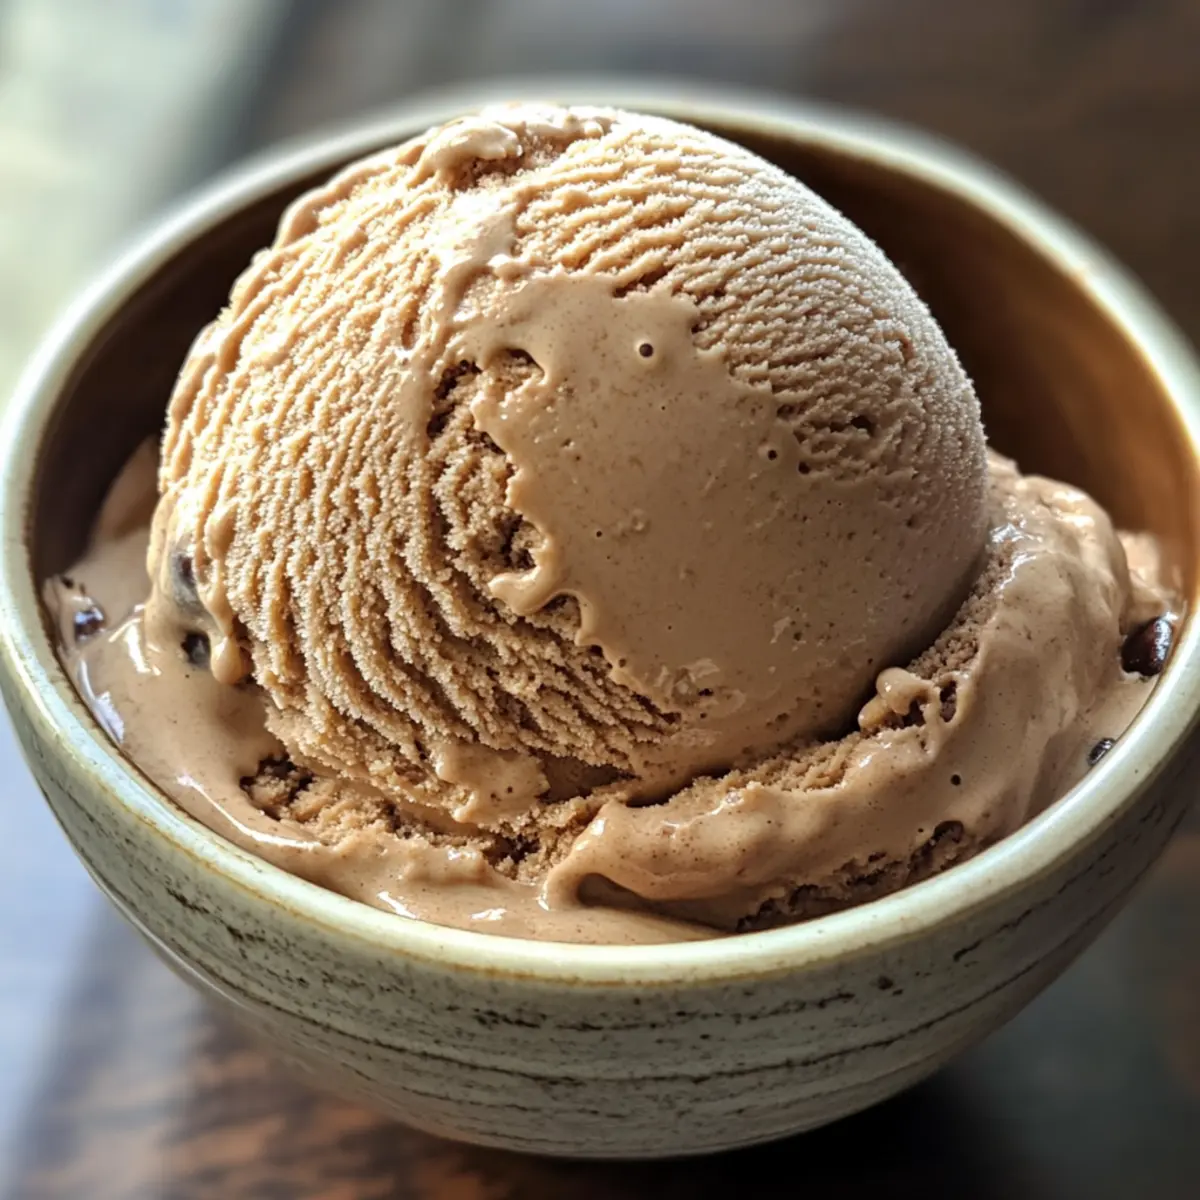
Versatile Variations: Feel free to experiment! Whether you’re a fan of mocha or craving crunchy mix-ins, this recipe adapts beautifully. Add chocolate chips or crushed Oreos for an extra delight.
Perfect for Any Occasion: Serve it on hot summer days or as a sophisticated dessert at dinner parties; it’s always a hit!
Quality Ingredients: Using fresh cream and eggs ensures your ice cream is as wholesome as it is tasty, proving that homemade can be both delicious and healthy.
Make this creamy concoction and watch it elevate your dessert game!
Espresso Coffee Ice Cream Ingredients
Discover the delightful components that make this homemade treat irresistible!
For the Custard Base
• 4 Egg Yolks – Provide structure and richness to the custard base. Use egg substitutes if making an egg-free version.
• 1/2 cup Granulated Sugar – Adds sweetness to balance the espresso. Can replace with alternative sweeteners; adjust to taste.
• 1 cup Whole Milk – Serves as the primary liquid, contributing to creaminess. 2% milk can be used, though texture will be less rich.
• 2 Tablespoons Instant Espresso Powder – Delivers robust coffee flavor. Use brewed espresso for a different flavor profile.
For the Creamy Mixture
• 1 cup Heavy Cream – Creates a rich and smooth texture. Other creams can substitute, but heavy cream is recommended for best results.
• Pinch of Salt – Enhances the flavors. Do not omit, as it balances the sweetness.
• 1 teaspoon Vanilla Extract – Adds depth to the flavor. Homemade vanilla extract can enhance the recipe’s quality.
• 1 Tablespoon Coffee Liqueur – Intensifies the coffee flavor. Omit for a nonalcoholic version.
Create your own Espresso Coffee Ice Cream and savor the rich, creamy goodness that’s crafted with a blend of high-quality ingredients!
Step‑by‑Step Instructions for Espresso Coffee Ice Cream
Step 1: Prep Egg Mixture
In a medium saucepan, whisk together 4 egg yolks and 1/2 cup granulated sugar until the mixture turns light yellow and slightly thickened. This step is crucial to create a rich base for your homemade espresso coffee ice cream. Set the bowl aside while you prepare the next step, ensuring all ingredients are within reach.
Step 2: Heat Milk and Espresso
In a separate saucepan, combine 1 cup whole milk and 2 tablespoons instant espresso powder. Warm over medium-low heat, stirring gently until the mixture begins to simmer, which should take about 5-7 minutes. You want to see small bubbles forming around the edges but do not let it boil. This aromatic step infuses the milk with delicious coffee flavor.
Step 3: Combine Mixtures
Gradually pour the warm milk mixture into the egg yolk mixture, whisking constantly to temper the eggs and prevent curdling. This process should be done slowly for smoother incorporation, taking about 2-3 minutes. Once combined, it’s time to return this delightful mixture back to the stovetop.
Step 4: Cook Custard
Return the combined mixture to medium heat, stirring continuously until it thickens and coats the back of a spoon; this should take around 5-7 minutes or until it reaches 165°F on a candy thermometer. The custard is now ready to remove from the heat, ensuring its creamy base for your espresso coffee ice cream.
Step 5: Chill Custard
Transfer the custard to an airtight container and cover the surface with plastic wrap to prevent a skin from forming. Refrigerate for at least 4 hours or overnight if possible. This chilling step is essential for a smooth, creamy texture and allows the flavors to meld beautifully for your espresso coffee ice cream.
Step 6: Add Cream and Churn
Once chilled, stir in 1 cup heavy cream, a pinch of salt, 1 teaspoon vanilla extract, and 1 tablespoon coffee liqueur for an extra kick. Pour this creamy mixture into an ice cream maker and churn according to the manufacturer’s instructions, typically for about 20-30 minutes, until it reaches a soft-serve consistency.
Step 7: Freeze for Firmness
For a firmer texture, transfer the churned espresso coffee ice cream to a freezer-safe container and freeze for at least 1 hour. This step solidifies the ice cream further, allowing you to scoop perfectly once it’s ready to serve. Enjoy this delightful homemade treat!
What to Serve with Homemade Espresso Coffee Ice Cream
Nothing elevates this delightful homemade indulgence like the perfect pairings to frame it beautifully.
-
Chocolate Chip Cookies: These warm, gooey treats provide a delightful contrast to the creamy espresso ice cream, satisfying every sweet tooth. The cookies’ rich texture complements the ice cream’s creamy consistency perfectly.
-
Fresh Berries: Strawberries, raspberries, or blueberries not only add a burst of color but also bring a refreshing tartness that balances the rich coffee flavor beautifully. Their bright taste can lift the entire dessert experience.
-
Chocolate Sauce: Drizzling warm chocolate sauce adds an irresistible chocolatey goodness that pairs beautifully with the deep notes of espresso. This combination will create an indulgent experience every time you scoop.
-
Almond Biscotti: Crunchy and slightly sweet, biscotti dippable in the espresso ice cream enhances the coffee theme while introducing interesting textures and flavors. It’s the perfect Italian treat to accompany your indulgence.
-
Nutty Toppings: Chopped hazelnuts or almonds sprinkle a delightful crunch and nutty flavor that beautifully contrasts with the ice cream’s smoothness. Plus, they add an elegant touch to presentations.
-
Espresso Shot: Serve alongside a shot of fresh espresso for a truly decadent coffee experience. The boldness enhances the ice cream, making for a rich dessert that coffee lovers will adore!
Make Ahead Options
Making your homemade espresso coffee ice cream ahead of time is a breeze and perfect for busy weeknights! You can prepare the custard base and chill it in the refrigerator for up to 24 hours—just ensure it’s covered tightly to maintain its creamy texture and prevent any films from forming. When you’re ready to serve, simply stir in the cream, salt, vanilla extract, and coffee liqueur before churning. If you’d like, you can also churn the ice cream in advance and store it in a freezer-safe container for up to 3 days. Just remember to let it sit at room temperature for a few minutes for easier scooping when you’re ready to indulge in this delightful espresso coffee ice cream!
Espresso Coffee Ice Cream Variations
Feel free to get creative with your espresso coffee ice cream; these delightful twists will elevate your dessert experience!
-
Mocha Delight:
Add 1/3 cup of cocoa powder to the milk while heating for a rich mocha flavor. This variation doubles the indulgence and satisfies chocolate cravings instantly. -
Nutty Crunch:
Stir in chopped nuts like almonds or hazelnuts during the final minutes of churning for a delightful texture. The nutty crunch beautifully contrasts with the creamy base, adding a wonderful surprise in each bite. -
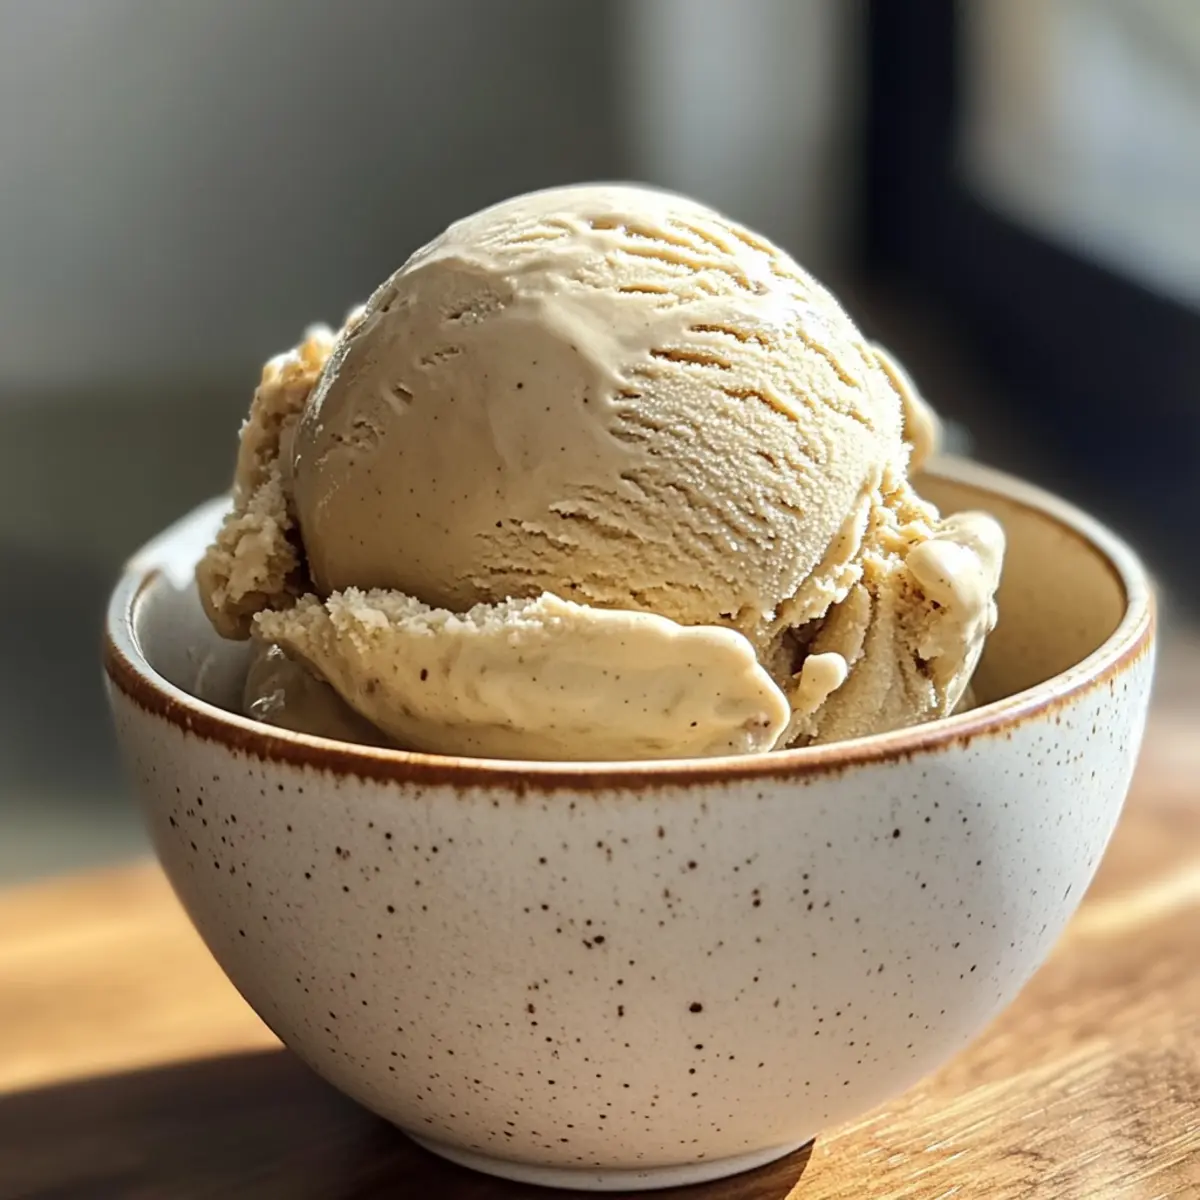
Vegan Version:
Swap out eggs for 1 cup of coconut milk and use a plant-based cream for a luscious vegan-friendly treat. This alternative will keep all the rich flavor while catering to dietary preferences. -
Spiced Espresso:
Mix in a pinch of cinnamon or nutmeg while heating the milk for a warm, cozy flavor twist. The spice enhances the espresso notes, creating a lovely wintery vibe. -
Salted Caramel Swirl:
Fold in caramel sauce just before transferring to the freezer for a sweet and salty treat. This addition elevates the dish, making every scoop a delightful surprise. -
Enhanced Espresso:
Use freshly brewed espresso instead of instant for a deeper, more intense coffee flavor. You’ll love how this change emphasizes the quality of the espresso in your ice cream. -
Boozy Boost:
Enhance your ice cream with a splash of your favorite coffee liqueur, like Kahlua, for extra depth. This adult twist makes your dessert a special occasion indulgence.
Experiment with these variations to discover your ideal combination, and don’t forget to enjoy alongside a cozy slice of cake, like a slice of Pumpkin Spice Gooey or a warm scoop of Cream Cheese Salsa. Happy churning!
Expert Tips for Espresso Coffee Ice Cream
-
Monitor Temperature: Keep a close eye on the custard while cooking; overcooking can lead to curdling. Use a thermometer for precision.
-
Avoid Graininess: Don’t over-churn the ice cream in the maker. Aim for a smooth texture by churning for just 20-30 minutes.
-
Chill Well: Refrigerate the custard for at least 4 hours or overnight for optimal flavor melding and creaminess in your espresso coffee ice cream.
-
Mix-In Magic: Feel free to get creative! Add chocolate chips or nuts as mix-ins during the last few minutes of churning for delightful texture.
-
Quality Counts: Use high-quality ingredients like fresh cream and eggs to enhance the overall richness and taste of your homemade espresso coffee ice cream.
How to Store and Freeze Espresso Coffee Ice Cream
Fridge: Keep your homemade espresso coffee ice cream in the refrigerator for up to 3 days for the best taste; however, it’s best enjoyed fresh from the ice cream maker.
Freezer: Store in a tightly sealed freezer-safe container for up to one month. To maintain its creamy texture, ensure it’s well-wrapped to avoid ice crystals forming.
Reheating: If your ice cream becomes too hard after freezing, let it sit at room temperature for about 10-15 minutes before scooping; this helps regain its luscious consistency.
Serving Suggestion: For extra indulgence, serve your espresso coffee ice cream paired with a warm dessert or atop a slice of rich cake for a delightful contrast.

Homemade Espresso Coffee Ice Cream Recipe FAQs
How do I choose the best espresso for the ice cream?
Absolutely! For the richest flavor, opt for high-quality espresso beans and brew using your preferred method. If you’re using instant espresso powder, make sure it’s a brand you trust to provide robust coffee flavor. Avoid any expired or stale products, as freshness greatly impacts the taste of your homemade espresso coffee ice cream.
Can I store the leftover ice cream, and how long will it last?
Yes, you can store your espresso coffee ice cream in a tightly sealed freezer-safe container for up to one month. However, for optimal flavor and texture, I recommend enjoying it within two weeks. Just make sure it’s well-wrapped to prevent any ice crystals from ruining that creamy delight!
What’s the best way to freeze homemade ice cream?
To freeze your homemade espresso coffee ice cream, transfer it to a container and press a piece of plastic wrap gently onto the surface before sealing the lid. This minimizes air exposure and helps maintain its creamy consistency. If it becomes too hard after freezing, let it sit at room temperature for about 10-15 minutes to soften for easier scooping.
Are there any dietary considerations for this recipe?
Of course! If you’re concerned about allergies, this recipe contains eggs and dairy, which could be problematic for some. For an egg-free version, you can substitute the egg yolks with commercial egg replacers, and give a non-dairy alternative for the cream, like coconut cream. Also, make sure to check the labels for any hidden allergens in your ingredients, like liqueurs or creams.
My ice cream turned out grainy; what happened?
Very common! Graininess can result from over-churning the ice cream in the maker. Aim for a churning time of about 20-30 minutes and stop as soon as it reaches a smooth, soft-serve consistency. Additionally, if the custard has been cooked too long, it can curdle, affecting the texture. Focus on monitoring the heat closely throughout the cooking process to ensure a creamy result.
Can I add mix-ins to my espresso coffee ice cream?
Absolutely! When preparing your espresso coffee ice cream, feel free to stir in mix-ins like chocolate chips, crushed Oreos, or nuts during the last few minutes of churning. This way, they’ll be evenly distributed without getting clumped together, adding flavor and texture that elevate your treat beautifully.
Creamy Espresso Coffee Ice Cream You'll Want Every Day
Ingredients
Equipment
Method
- In a medium saucepan, whisk together 4 egg yolks and 1/2 cup granulated sugar until the mixture turns light yellow and slightly thickened.
- In a separate saucepan, combine 1 cup whole milk and 2 tablespoons instant espresso powder. Warm over medium-low heat, stirring gently until it begins to simmer.
- Gradually pour the warm milk mixture into the egg yolk mixture, whisking constantly to temper the eggs and prevent curdling.
- Return the combined mixture to medium heat, stirring continuously until it thickens and coats the back of a spoon.
- Transfer the custard to an airtight container and cover the surface with plastic wrap to prevent a skin from forming. Refrigerate for at least 4 hours or overnight.
- Once chilled, stir in 1 cup heavy cream, a pinch of salt, 1 teaspoon vanilla extract, and 1 tablespoon coffee liqueur. Pour into an ice cream maker and churn according to instructions.
- Transfer the churned espresso coffee ice cream to a freezer-safe container and freeze for at least 1 hour.
Leave a Reply