
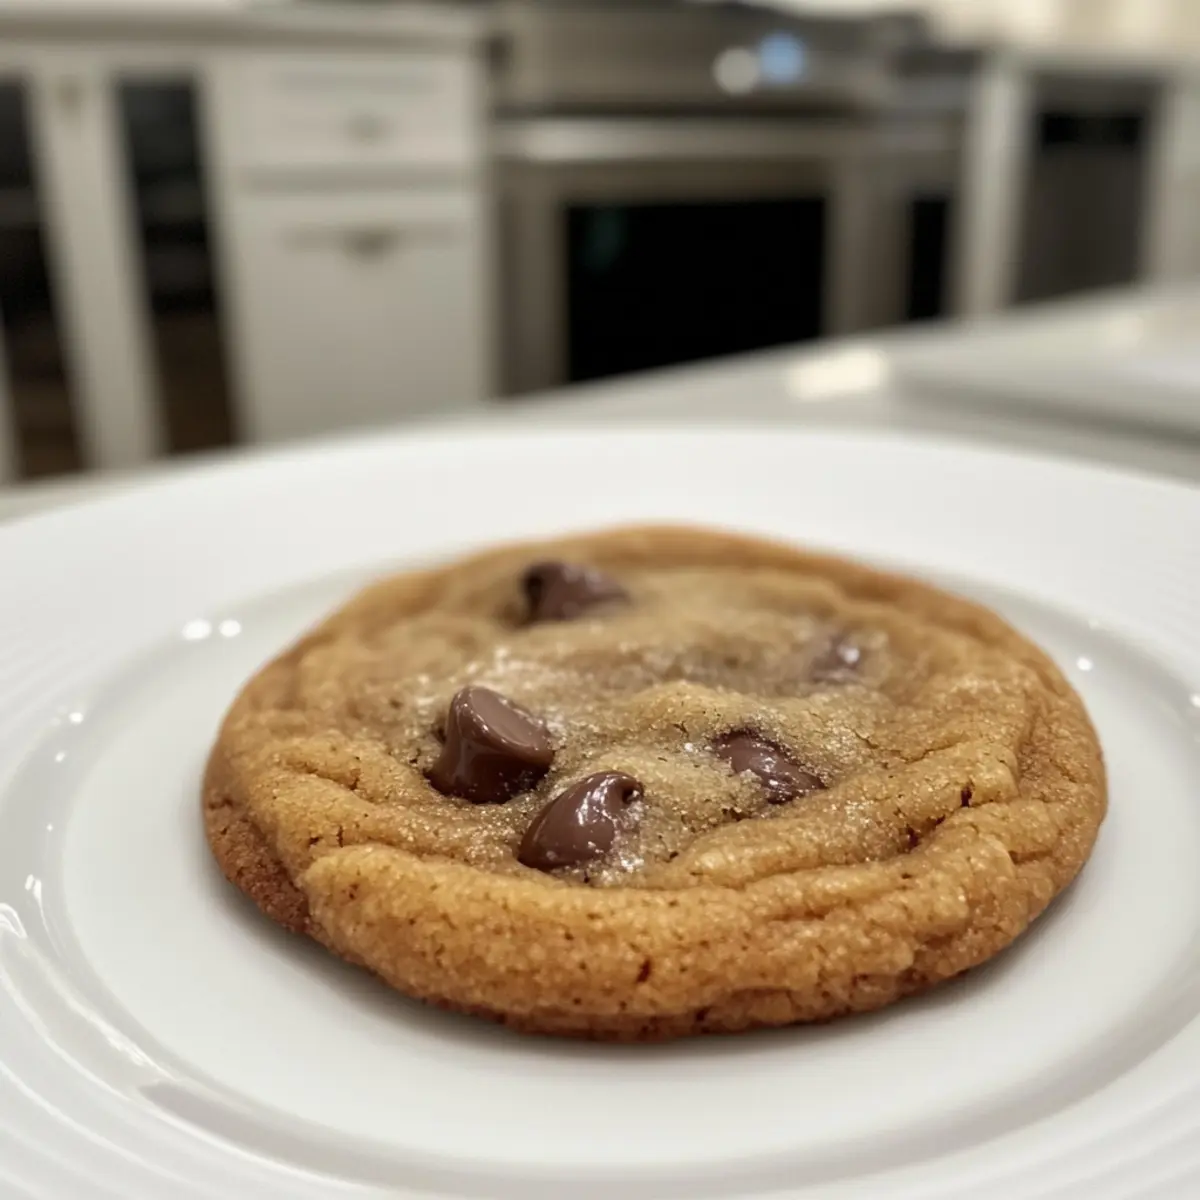
The scent of freshly baked cookies wafted through the air, transporting me back to my grandmother’s kitchen, where laughter mingled with the clinking of mixing bowls. Today, I’m thrilled to share my classic chocolate chip cookies recipe, a timeless favorite that every home-chef should master. Not only is this recipe incredibly quick and easy to whip up, but it also invites you to get creative with customizable add-ins like nuts or a dash of sea salt for that gourmet touch. Imagine biting into a warm, gooey cookie, perfectly soft in the center with just the right amount of crispness around the edges! Ready to embark on this sweet journey? Let’s get baking together!
Why Are These Cookies a Must-Bake?
Irresistible Aroma: The sweet scent of freshly baked chocolate chip cookies wafts through your home, creating an inviting atmosphere that beckons family and friends.
Customizable Delights: Whether you prefer classic semi-sweet chocolate or adventurous dark chocolate chips, this recipe encourages your personal touch.
Quick & Easy: Whip these up in under 30 minutes! Perfect for satisfying instant cravings or unexpected guests.
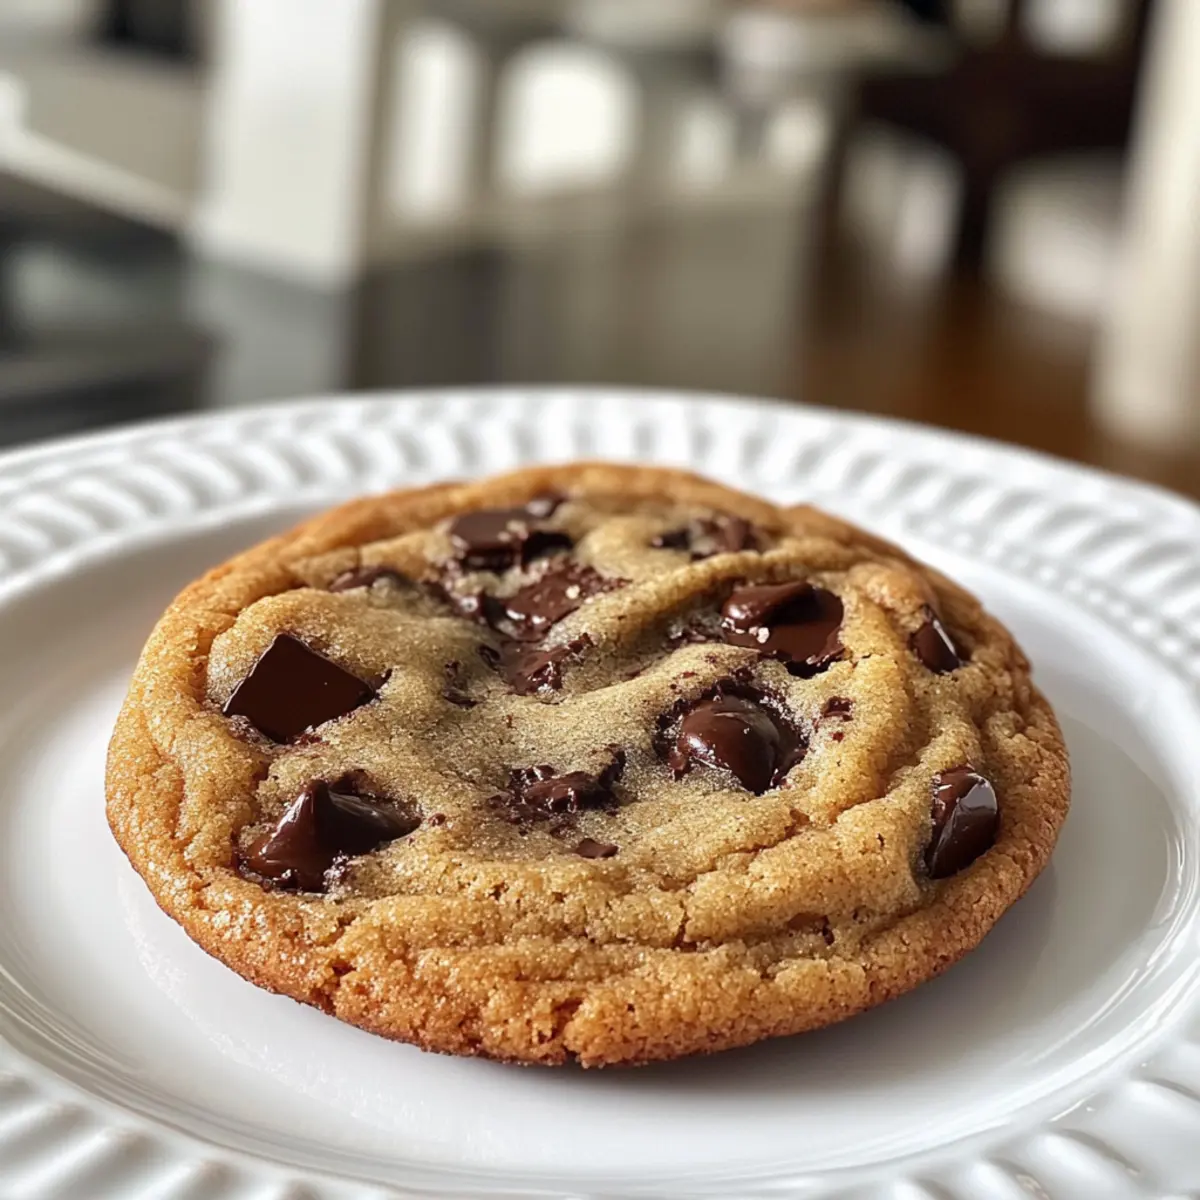
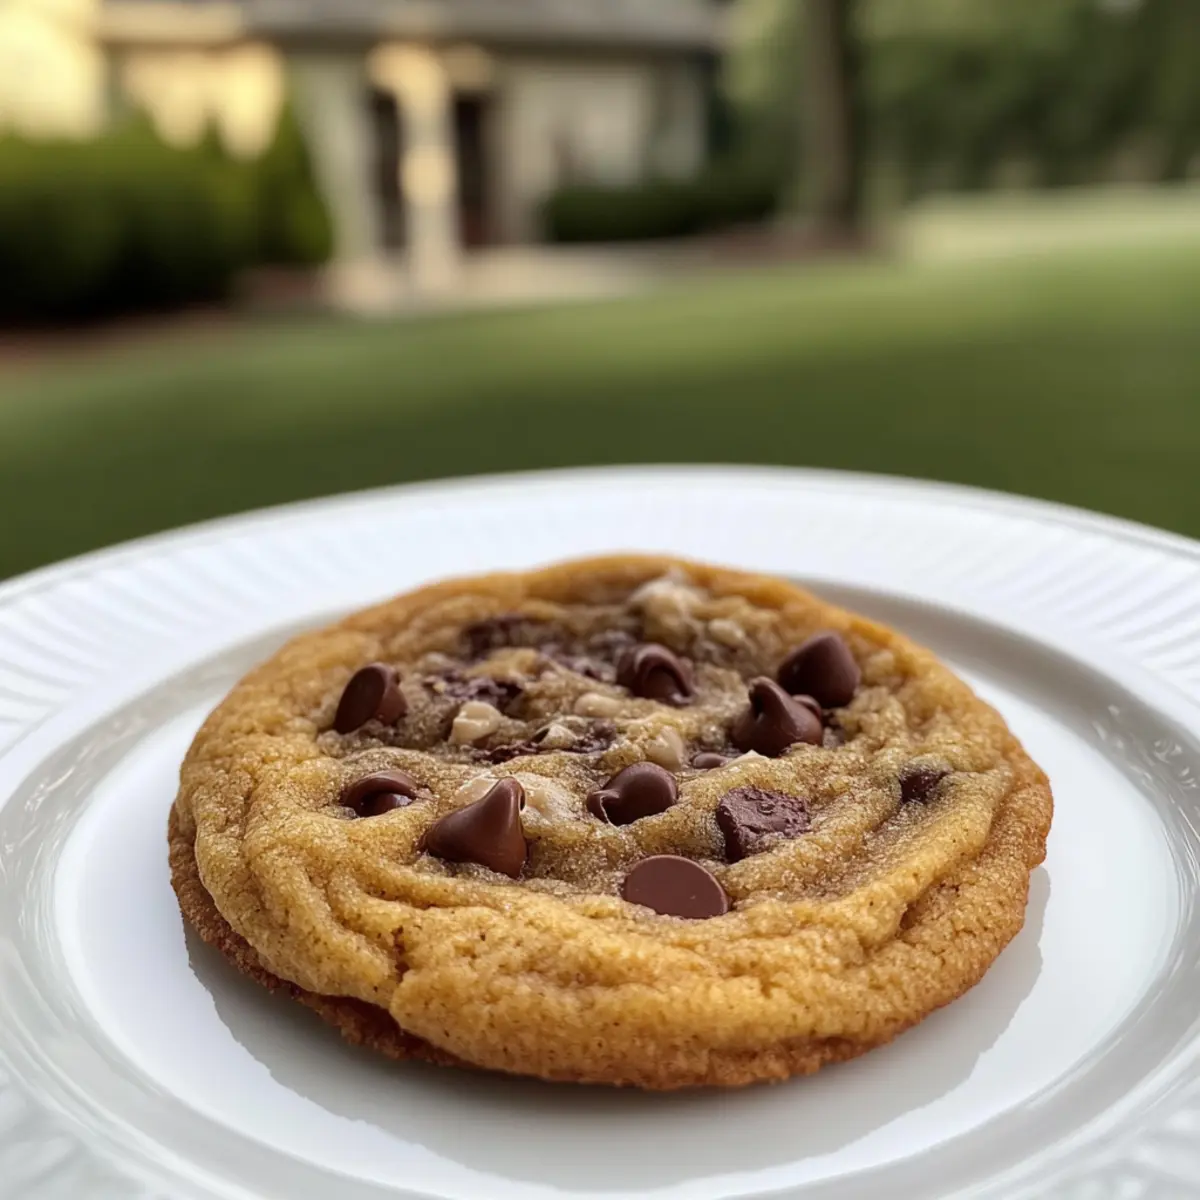
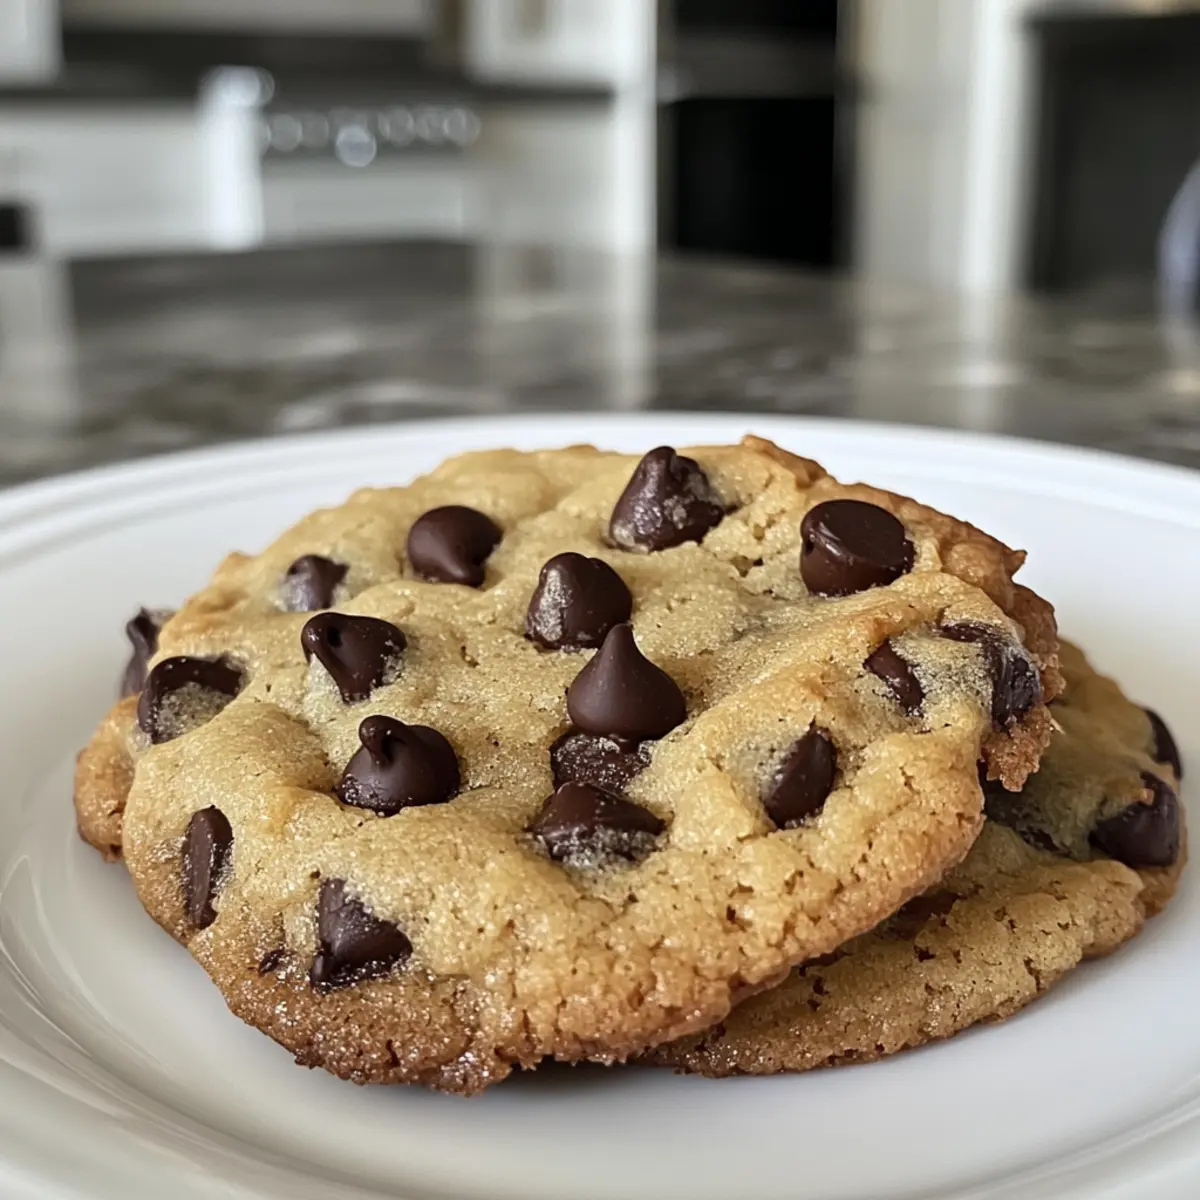
Comforting Texture: Enjoy the perfect balance of warm, gooey centers with slightly crisp edges—just like the cookies from your favorite bakery!
Crowd-Pleaser: No one can resist these delightful treats; they’ll become your go-to for gatherings or cozy nights in. For even more fantastic recipes, check out my Peanut Butter Jelly Bars or the savory delights of Italian Herbs Cheese Bread.
Chocolate Chip Cookie Ingredients
• Note: Gather these essential ingredients to create the ultimate homemade chocolate chip cookies; perfect for those cozy days spent in the kitchen.
For the Dough
- All-purpose Flour – Provides structure and stability; can substitute with a gluten-free flour blend for those with dietary restrictions.
- Granulated Sugar – Adds sweetness and contributes to browning; for a chewier texture, consider using brown sugar.
- Brown Sugar – Increases moisture and adds depth of flavor; substitute with coconut sugar for a lower glycemic index option.
- Butter (unsalted) – The rich base for flavor and texture; opt for margarine for a dairy-free version.
- Eggs – Helps bind ingredients together; try 1/4 cup of applesauce or a flax egg for vegan alternatives.
- Vanilla Extract – Enhances the overall flavor; pure vanilla is preferred for the best results.
- Baking Soda – Acts as a leavening agent, making cookies lighter; baking powder is a viable substitute but may alter the taste slightly.
- Salt – Balances sweetness and enriches all flavors; sprinkling a bit of sea salt can add a sophisticated touch.
- Chocolate Chips – The star ingredient; mix semi-sweet and dark chocolate chips for a delightful combination.
Optional Mix-ins
- Chopped Nuts (like walnuts or pecans) – Adds a satisfying crunch; consider mixing in your favorite variety for extra texture.
- Dried Fruits (like cranberries) – Brings a chewy contrast to the sweetness; a delightful addition for those who love a fruity twist.
Unleash your creativity with these chocolate chip cookie ingredients, and you’ll soon be indulging in warm, bakery-style cookies right at home!
Step‑by‑Step Instructions for Classic Chocolate Chip Cookies with Customizable Add-ins
Step 1: Preheat the Oven
Begin by preheating your oven to 350°F (175°C). While it heats up, prepare your baking sheets by lining them with parchment paper. This preparation ensures that your classic chocolate chip cookies have a perfect base to bake on, preventing sticking and allowing for easy cleanup.
Step 2: Cream the Butter and Sugars
In a mixing bowl, cream together the softened unsalted butter, granulated sugar, and brown sugar using a hand mixer or stand mixer. Beat on medium speed until the mixture becomes light and fluffy, about 2-3 minutes. This step creates a rich, airy texture that forms the backbone of your cookie dough, enhancing the overall flavor of the classic chocolate chip cookies.
Step 3: Incorporate the Eggs and Vanilla
Next, add one egg at a time, beating well after each addition to ensure even mixing. Then, stir in the vanilla extract until thoroughly combined. This addition brings warmth and sweetness to your batter, setting the stage for the delightful chocolate flavors to come in your cookies.
Step 4: Combine Dry Ingredients
In a separate bowl, whisk together the all-purpose flour, baking soda, and salt. This step is essential as it evenly distributes the baking soda and ensures no clumps remain, promoting consistent rising in your classic chocolate chip cookies. Shift the dry ingredients with a sifter if you’d like a lighter texture.
Step 5: Mix the Dry and Wet Ingredients
Gradually add the dry ingredient mixture into the wet ingredients, mixing on low speed just until combined. Avoid overmixing; you only want to incorporate everything without developing gluten, which could lead to tougher cookies. Your dough should be slightly sticky and ready for the best part—adding the chocolate chips!
Step 6: Fold in the Chocolate Chips
Now, fold in your chocolate chips—whether you choose semi-sweet, dark, or even a mix of both is up to you! If you’re feeling adventurous, consider adding any optional mix-ins like chopped nuts or dried fruits at this stage, enhancing the flavor and texture of your classic chocolate chip cookies even further.
Step 7: Scoop the Dough
Using a tablespoon or cookie scoop, drop spoonfuls of dough onto the prepared baking sheets, spacing them about 2 inches apart. This space allows the cookies to spread evenly while they bake, ensuring that each cookie has room to become wonderfully golden brown and chewy.
Step 8: Bake the Cookies
Place the baking sheets in the preheated oven and bake for 10-12 minutes. Keep an eye on the edges; they should turn golden while the centers remain slightly soft. This visual cue indicates that you’ve achieved the perfect balance between chewy and crisp in your classic chocolate chip cookies.
Step 9: Cool and Enjoy
Once baked, remove the cookies from the oven and let them cool on the baking sheets for about 5 minutes before transferring them to wire racks. This resting period allows them to set without breaking. Enjoy your freshly baked cookies warm, or store them in an airtight container for later enjoyment!
Expert Tips for the Best Chocolate Chip Cookies
Butter Matters: Use softened butter for perfect creaming. If it’s too melted, your cookies could turn out flat instead of chewy.
Mix Gently: Avoid overmixing the dough once flour is added. This keeps your cookies tender and light rather than tough.
Chill for Shape: Chill the dough for 30 minutes before baking. This helps the cookies hold their shape better, resulting in the ideal texture.
Watch the Clock: Keep an eye on them in the last few minutes of baking. They should be golden at the edges and soft in the center for the perfect classic chocolate chip cookie.
Storage Tips: Store cooled cookies in an airtight container for up to a week. Or, freeze shaped dough balls for fresher cookies anytime!
Make Ahead Options
These Classic Chocolate Chip Cookies are perfect for meal prep enthusiasts! You can prepare the dough up to 24 hours in advance and refrigerate it to allow the flavors to meld beautifully. To do this, mix the dough as directed, then wrap it tightly in plastic wrap or store it in an airtight container. If you’re even more pressed for time, consider scooping the dough into balls and freezing them for up to 3 months. When you’re ready to bake, simply place the frozen dough on a baking sheet and add an extra minute or two to the baking time. This way, you’ll enjoy the same warm, gooey goodness with minimal effort, perfect for busy weeknights!
Storage Tips for Chocolate Chip Cookies
Room Temperature: Store in an airtight container at room temperature for up to 1 week to keep your chocolate chip cookies fresh and delicious.
Fridge: If you prefer a firmer texture, you can refrigerate the cookies in an airtight container for up to 2 weeks. This helps to preserve their flavor while keeping them cool.
Freezer: Freeze shaped dough balls for up to 3 months. Place them on a baking sheet to freeze first, then transfer to a freezer bag—this way, you can bake fresh cookies whenever cravings hit!
Reheating: To enjoy warm cookies later, reheat in the microwave for about 10-15 seconds or pop them in a preheated oven at 350°F (175°C) for a few minutes until warm and gooey.
Crawfish and Grits Variations & Substitutions
Feel free to personalize your dish with these delightful twists that will elevate your crawfish and grits experience!
-
Spicy Kick: Add a dash of cayenne pepper or your favorite hot sauce for a fiery touch that complements the creamy grits beautifully. A little heat can transform the entire dish, making it more exciting!
-
Cheesy Goodness: Stir in extra shredded cheese, like cheddar or pepper jack, to the grits for a super creamy, rich flavor explosion. This cheesy upgrade might become your new favorite way to enjoy this classic dish.
-
Vegetarian Style: For a meatless option, substitute crawfish with sautéed mushrooms or a mix of seasonal vegetables for a fresh, vibrant twist. The earthy flavors will balance well with the creamy grits!
-
Creamy Alternatives: Swap regular milk with coconut milk or almond milk for a dairy-free version. This substitution enhances the dish’s creaminess while infusing a subtle flavor.
-
Herb Infusion: Infuse your grits with fresh herbs like thyme or rosemary for an aromatic layer of flavor. Adding herbs can transform your crawfish and grits into a gourmet experience.
-
Crawfish Variation: Experiment by using shrimp instead of crawfish for a different flavor profile, or mix in both for a delightful surf-and-turf combo. Enjoy the best of both worlds with this seafood twist!
-
Add Some Greens: Include sautéed kale or spinach within the grits for a nutritious touch. This veggie addition not only boosts nutrients but also adds a lovely color contrast.
To make your dining experience even better, you might love pairing your crawfish and grits with Cooker Garlic Parmesan or the comforting flavors of Italian Herbs Cheese Bread. Happy cooking!
What to Serve with Classic Chocolate Chip Cookies
There’s nothing quite like pairing warm, gooey cookies with delightful additions that elevate your sweet experience.
- Cold Glass of Milk: The classic companion; its creaminess complements the rich chocolate, enhancing each bite of your cookies.
- Rich Coffee: A robust cup adds depth, balancing the sweetness and providing a comforting contrast with every delicious nibble.
- Vanilla Ice Cream: Serve a scoop on top of a warm cookie for a dreamy, indulgent dessert that’s melt-in-your-mouth bliss.
- Fresh Berries: A burst of tartness from strawberries or raspberries provides a refreshing contrast to the sweetness of the cookies.
- Chocolate Drizzle: A drizzle of melted chocolate on top adds an elegant touch and intensifies the chocolatey goodness.
- Nutty Biscotti: Pair your cookies with biscotti for delightful crunch, creating a pleasing texture alongside the softness of your cookies.
- Homemade Hot Chocolate: Enjoy sipping on a warm, rich beverage while indulging in your cookies for a cozy, sweet treat.
- Coconut Macaroons: These chewy treats bring a tropical twist and different texture, making for an exciting dessert platter.
- Tea with Citrus Notes: A light citrusy tea brightens the dessert experience, cleansing the palate and making each cookie feel like a new delight.
Chocolate Chip Cookies Recipe FAQs
How can I ensure my ingredients are fresh?
Absolutely! When selecting flour, check the expiration date on the package. For baking powder and baking soda, ensure they are within 6 months of opening for optimal leavening. For sugars, look for no moisture or clumps; fresh brown sugar should feel soft to the touch, not hard.
What’s the best way to store leftover cookies?
To keep your chocolate chip cookies fresh, place them in an airtight container at room temperature for up to 1 week. If you want to retain their freshness for longer, consider freezing them. Simply layer the cookies with parchment paper to prevent sticking and keep them in a sealed freezer bag.
Can I freeze the cookie dough?
Yes! Freezing cookie dough is straightforward. After scooping out the dough onto a baking sheet lined with parchment paper, freeze the balls for about 30 minutes until solid. Once frozen, transfer them to a freezer bag, making sure to label it with the date—dough can be frozen for up to 3 months! When ready to bake, you can bake them directly from the freezer, adding a couple of extra minutes to the baking time.
What should I do if my cookies turn out flat?
If you’re dealing with flat cookies, it could be due to too much butter or not enough flour in the dough. Make sure your butter is softened (not melted) and measure your ingredients accurately. Chilling the dough for 30 minutes before baking can also help prevent spreading.
Are there any allergy considerations for this recipe?
Certainly! For those with gluten sensitivity, substitute the all-purpose flour with a gluten-free blend. For egg allergies, a flax egg (1 tablespoon flaxseed meal mixed with 2.5 tablespoons water) can be used. If you’re concerned about chocolate allergies, try using carob chips as an alternative—most variations are friendly to dietary dietary concerns, making these cookies versatile for many diets.
What’s the best way to know when my cookies are done baking?
You’ll want to keep an eye on them during the last few minutes! The edges should be a golden brown, while the centers will appear slightly soft—this balance indicates that you’ve achieved that chewy texture. If they look too doughy, give them another minute or two, but be careful not to overbake!
Crawfish and Grits: A Southern Comfort You'll Cherish
Ingredients
Equipment
Method
- In a pot, bring water to a boil. Stir in grits and salt, reduce heat and cook until thickened, about 20 minutes.
- Stir in cheese and butter until melted and combined. Set aside and keep warm.
- In a skillet, heat olive oil over medium heat. Add onion, garlic, and bell pepper, sauté until soft.
- Stir in crawfish tails and Cajun seasoning, cook for an additional 5 minutes.
- Serve the cheesy grits topped with the crawfish mixture. Enjoy while warm!
Leave a Reply