
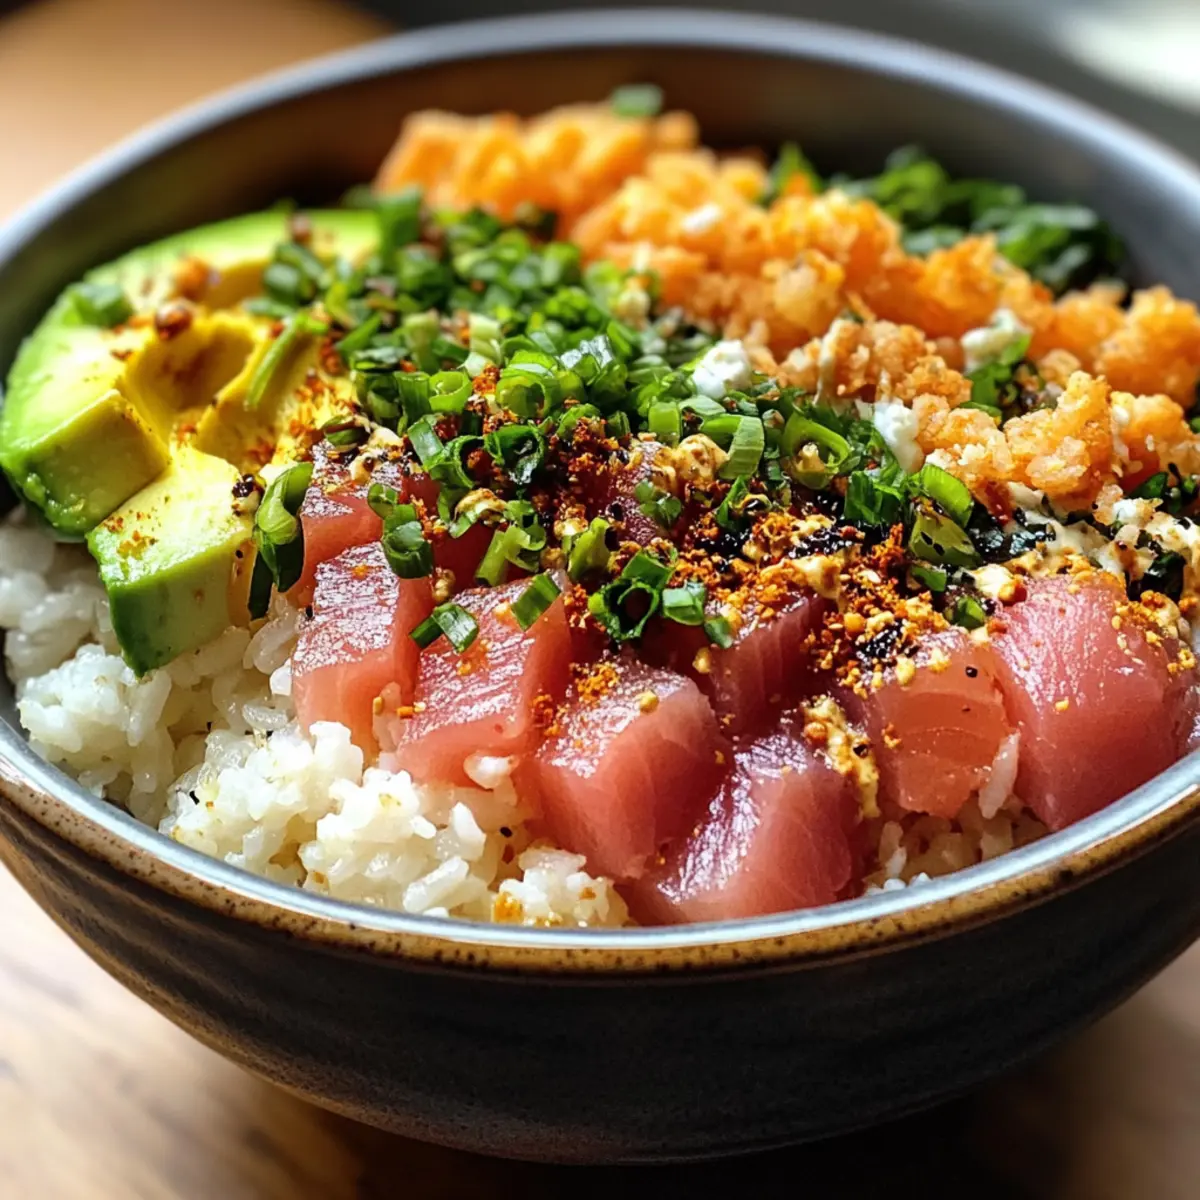
As I rummaged through my pantry one evening, I stumbled upon a few cans of tuna and a longing for sushi flavors. What I ended up whipping up was nothing short of a revelation—a vibrant Canned Tuna Sushi Bowl! In just 20 minutes, this delightful dish marries the delectable essence of sushi in a customizable bowl format. What’s more, it’s a treasure trove of nutritious goodness, making it an economical choice for quick dinners that satisfy everyone, particularly those little ones with discerning tastes. The pan-fried rice brings an irresistible crunch, while the creamy avocado and zesty bang bang sauce elevate each bite to new heights. Are you ready to see how easy it is to create this scrumptious, high-protein meal that will turn heads at the dinner table?
Why Is This Canned Tuna Sushi Bowl Amazing?
Quick Preparation: This recipe comes together in just 20 minutes, perfect for those busy weeknights when you crave something delicious but don’t want to spend hours in the kitchen.
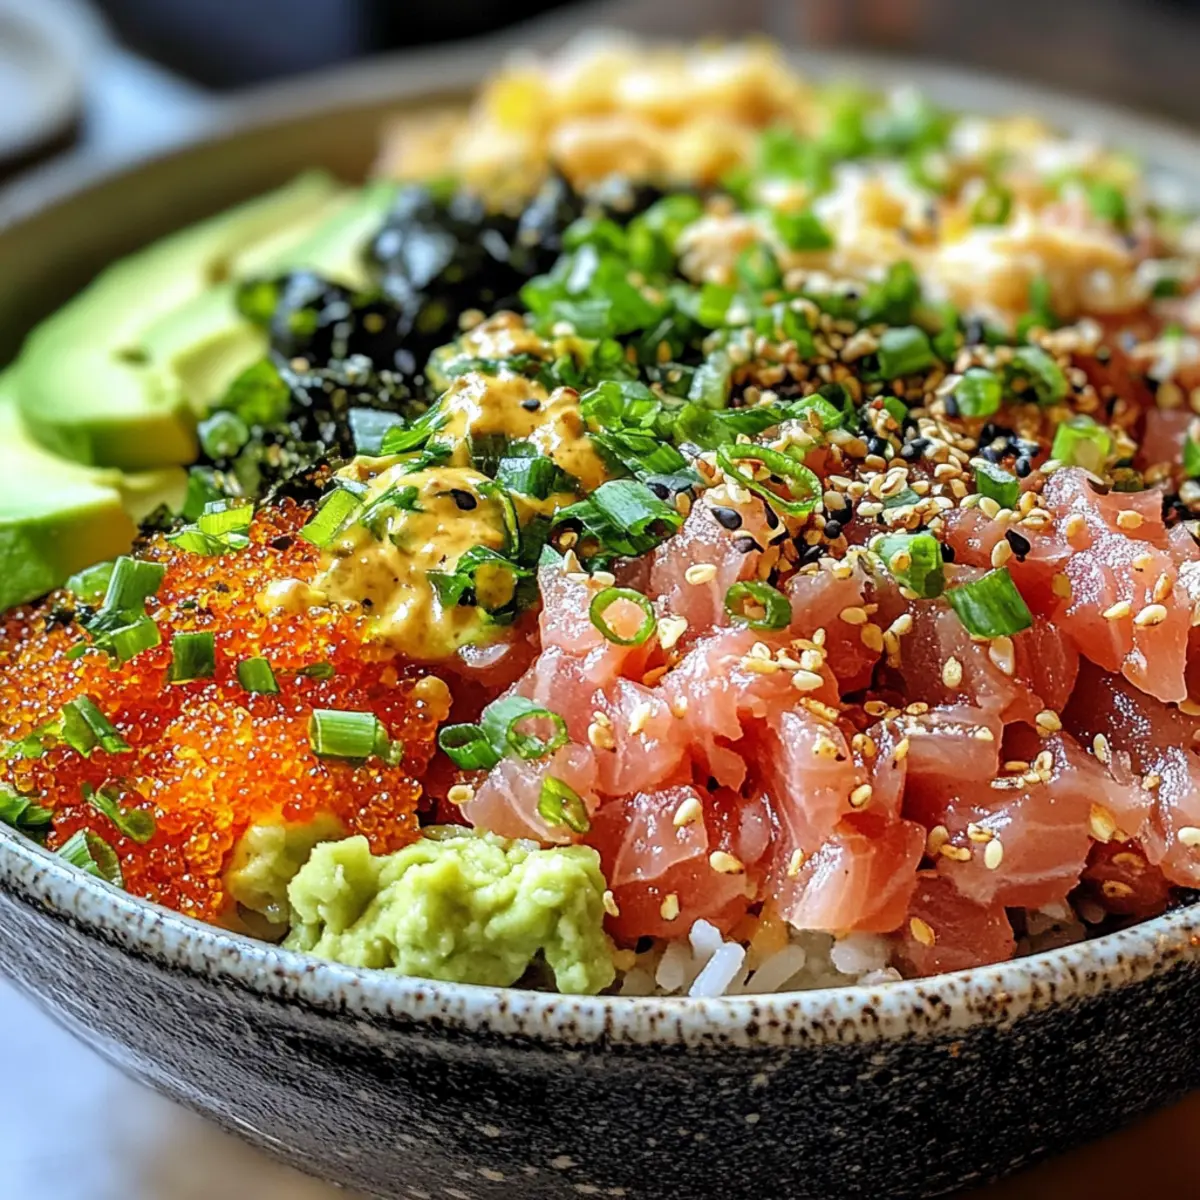
Endless Customization: The beauty of this bowl lies in its versatility—switch up the proteins, add your favorite veggies, or even toss in some pickled ginger for extra zing!
Nutritious & Economical: Packed with high protein ingredients like tuna and avocado, this dish is not only good for you but also light on the wallet.
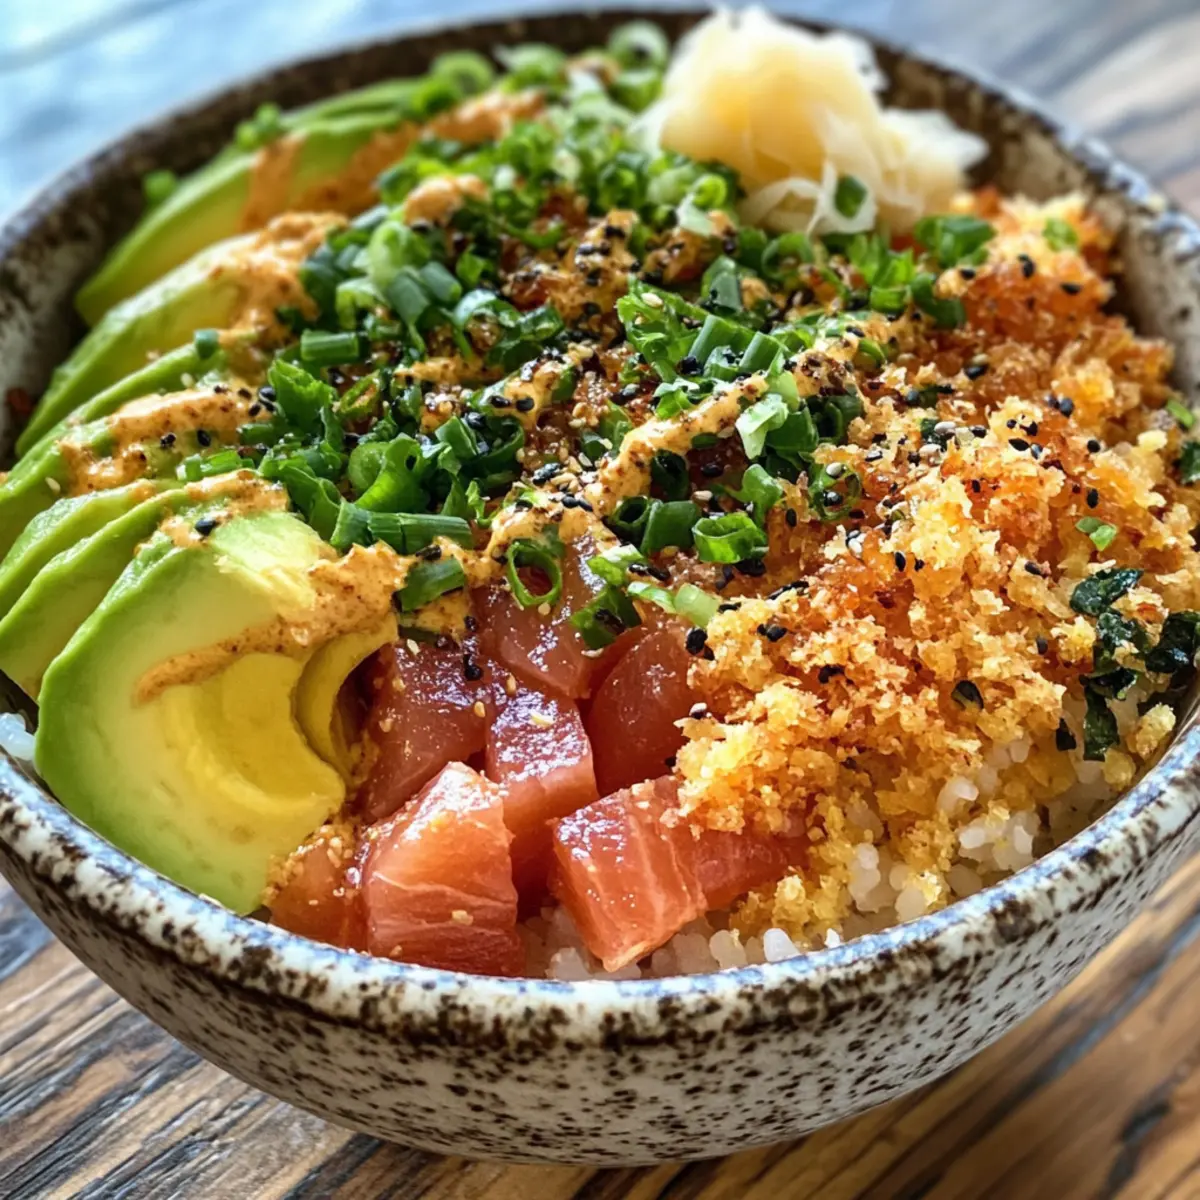
Irresistibly Crunchy Texture: With pan-fried rice that adds a delightful crunch, it’s a texture lover’s dream, contrasting beautifully with the creamy avocado and zesty sauce.
Pair this meal with a side of refreshing cucumber salad for a wholesome dinner. Plus, if you’re on the lookout for more easy yet tasty dishes, check out my recipes for Italian Sushi Rolls and Tuna Rice Balls!
Canned Tuna Sushi Bowl Ingredients
-
For the Rice Base
• Cooked Sushi Rice – This forms the crunchy foundation; you can prepare fresh rice in under 20 minutes if needed.
• Olive Oil – It adds richness and aids in pan-frying the rice to crispy perfection; you can omit it for a lighter option.
• Salt and Black Pepper – Key flavor enhancers; adjust to suit your personal taste. -
For the Toppings
• Canned Tuna – A high-protein star ingredient; consider using canned salmon for a different twist if desired.
• Bang Bang Sauce – This adds a creamy, spicy kick; spicy mayo is a great alternative if you prefer.
• Avocado – Brings creaminess and healthy fats to your bowl; can be left out for a lower-calorie option.
• Sriracha Sauce – Infuses a spicy touch, customizable according to your heat preferences; feel free to swap in your favorite hot sauce.
• Furikake – A Japanese seasoning that enhances the rice flavor; nori (seaweed) can work well as a substitute.
• Scallions – Offers a fresh garnish and flavor boost; chopped chives can be a good alternative.
Step‑by‑Step Instructions for Canned Tuna Sushi Bowl
Step 1: Prepare the Sushi Rice
Begin by cooking your sushi rice according to package instructions until tender, which usually takes about 15-20 minutes. Once cooked, gently fold in rice vinegar, optional sesame oil, and a pinch of sugar while it’s still warm. This step infuses the rice with flavor and gives it a perfect sushi texture, ready to be the delightful base of your Canned Tuna Sushi Bowl.
Step 2: Prepare the Toppings
While the rice is cooking, drain the canned tuna and mix it in a bowl with the bang bang sauce for a deliciously creamy and spicy flavor. Next, slice the avocado into thin pieces and chop the scallions finely. Setting these toppings aside will help streamline the assembly of your Canned Tuna Sushi Bowl, making it quick and effortless.
Step 3: Pan-Fry the Rice
In a skillet, heat a drizzle of olive oil over medium-high heat until shimmering. Add the prepared sushi rice, pressing it down slightly with a spatula. Cook for about 3-5 minutes without stirring, until the bottom develops a golden brown and crispy texture. Carefully flip the rice for an additional minute and then break it up gently. This creates delightful texture while preventing sogginess in your bowl.
Step 4: Assemble the Bowl
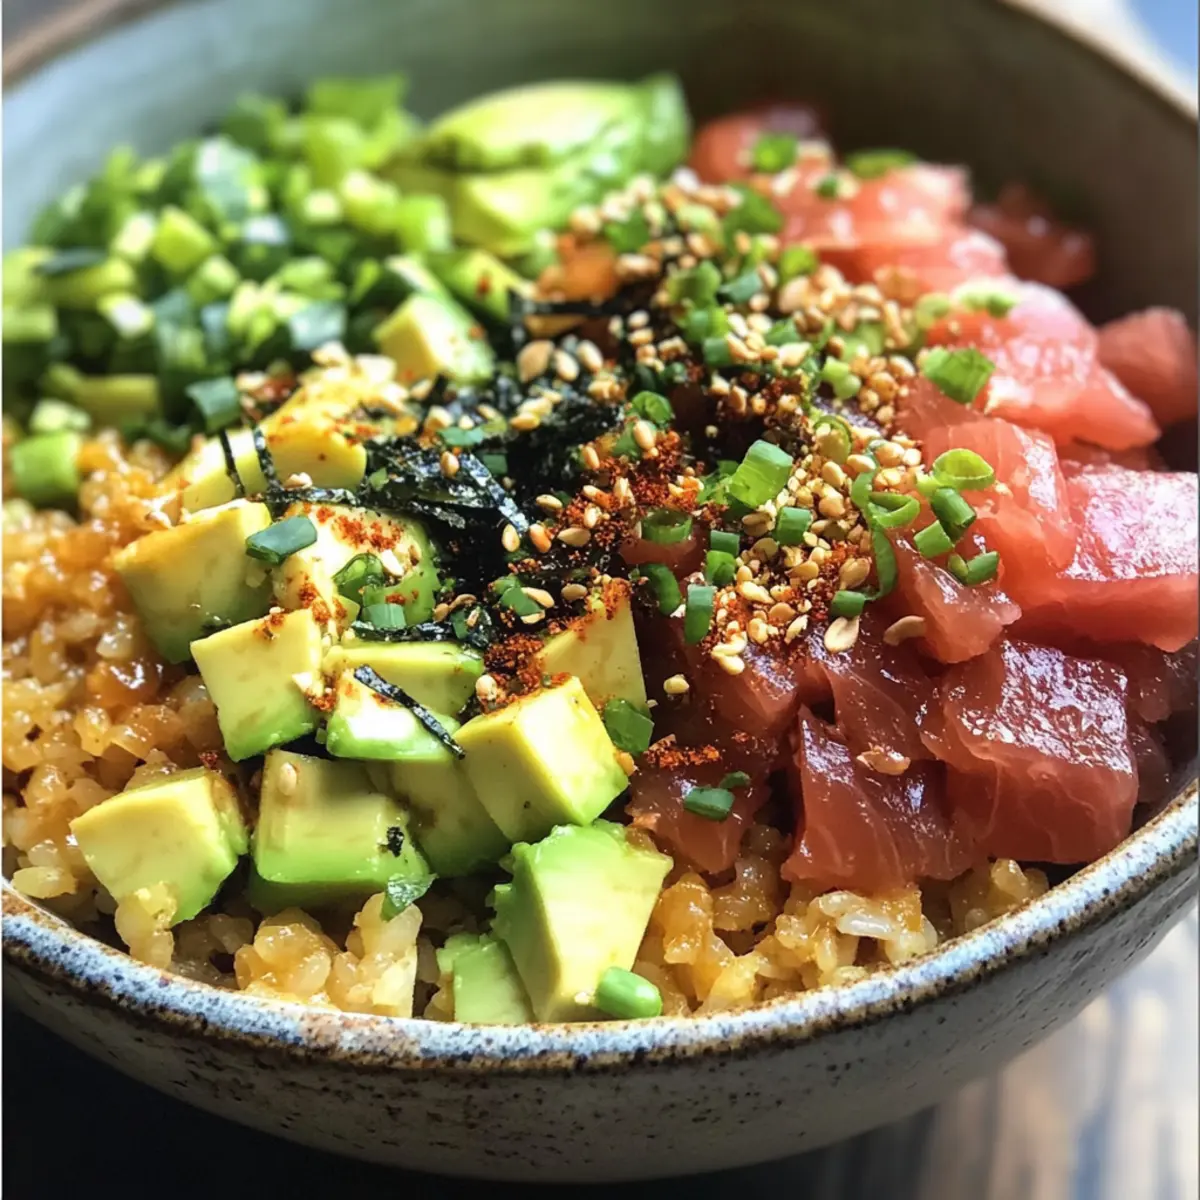
Now it’s time to create your Canned Tuna Sushi Bowl! Start with a generous scoop of the pan-fried rice as your base in a bowl. Top it with the spicy bang bang tuna mixture, followed by the creamy avocado slices. Finally, garnish with chopped scallions, a sprinkle of furikake, and a drizzle of sriracha sauce for that perfect kick. Each layer contributes to the vibrant flavors and textures of this amazing dish.
Expert Tips for Canned Tuna Sushi Bowl
• Crispy Rice Secret: Ensure your skillet is hot before adding the rice to achieve that perfect golden-brown crust.
• Don’t Over-Stir: Once the rice is in the skillet, resist stirring it too much to maintain its crispy texture.
• Proper Tuna Mix: Mix the tuna with bang bang sauce just before assembling; this keeps it fresh and enhances flavor.
• Storage Wisdom: Keep ingredients separate in the fridge; once assembled, the bowl is best enjoyed fresh for flavor and texture.
• Elevate with Additions: Consider adding pickled vegetables or fresh herbs like cilantro for an extra boost of flavor in your Canned Tuna Sushi Bowl.
How to Store and Freeze Canned Tuna Sushi Bowl
Fridge: Keep ingredients individually in airtight containers, storing assembled bowls for up to 1 day for optimal freshness and flavor.
Freezer: If you have leftover rice or toppings, freeze them separately in airtight bags for up to 1 month. Thaw completely before reheating.
Reheating: For rice, reheat in a skillet over medium heat with a splash of water to restore texture. Tuna and toppings can be mixed and served cold or at room temperature.
Preparation Tip: For best results, prepare the Canned Tuna Sushi Bowl fresh when you’re ready to enjoy it, but you can do some advance prep with the rice and ingredients!
Make Ahead Options
These Canned Tuna Sushi Bowls are perfect for meal prep, allowing you to save time on busy weeknights! You can prepare the sushi rice and mix the bang bang sauce up to 24 hours in advance. Simply refrigerate the cooked rice in an airtight container to maintain its quality, and store the sauce separately to keep it fresh. The sliced avocado and chopped scallions can be prepped on the day of serving to prevent browning, ensuring your toppings stay vibrant and delicious. When you’re ready to enjoy, pan-fry the rice for that essential crispy texture, assemble your bowls with the tuna and toppings, and enjoy a delightful meal that’s just as tasty as if it were freshly made!
Canned Tuna Sushi Bowl Variations
Feel free to explore your culinary creativity with these fun variations! Each option beckons a burst of new flavors and textures.
-
Chicken Swap: Substitute canned tuna with cooked chicken for a protein-packed version that’s just as satisfying.
-
Veggie Delight: Replace tuna with diced tofu or chickpeas for a delightful vegetarian twist. You’ll still enjoy that amazing flavor!
-
Spicy Kick: Elevate the heat by using wasabi mayo instead of bang bang sauce. It’s a daring yet delicious take for spice lovers.
-
Pickled Veggies: Add a handful of pickled radishes or cucumbers for an extra zing! They provide a tangy crunch that complements the creamy avocado.
-
Crispy Seaweed: Top your bowl with crispy nori sheets for extra texture. The umami flavor of the seaweed plays beautifully with the other ingredients.
-
Flavorful Marinade: Marinate your tuna in soy sauce, ginger, and sesame oil for an umami-packed twist. This easy addition will take your bowl to new heights.
-
Fresh Herbs: Toss in fresh cilantro or basil for a burst of freshness! These herbs brighten the dish and add delightful aroma.
-
Nutty Finish: Drizzle sesame oil or garnish with sesame seeds for a nutty flavor. It’s an easy and tasty enhancement that rounds out the dish beautifully.
Looking for more inspiration? Don’t forget to check out my delicious Tuna Rice Balls or try your hand at Italian Sushi Rolls for delightful variations on these comforting favorites!
What to Serve with Quick & Easy Canned Tuna Sushi Bowl
Elevate your dining experience by complementing this vibrant bowl with delightful sides and refreshing beverages.
-
Crispy Cucumber Salad: Refreshing and crunchy, the cool cucumbers soothe spicy notes while adding a crisp texture to the meal. Toss them with rice vinegar, sesame oil, and sesame seeds for added flair.
-
Miso Soup: A warm bowl of savory miso soup pairs beautifully, balancing the meal with umami flavors that enhance the overall taste. Its comforting warmth makes it a satisfying addition to the sushi bowl.
-
Light Soy Sauce: Use a drizzle of light soy sauce for those who enjoy a touch of saltiness—it perfectly amplifies the flavors of the tuna without overwhelming them.
-
Edamame Beans: These protein-packed green gems bring a fun pop of color and a slight crunch, making for a healthful, enjoyable side that complements the main dish seamlessly.
-
Pickled Ginger: With its zesty bite, pickled ginger can cleanse the palate between bites, offering a refreshing counterpoint to the rich flavors of the sushi bowl.
-
Chilled Green Tea: A chilled glass of green tea offers a light, earthy flavor that pairs well, enhancing your sushi experience while keeping it refreshing.
-
Mango Sorbet: For dessert, finish on a sweet note! This fruity, frozen treat can cleanse your palate and satisfy your sweet tooth without being overly heavy.
-
Sweet Potato Wedges: Oven-roasted sweet potato wedges lend a hearty crunch and natural sweetness that balance the spicy elements of the bowl, creating a satisfying meal.
Canned Tuna Sushi Bowl Recipe FAQs
How do I choose the best canned tuna for this recipe?
Absolutely! When selecting canned tuna, look for options packed in water or olive oil for the best flavor and texture. Opt for tuna that’s labeled as sustainably caught, and give preference to those with a lower mercury content, especially if you’re cooking for kids or pregnant women.
How should I store leftover ingredients from my Canned Tuna Sushi Bowl?
Very! Keep the sushi rice, canned tuna, and chopped toppings in separate airtight containers in the fridge. This way, they’ll stay fresh for up to 2 days. Assembled bowls are best enjoyed immediately, but if you must, store them for up to 1 day—just remember the flavors and textures will be at their peak when served fresh.
Can I freeze the components of my Canned Tuna Sushi Bowl?
Of course! You can freeze leftover sushi rice and toppings separately in airtight bags for up to 1 month. To use, thaw overnight in the fridge. When it’s time to reheat, warm up the rice in a skillet with a splash of water to regain its original fluffy texture.
What if my rice isn’t crispy after frying?
This happens sometimes! If your rice didn’t crisp up, ensure your skillet was hot enough before adding the rice. To fix soggy rice, try spreading it out on a baking sheet and place it in the oven at 400°F for about 5-10 minutes to help it dry out and regain some crunch.
Can I customize this recipe for dietary restrictions?
Absolutely! To make a gluten-free version, ensure your sauces are gluten-free and substitute furikake with safe alternatives. For dairy-free, the bang bang sauce can be made without mayo or you could use a plant-based mayo. If you or someone in your family has any allergies, feel free to skip specific toppings like avocado or scallions and substitute them with what works for you.
How long can I keep prepared sushi rice?
I often have sushi rice leftovers! You can refrigerate leftover sushi rice in an airtight container for up to 2 days. It’s best to reheat it before use—just add a splash of water and heat it in a skillet or microwave. Enjoy your delicious Canned Tuna Sushi Bowl!
Delicious Canned Tuna Sushi Bowl Ready in 20 Minutes
Ingredients
Equipment
Method
- Prepare sushi rice according to package instructions, usually taking about 15-20 minutes.
- While rice cooks, drain canned tuna and mix with bang bang sauce. Slice avocado and chop scallions.
- Heat olive oil in a skillet, add sushi rice, cook without stirring for 3-5 minutes until golden and crispy.
- Assemble the bowl with pan-fried rice, tuna mixture, avocado, scallions, furikake, and sriracha.
Leave a Reply