
The vibrant aroma of spices and the satisfying crunch of Napa cabbage radiate warmth in my kitchen every time I whip up my Easy Fast-Fermenting Kimchi Recipe. This isn’t just any kimchi; it’s a quick and healthy way to add a burst of flavor to your meals that you’ll find yourself reaching for again and again. In just two days, you can enjoy this probiotic-rich wonder, perfect as a tangy condiment or a side dish that elevates everything from rice bowls to stir-fries. Fermentation may sound daunting, but trust me, the simplicity of this method makes it accessible for cooks of all skill levels. Are you ready to embark on a delicious journey into homemade kimchi? Let’s get started!
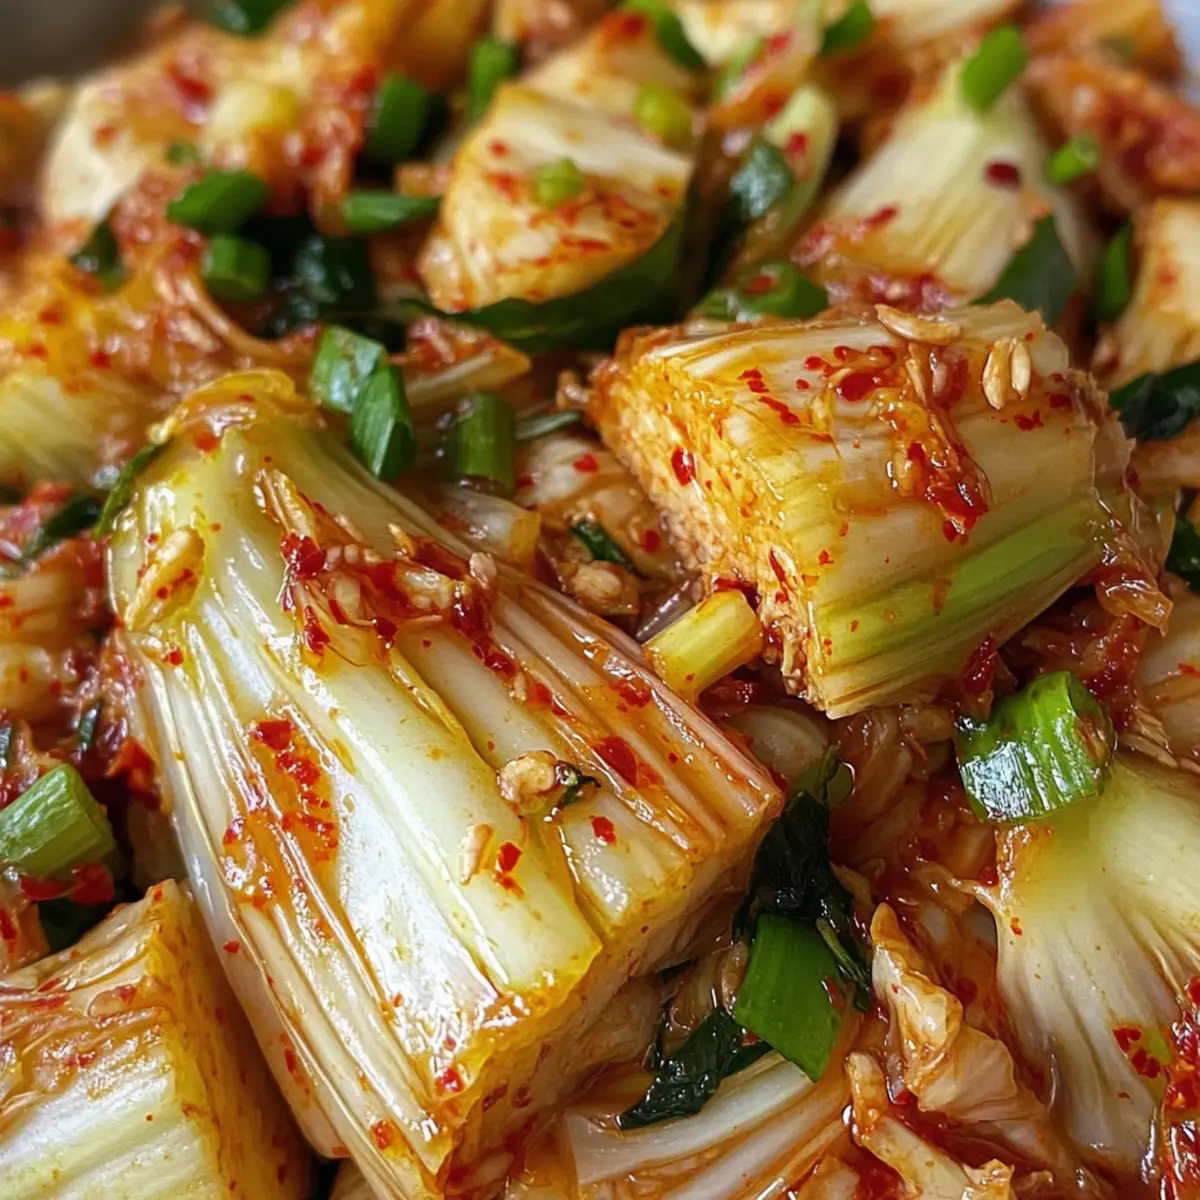
Why Is Homemade Kimchi So Special?
Bold, Vibrant Flavors: This recipe highlights the unique richness of spicy, tangy notes combined with the fresh crunch of Napa cabbage.
Quick Fermentation: Enjoy homemade kimchi in just two days, perfect for busy lifestyles.
Probiotic Benefits: Packed with beneficial probiotics, it’s not only delicious but also promotes gut health.
Versatile Uses: Serve it as a side dish, in stir-fries, or even as a topping for tacos! If you’re looking for more unique dishes, try out Okonomiyaki Flavorful Pancake for a fun twist.
Simplicity at Its Best: With minimal steps, this recipe is accessible for everyone, whether you’re a seasoned chef or a newcomer to cooking.
Crowd-Pleasing Appeal: Homemade kimchi is bound to impress friends and family at your next dinner gathering!
Best Homemade Kimchi Ingredients
For the Kimchi Base
• Napa Cabbage – the star of the show, it provides the signature crunch and structure; choose a fresh head for the best results.
• Garlic – for a punch of robust flavor; 10 minced cloves bring aromatic intensity to every bite.
• Ginger – adds a warm, mild heat; use approximately one inch minced to elevate the taste.
• Red Onion – enhances natural sweetness; ½ cup chopped adds a delightful layer of flavor.
• Green Onion – contributes freshness and an extra crunch; 2 stems sliced into 2-inch pieces are perfect.
For Fermentation
• Kosher Salt – essential for fermentation and moisture extraction; use ½ cup to salt the cabbage efficiently.
• Water – key for soaking; adjust as needed for consistency and flavor infusion.
• Fermented Fish (Bagoong Alamang) – brings umami richness; feel free to explore substitute options found in Asian markets.
• Fish Sauce – fortifies the flavor profile with depth and saltiness; ¼ cup is just right.
Spicy Kick and Balance
• Hot Pepper – adjusts the heat level; start with ½ cup, but feel free to dial it up or down based on your preference.
• Granulated Sugar – balances the salty notes; ⅛ cup works wonders in harmonizing flavors.
For the Kimchi Porridge
• Glutinous Rice Flour – used for creating the kimchi porridge to achieve a creamy sauce; ¼ cup ensures the right consistency.
• Water for Porridge – 1 cup, more or less, depending on how thick you want the sauce to be.
Dive into this Best Homemade Kimchi Recipe and explore the vibrant flavors of fermented delights that will have everyone asking for seconds!
Step‑by‑Step Instructions for Best Homemade Kimchi Recipe
Step 1: Prepare the Cabbage
Begin by slicing the Napa cabbage into quarters and removing the core. Cut each quarter into bite-sized pieces, then thoroughly rinse the cabbage under cold water. This fresh washing helps to enhance the final crunchy texture of your kimchi. Drain the cabbage well and set it aside while you prepare for seasoning.
Step 2: Salt the Cabbage
In a large mixing bowl, rub half a cup of kosher salt over the cabbage pieces, ensuring they are well-coated. Submerge the cabbage in water, placing a weight on top to keep it submerged. Let it soak for 1.5 hours, turning the cabbage every 30 minutes until it becomes softened and slightly wilted, indicating it’s ready for fermentation.
Step 3: Make Kimchi Porridge
While the cabbage is salting, combine the glutinous rice flour with one cup of water in a saucepan. Cook over medium-low heat, stirring continuously until it thickens into a smooth paste—this usually takes about 10 minutes. Once done, remove it from heat and let it cool to room temperature, providing the perfect bound base for your kimchi sauce.
Step 4: Combine Ingredients
In a large bowl, mix the cooled kimchi porridge with minced garlic, ginger, chopped red onion, green onion, and fish sauce. Add in the granulated sugar and hot pepper according to your spice preference. Stir this mixture until combined, creating a flavorful kimchi paste, which will coat the cabbage beautifully.
Step 5: Coat the Cabbage
Next, add the drained cabbage to the bowl with your kimchi paste. Mix well, ensuring every piece of cabbage gets evenly coated with the scrumptious mixture. Depending on the size of your bowl, you may find it easier to work in batches, gently massaging the paste into every nook and cranny to guarantee all flavors meld together.
Step 6: Ferment and Store
Transfer the kimchi mixture into a clean, airtight container, packing it down to minimize air pockets. Leave about an inch of space at the top to allow for expansion during fermentation. Store the container in a dark, room-temperature area for 2 days. After this period, taste your homemade kimchi to see if it meets your flavor preference, then refrigerate to prolong freshness.
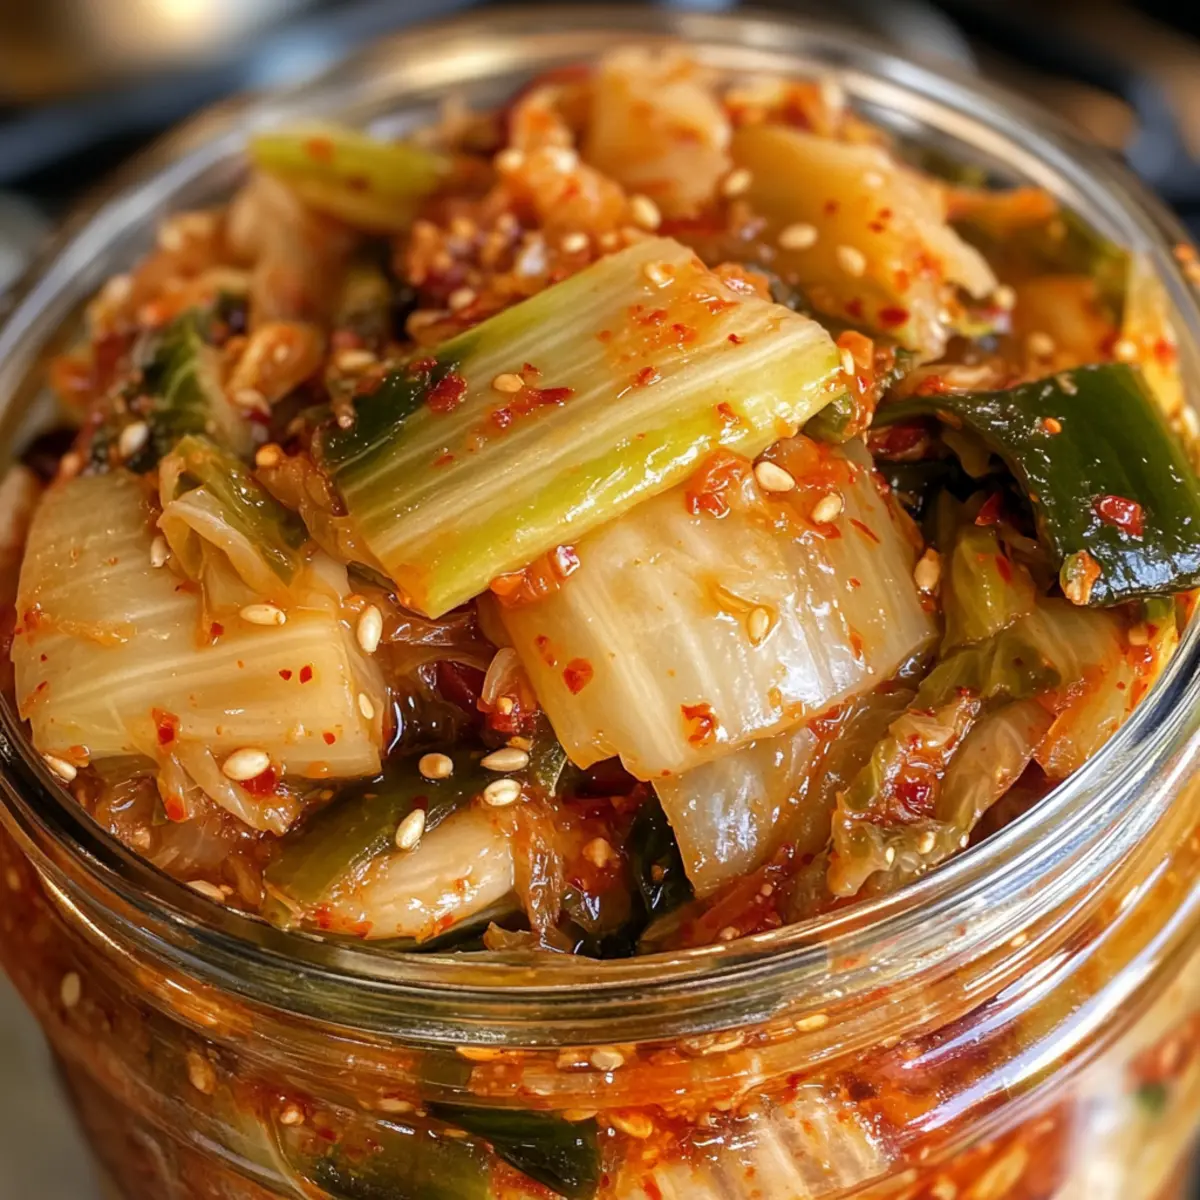
Expert Tips for Best Homemade Kimchi
• Salt Selection: Use kosher salt rather than table salt; it aids fermentation better and reduces excess bitterness.
• Temperature Check: Keep the kimchi in a cool, dark place during fermentation to avoid excessive sourness.
• Regular Burping: Remember to “burp” the container daily by loosening the lid to release gases, preventing overflow and maintaining optimal flavor.
• Taste Test: Sample your kimchi after the initial fermentation period; if it’s not tangy enough, allow it to ferment longer until desired flavor is achieved.
• Container Choice: Opt for a glass or food-grade plastic container to avoid unwanted chemicals interfering with your homemade kimchi.
• Versatile Add-ins: Feel free to experiment by adding ingredients like daikon radish or carrots for extra texture in your kimchi. Enjoy your journey with the best homemade kimchi recipe!
Make Ahead Options
These easy fast-fermenting kimchi options are perfect for busy home cooks looking to save time! You can prepare the cabbage by salting it up to 24 hours in advance; simply slice, salt, and soak as instructed, then store it in the refrigerator. The kimchi porridge can also be made ahead—just cool it completely after cooking, then cover and refrigerate for up to 3 days. When you’re ready to finish your best homemade kimchi recipe, mix the prepped ingredients and follow the remaining steps to coat the cabbage and begin fermentation. This method not only saves you time but keeps the flavors just as vibrant and delicious!
How to Store and Freeze Best Homemade Kimchi
Fridge: Store your kimchi in an airtight container in the refrigerator for up to 6 months. This will help preserve its flavor and crunch.
Freezer: If you have leftover kimchi, portion it into freezer-safe bags, removing excess air before sealing. It can last up to 3 months in the freezer, maintaining its delicious taste.
Thawing: To enjoy frozen kimchi, thaw it overnight in the fridge or at room temperature. Use it immediately in soups, stir-fries, or as a topping for rice dishes.
Signs of Spoilage: Always check for signs of spoilage, such as excessive sourness or off smells. It’s best to consume the best homemade kimchi while it’s at its freshest!
Best Homemade Kimchi Recipe Variations
Feel free to personalize your kimchi and make it uniquely yours with these exciting twists!
-
Vegetable Boost: Add radishes or cucumbers for an extra crunch! These fresh additions can enhance the flavor profile and provide delightful textures. They’re easy to find and will give your kimchi a playful variation.
-
Spicy Seafood: Incorporate shrimp or chopped anchovies for a seafood twist! The briny flavors pair beautifully with the spices, making each bite a savory surprise. Seafood lovers will relish this additional depth.
-
Vegan-Friendly: Skip the fish sauce and use soy sauce instead! This swap brings umami flavor while keeping it plant-based. You’ll find the results are just as satisfying and full of flavor.
-
Extra Garlic: Want more flavor? Boost the garlic to 15 cloves for an aromatic experience! It intensifies the taste and fills your home with a deliciously fragrant aroma that will have everyone eager for a taste.
-
Heat Level Adjustment: Feel free to tweak the amount of hot pepper to match your spice tolerance! Lovers of heat can double the quantity for an extra kick, while those preferring milder flavors can reduce it significantly.
-
Add Fruits: Introduce slices of pear or apple for a subtle sweetness! These fruits will lend a refreshing contrast to the spicy notes, creating a unique balance in your kimchi. Plus, it’s a fun twist!
-
Curried Version: Stir in curry powder for an unexpected flavor burst. You’ll make your kimchi exotic and aromatic, giving it an approachable twist that offers a delightfully surprising spin on the traditional recipe.
For even more culinary inspirations, you can pair your kimchi with Louisiana Seafood Gumbo or tuck it into hearty Pumpkin Scones for an unforgettable meal experience! Enjoy experimenting and making this recipe your own!
What to Serve with Easy Fast-Fermenting Kimchi?
The rich, spicy essence of homemade kimchi opens the door to a world of delicious pairings that enhance every bite.
- Steamed Jasmine Rice: A fluffy and aromatic base, it soaks up the kimchi’s tangy juice for a satisfying bite.
- Korean Fried Chicken: Juicy and crispy, this dish complements the bold flavors of kimchi beautifully, creating a delightful harmony of textures.
- Kimchi Fried Rice: Use leftover kimchi to elevate simple fried rice, adding a punch of flavor that’s irresistible and comforting.
- Pork Belly Tacos: The savory richness of pork belly paired with tangy kimchi creates a mouthwatering fusion worth savoring.
- Sesame Noodles: The nutty taste of sesame oil brings balance to the vibrant flavor of kimchi, delighting your palate with every forkful.
- Pickled Veggies: Add a side of pickled radish or cucumbers to enhance the crunch factor in your meal, elevating freshness.
- Soju or Rice Wine: A chilled glass perfectly complements your kimchi experience, cutting through the spice and enhancing the overall enjoyment.
- Mochi Ice Cream: End your meal on a sweet note; the chewy, creamy dessert is a delightful contrast to the zesty kimchi!
Embrace these pairings for a well-rounded meal that brings everyone to the table!
Best Homemade Kimchi Recipe FAQs
What kind of Napa cabbage should I choose for the best results?
Opt for a compact head of Napa cabbage with firm, intact leaves for your homemade kimchi. Avoid any with dark spots or wilting, as this can affect the crunchiness and flavor of your kimchi.
How should I store my kimchi once it’s done fermenting?
Store your kimchi in an airtight container in the refrigerator, where it can last for up to 6 months. This keeps its flavor and texture intact, ensuring you can enjoy the vibrant taste of your homemade kimchi with your meals.
Can I freeze homemade kimchi, and if so, how?
Absolutely! You can portion out your leftover kimchi into freezer-safe bags, removing as much air as possible to prevent freezer burn. It should last up to 3 months in the freezer. When you’re ready to enjoy it, simply thaw it overnight in the fridge or at room temperature before using it in recipes like soups or stir-fries.
What should I do if my kimchi is too salty?
If your kimchi turns out too salty, you can adjust it by adding some fresh cabbage or other vegetables to dilute the saltiness. Simply chop an additional Napa cabbage and mix it into your kimchi for a quick fix. Alternatively, a bit of sugar can also help balance the flavors.
Are there any dietary considerations for this recipe?
Yes, some recipes may include fermented fish which might not be suitable for vegetarians or those with seafood allergies. You can easily substitute fish sauce with a vegan alternative or simply double the amounts of other savory ingredients to maintain the flavor profile without using fish. Always double-check for any allergies with your guests before serving!
How can I tell if my kimchi has gone bad?
Keep an eye on its smell and appearance. Fresh kimchi has a tangy aroma; if you notice an off smell or if it becomes excessively sour and bubbly after a few months, it’s best to discard it. Always trust your senses and err on the side of caution!
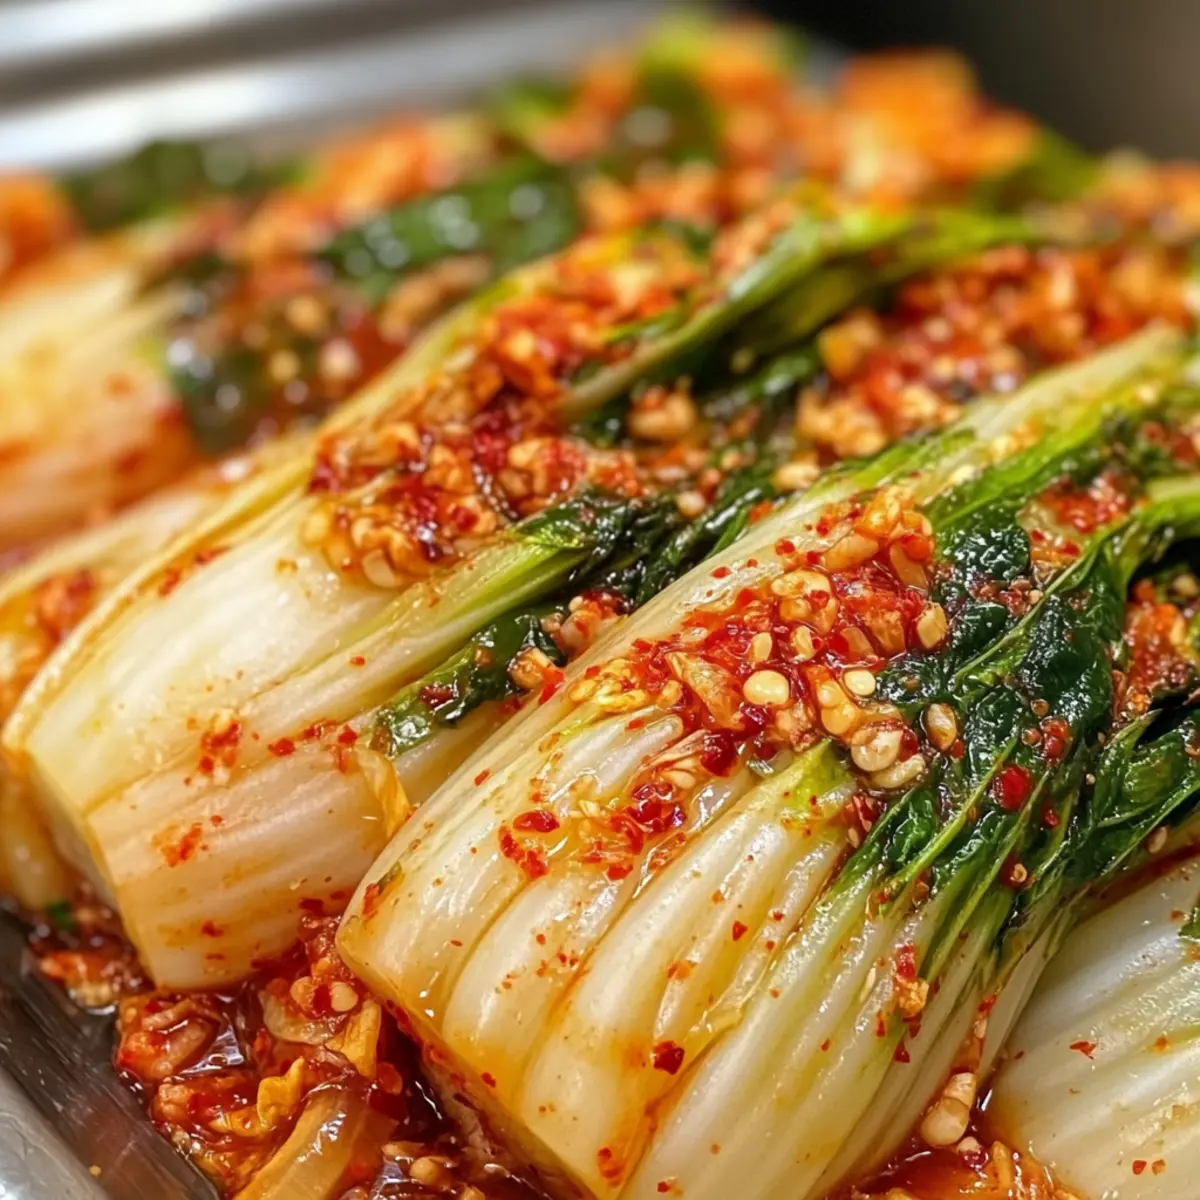
Best Homemade Kimchi Recipe for a Quick Flavor Boost
Ingredients
Equipment
Method
- Slice the Napa cabbage into quarters, remove the core, chop into bite-sized pieces, rinse under cold water, and drain.
- In a bowl, rub kosher salt over cabbage pieces. Submerge in water with a weight for 1.5 hours.
- Combine glutinous rice flour with 1 cup of water in a saucepan, cook over medium-low heat until thickened, then cool.
- Mix cooled porridge with garlic, ginger, red onion, green onion, fish sauce, sugar, and hot pepper in a large bowl.
- Add drained cabbage to the kimchi paste, mix well to ensure even coating.
- Transfer to an airtight container, press down to remove air pockets, and store at room temperature for 2 days before refrigerating.
Leave a Reply