
As the leaves begin to swirl and the air turns crisp, there’s an unmistakable magic that fills the kitchen around Halloween. Today, I’m thrilled to share my recipe for Witch Hat Cookies, an enchanting treat that combines the irresistible goodness of peanut butter with a spooky twist. These cookies are not just fun to make; they’re quick and easy, perfect for last-minute Halloween gatherings or festive family fun. With a delightful layer of chocolate and whimsical Hershey’s Kisses crowning each cookie, you’re bound to impress both kids and adults alike! So, whether you’re looking for a fresh take on treat-making or a creative way to celebrate the season, these Witch Hat Cookies will surely bring joy. Curious about how to bring these spooky delights to life? Let’s dive into the magic of baking!
Why Are Witch Hat Cookies a Must-Try?
Delightfully Spooky: These Witch Hat Cookies turn ordinary baking into an enchanting experience your family will love.
Quick and Easy: With just a few ingredients and simple steps, you can whip up a batch in no time, perfect for those last-minute Halloween gatherings!
Creative Freedom: Get artsy with decorations—try different flavored kisses or colorful frostings for a personal twist that adds flair.
Crowd-Pleasing Treat: Kids and adults alike will be charmed by these cookies, making them a hit at any festive gathering, alongside your favorite Soft Pumpkin Cookies.
Nutritional Flexibility: Whether you need a nut-free or gluten-free option, these cookies can easily adapt to dietary preferences without sacrificing taste!
These cookies are not just treats; they are whimsical creations that spark joy!
Witch Hat Cookies Ingredients
For the Cookies
- Creamy No-Stir Peanut Butter – Provides a rich flavor and chewiness; substitution: Sunflower seed butter for a nut-free version.
- Unsalted Butter – Adds moisture and tenderness; use at room temperature for optimal mixing.
- Granulated Sugar – Sweetens and contributes to the cookie’s crispness.
- Brown Sugar – Increases moisture and enhances depth of flavor.
- All-Purpose Flour – Forms the structure; measure accurately to avoid dense cookies.
- Baking Soda – Acts as a leavening agent to help the cookies rise.
- Salt – Enhances the overall flavor profile.
For the Toppings
- Chocolate Melting Wafers – Forms the brim of the witch hats; recommended for even melting.
- Chocolate Kisses – Serve as the delightful “hats” atop the cookies.
For the Frosting
- Confectioners’ Sugar – Thickens frosting for decorations.
- Gel Food Coloring – Enables festive frosting colors; use vibrant shades like orange and purple for Halloween.
- Heavy Cream or Whole Milk – Adjusts the frosting’s consistency for easier application.
These ingredients will help you craft magical Witch Hat Cookies that brighten up any Halloween celebration!
Step‑by‑Step Instructions for Witch Hat Cookies
Step 1: Preheat Oven
Begin by preheating your oven to 375°F (190°C). While it warms up, line your baking sheets with parchment paper, creating a non-stick surface for your Witch Hat Cookies. This preparation helps ensure even baking and easy cleanup afterward.
Step 2: Prep Dry Ingredients
In a medium bowl, whisk together 1 ½ cups of all-purpose flour, 1 teaspoon of baking soda, and a pinch of salt until well combined. This step is crucial as it ensures proper leavening and flavor distribution in your Witch Hat Cookies, setting the foundation for their delightful texture.
Step 3: Mix Wet Ingredients
Next, in a large mixing bowl, cream together ½ cup each of granulated sugar and packed brown sugar with ½ cup of softened unsalted butter and 1 cup of creamy peanut butter. Beat until the mixture is light and fluffy, which should take about 2-3 minutes. Then, add in 1 large egg and 1 teaspoon of vanilla extract, mixing until just combined.
Step 4: Combine Mixtures
Gradually fold the dry ingredients into the wet mixture, stirring gently until everything is just incorporated. Be careful not to overmix, as this could lead to dense cookies. Your dough should be soft and slightly sticky, the perfect consistency for forming your Witch Hat Cookies.
Step 5: Shape Cookies
Using a cookie scoop or your hands, form 1-inch balls of dough and roll them in granulated sugar for a sparkling finish. Space the cookies about 2 inches apart on the prepared baking sheets to allow for spreading during baking. This will give your Witch Hat Cookies room to grow!
Step 6: Bake
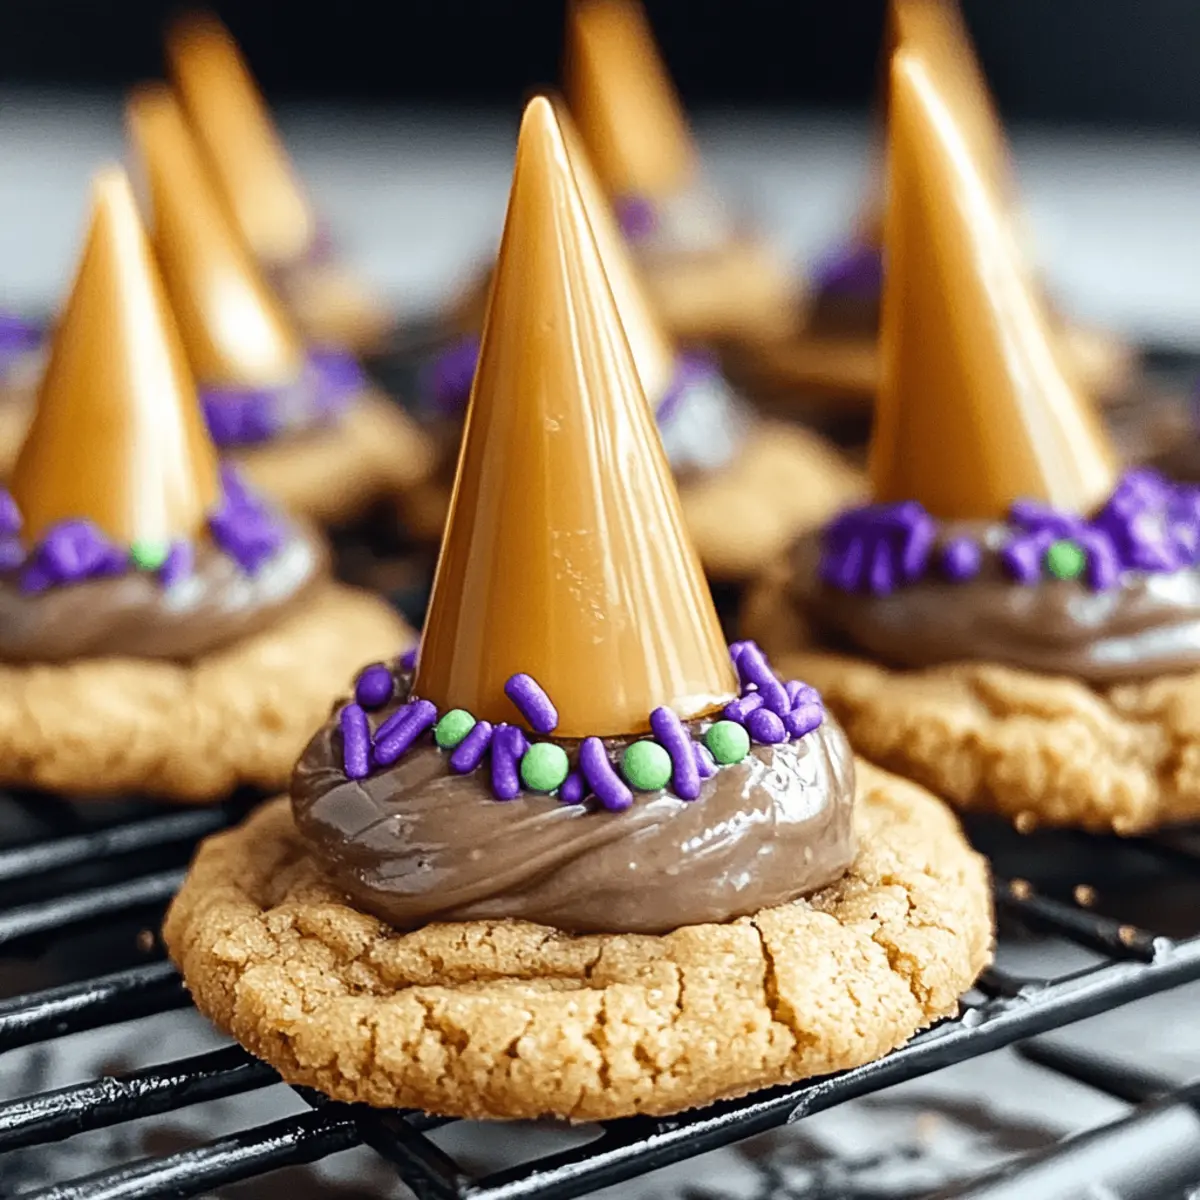
Place the baking sheets in the oven and bake for about 10 minutes, or until the edges are lightly golden. As soon as you remove them from the oven, gently press a chocolate melting wafer onto the center of each cookie to allow it to melt into a delicious base for your “witch hats.”
Step 7: Cool
Transfer the cookies to a wire rack to cool completely. Taking this step allows the chocolate to set properly, creating a sturdy base for your decorated Witch Hat Cookies. Be patient, as cooling is essential to avoid a messy decorating process later.
Step 8: Make Frosting
In a mixing bowl, beat ½ cup of softened butter until creamy. Gradually add in 1 to 2 cups of confectioners’ sugar, along with 1 teaspoon of vanilla extract, a pinch of salt, and 2 tablespoons of heavy cream. Mix until smooth, achieving a spreadable consistency. Add gel food coloring for a festive touch to your frosting!
Step 9: Assemble Cookies
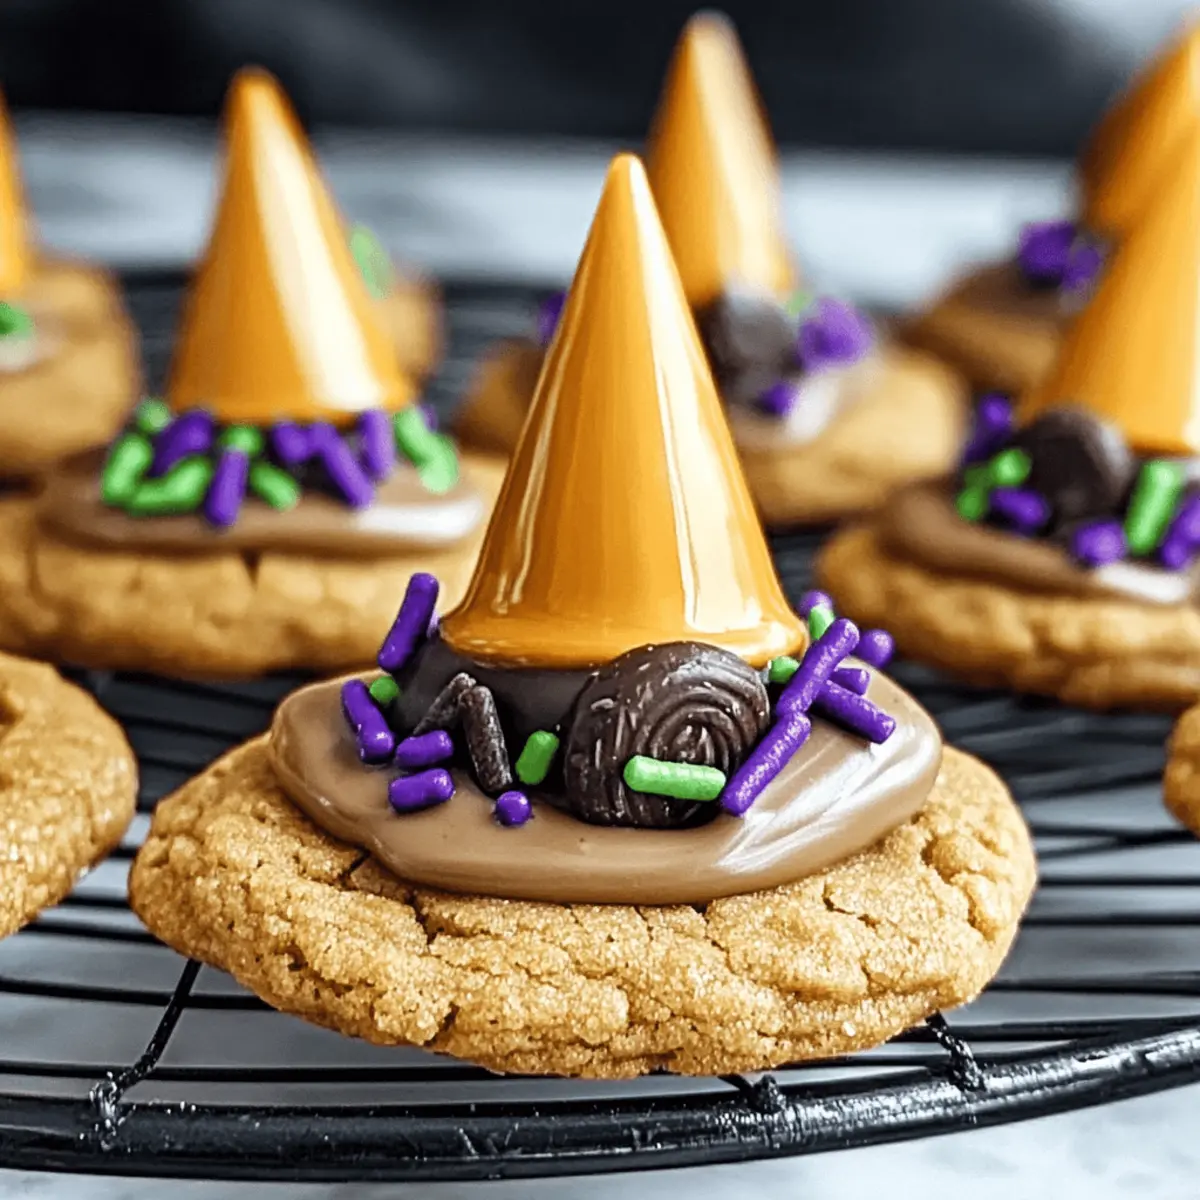
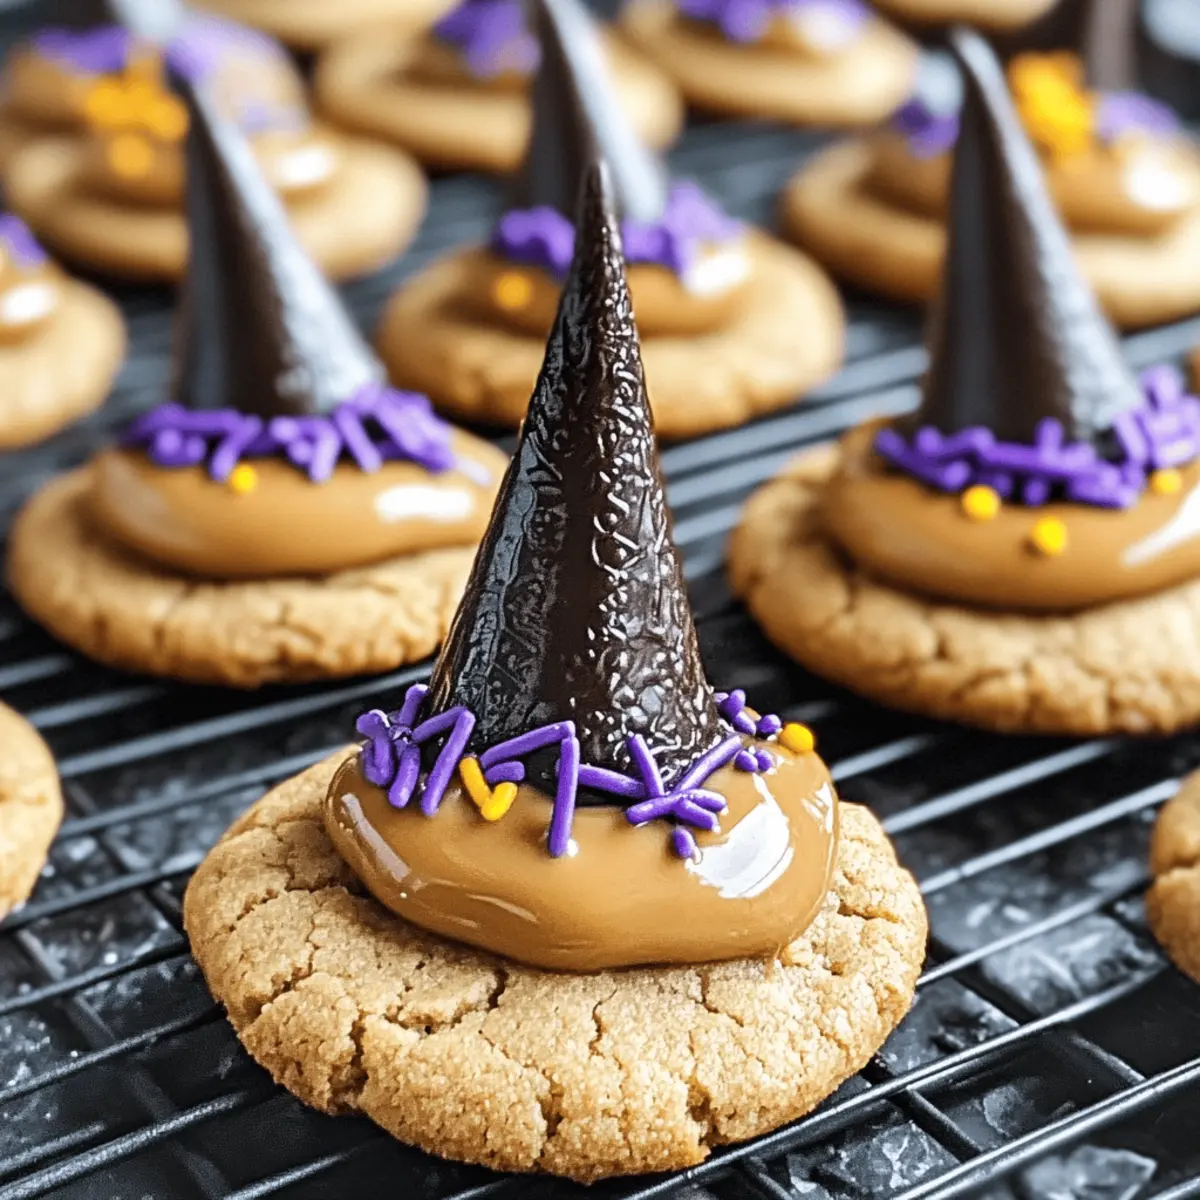
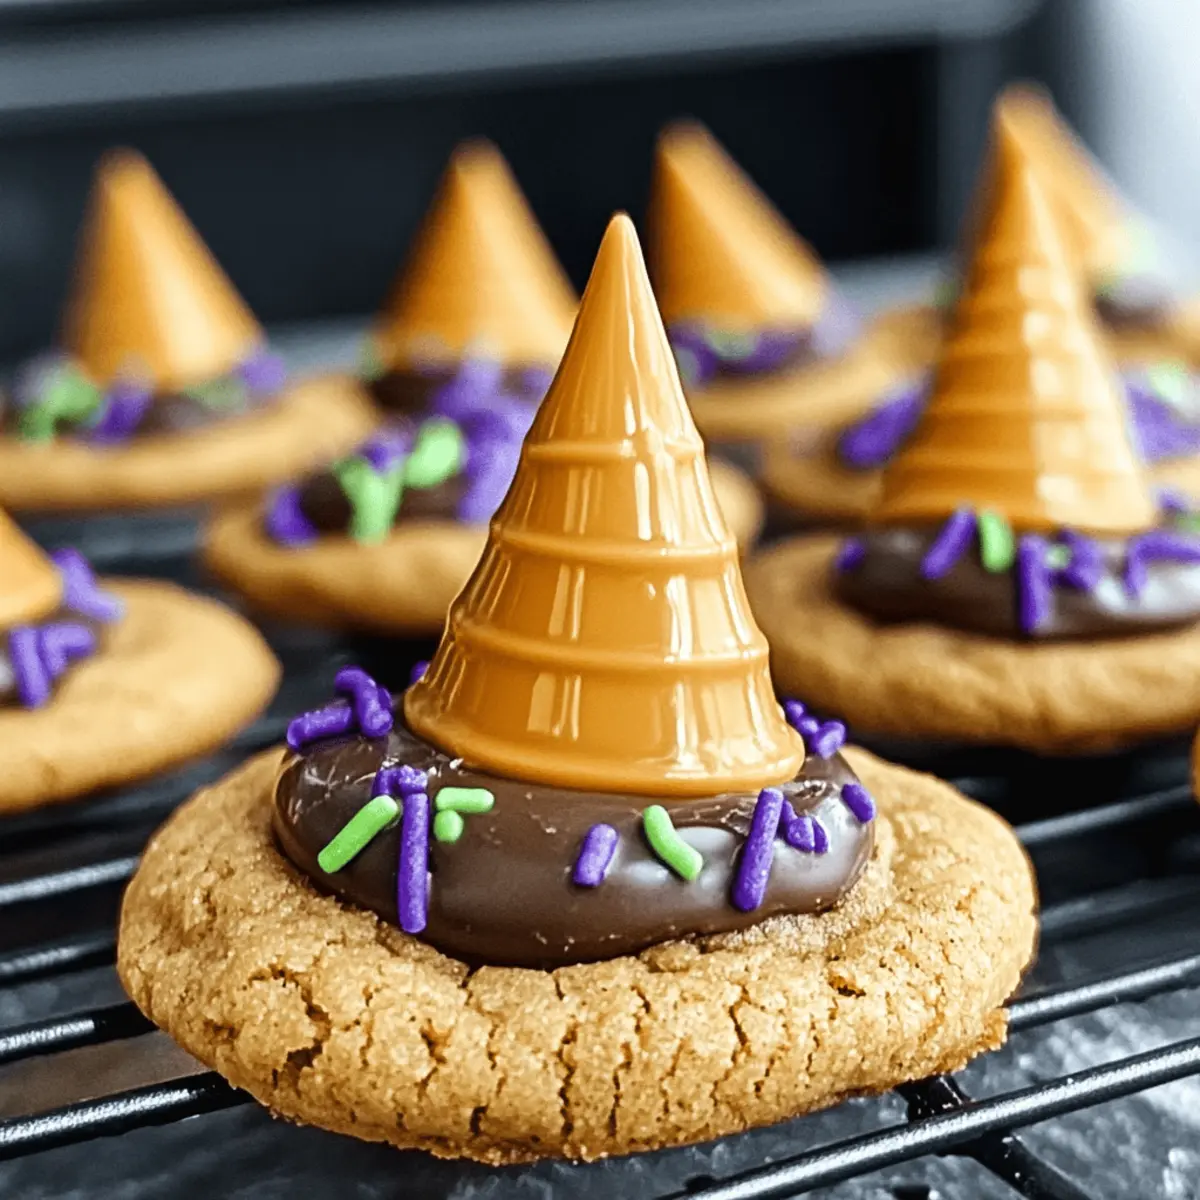
Frost the bottom of a chocolate kiss with your colorful frosting, then gently press it onto the melted chocolate wafer on each cookie, creating the iconic witch hat shape. If desired, finish off by adding colorful sprinkles or additional decorations for a whimsical touch, making your Witch Hat Cookies truly magical!
Witch Hat Cookies Variations Galore!
Feel free to explore and amass your own flurry of creativity while whipping up these delightful cookies!
-
Flavorful Kisses: Swap Hershey’s Kisses with other flavored kisses like caramel or raspberry for a sweet surprise. Each variation adds a distinct twist to the cookie’s flavor profile!
-
Nut-Free Delight: Use sunflower seed butter instead of peanut butter for a deliciously nut-free option. Your guests won’t miss the peanuts at all!
-
Gluten-Free Version: Substitute all-purpose flour with a gluten-free blend to cater to those with dietary restrictions. These cookies will remain just as scrumptious and satisfying!
-
Mini Chocolate Chip Boost: Stir in mini chocolate chips or chopped nuts into the dough for an extra layer of texture. It brings an exciting crunch to every bite!
-
Spicy Kick: For a surprising twist, add a dash of cayenne pepper or cinnamon to your cookie dough. It can elevate your Witch Hat Cookies to a whole new level of flavor!
-
Different Brim Ideas: Instead of chocolate wafers, get creative with cookie-shaped items, like chocolate-dipped Bugles, for the witch hat brim. They add a fun shape and a delightful crunch!
-
Colorful Frostings: Experiment with gel food coloring to make vibrant frostings in shades of orange, purple, or green. This will add even more festive charm to your cookies—perfect for Halloween festivities.
-
Whipped Cream Finish: After assembling, top with a dollop of whipped cream for a dreamy cloud that complements the chocolate kiss. A delightful brilliant touch for any Halloween gathering!
Whether serving them with a warm cup of cider or enjoying alongside some scrumptious Nutella Marshmallow Cookies, these variations ensure your Witch Hat Cookies will be something the whole family craves!
Expert Tips for Witch Hat Cookies
- Room Temperature Ingredients: Ensure all ingredients, especially butter and eggs, are at room temperature for optimal mixing and texture in your Witch Hat Cookies.
- Proper Measuring: Accurately measure flour using the spoon and level method to avoid dense cookies; too much flour can ruin the softness.
- Chill the Dough if Sticky: If your dough feels too sticky to shape, refrigerate it for about 20 minutes. This will make it easier to handle and create perfectly formed cookies.
- Mind the Baking Time: Watch your cookies closely while they bake; overbaking can lead to dry cookies. They should be lightly golden on the edges but still soft in the center.
- Cool Before Decorating: Allow cookies to cool completely on a wire rack before decorating. This prevents the chocolate from melting and creating a messy presentation.
What to Serve with Witch Hat Cookies
Imagine gathering around a cozy table filled with delightful treats that complement the spooky charm of your Witch Hat Cookies.
- Warm Apple Cider: The sweet, spiced flavors enhance the indulgent chocolate and peanut butter, creating a festive drink pairing.
- Hot Chocolate Bar: Rich, creamy hot chocolate topped with whipped cream invites imaginations to run wild along with whimsical cookies.
- Pumpkin Spice Cupcakes: Their moist texture and warm spices harmonize perfectly with the cookies, added magic for your Halloween spread.
- Caramel Dip and Sliced Apples: Crunchy, fresh apples dipped in smooth caramel bring a refreshing contrast to the richness of the cookies.
- Vanilla Ice Cream: A scoop of creamy vanilla balances the cookies’ sweetness and adds a delightful chill to your Halloween feast.
- Spooky Cheesecake Bites: These mini desserts offer a creamy, decadent finish that echoes the cookies’ festive vibe without overpowering them.
- Ghostly Meringues: Light and airy, these treats are a fun visual and texture contrast, enhancing your holiday dessert table.
How to Store and Freeze Witch Hat Cookies
- Room Temperature: Keep cookies in an airtight container at room temperature for up to 1 week. This helps maintain their soft, chewy texture while protecting them from moisture.
- Fridge: For slightly prolonged freshness, store in the fridge for up to 2 weeks. However, let them come to room temperature before serving to enjoy their delightful flavors fully.
- Freezer: Freeze cookies after baking for up to 3 months. Place them in a single layer in a freezer-safe container, separating layers with parchment paper to avoid sticking.
- Reheating: To enjoy a warm treat, reheat frozen Witch Hat Cookies in the microwave for about 15-20 seconds or in the oven at 350°F (175°C) for 5-7 minutes until warmed through.
Make Ahead Options
These Witch Hat Cookies are perfect for busy home cooks looking to save time while still delivering a magical treat! You can prep the cookie dough up to 24 hours in advance. Simply scoop the dough into balls and place them on a parchment-lined baking sheet, then refrigerate them until you’re ready to bake. The assembled cookies can be stored in an airtight container at room temperature for up to 3 days before adding the chocolate tops and frosting; just make sure they cool completely to maintain their soft, chewy texture! When you’re ready to serve, bake and decorate as instructed, and you’ll have delightful treats that taste just as fresh and delicious as if they were made that day.
Witch Hat Cookies Recipe FAQs
How do I choose ripe ingredients for Witch Hat Cookies?
Absolutely! For the best results, use ingredients like fresh eggs and room temperature unsalted butter for optimal mixing. When selecting peanut butter, choose a creamy, no-stir version for a smooth dough. If you’re aiming for nut-free options, sunflower seed butter is a great substitute!
What’s the best way to store Witch Hat Cookies?
I recommend keeping your cookies in an airtight container at room temperature for up to 1 week. This helps maintain their delightful soft and chewy texture. If you’d like to keep them fresher for longer, you can store them in the refrigerator for up to 2 weeks.
Can I freeze Witch Hat Cookies? How do I do it?
Very! To freeze these enchanting cookies, let them cool completely and then place them in a single layer in a freezer-safe container. Make sure to separate layers with parchment paper to prevent sticking. They can be stored this way for up to 3 months. When you’re ready to enjoy, reheat them in the microwave for 15-20 seconds or in the oven at 350°F (175°C) for about 5-7 minutes until warmed.
What should I do if my dough is too sticky?
If you find that the cookie dough is too sticky to shape, don’t worry! Simply refrigerate it for about 20 minutes. This chilling time will make the dough easier to handle, allowing you to form perfectly round cookies without any mess.
Are there any dietary considerations to keep in mind with Witch Hat Cookies?
Absolutely! These cookies can be made nut-free by using sunflower seed butter instead of peanut butter. For a gluten-free version, simply swap out all-purpose flour for a gluten-free flour blend. Always check for any allergies with your guests to ensure everyone can enjoy these festive treats!
Witch Hat Cookies: Magical Peanut Butter Treats for Halloween
Ingredients
Equipment
Method
- Preheat your oven to 375°F (190°C) and line your baking sheets with parchment paper.
- Whisk together the flour, baking soda, and salt in a medium bowl until well combined.
- Cream together granulated sugar, brown sugar, unsalted butter, and peanut butter until light and fluffy. Mix in egg and vanilla until combined.
- Gradually fold the dry ingredients into the wet mixture until just incorporated.
- Form 1-inch balls of dough and roll them in granulated sugar. Space them 2 inches apart on the baking sheets.
- Bake for about 10 minutes; press a chocolate wafer onto the center of each cookie right after removing from the oven.
- Allow to cool on a wire rack completely.
- Beat unsalted butter until creamy, then add confectioners’ sugar, vanilla, pinch of salt, and heavy cream until smooth.
- Frost the bottom of each chocolate kiss with frosting and press onto the melted chocolate wafer cookie.
Leave a Reply