
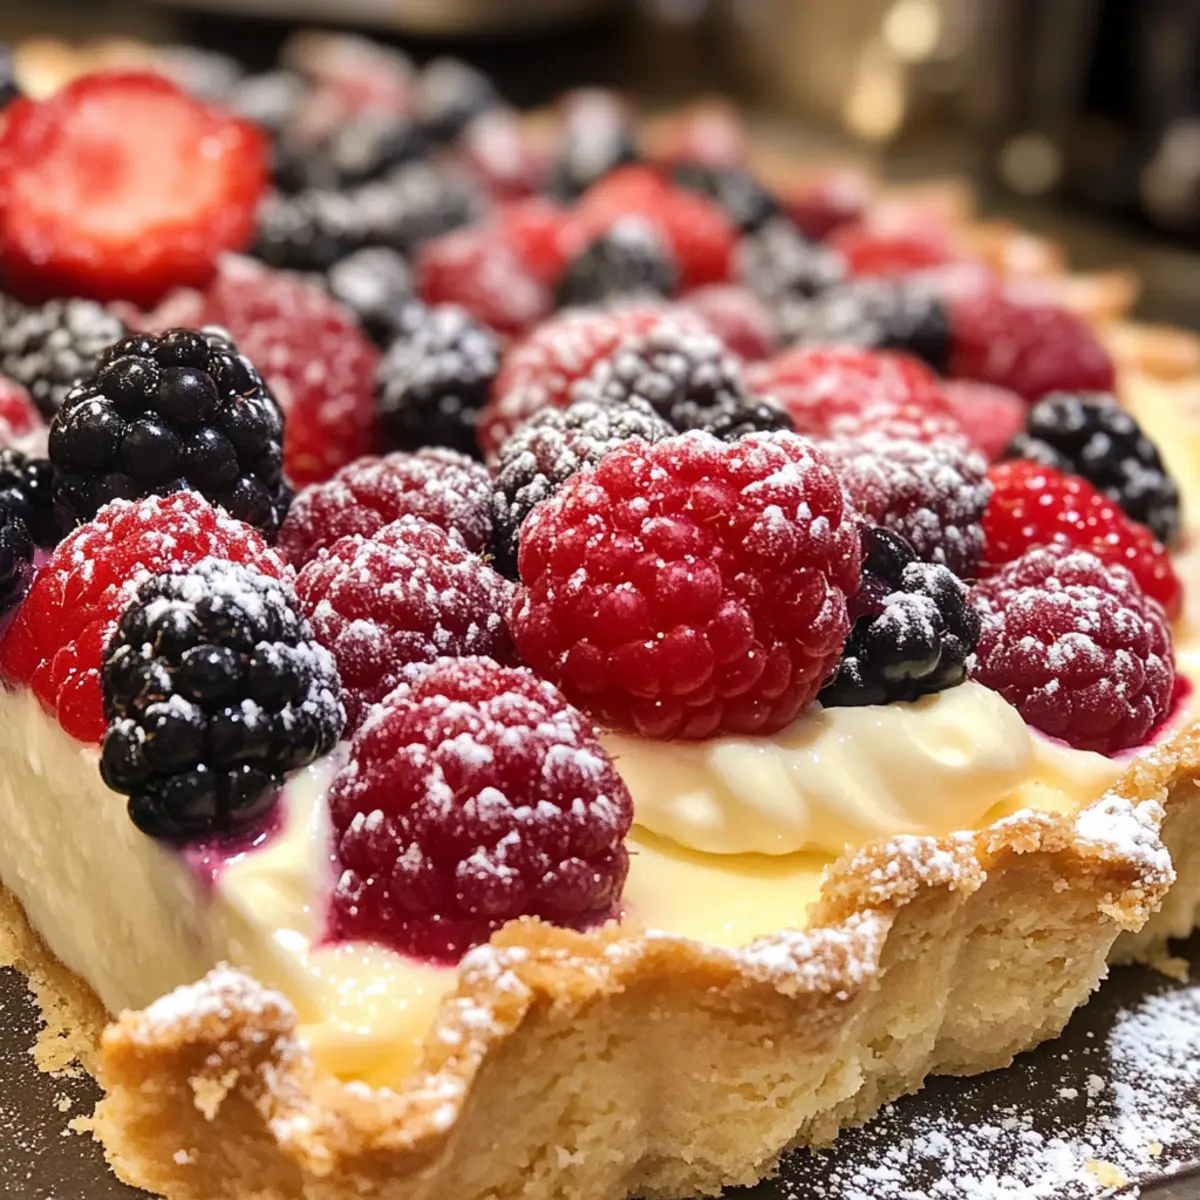
As I stood in my kitchen, the aroma of freshly baked pastry danced in the air, promising an indulgent treat ahead. Today, I’m thrilled to share my recipe for a Vanilla Bean Cream Tart that brings a touch of French patisserie elegance right to your home. This tart is not only stunning, but it also boasts a silky texture, perfectly complementing the buttery, golden crust nestled beneath. It’s a delightful masterpiece that transforms any occasion into a celebration, whether it’s a special gathering or a simple afternoon pick-me-up. Imagine serving a slice at your next dinner party, where the creamy vanilla custard will surely steal the show! Ready to elevate your dessert game and impress your friends and family? Let’s dive into the world of this dreamy Vanilla Bean Cream Tart!
Why choose Vanilla Bean Cream Tart?
Indulgent Elegance: This tart isn’t just a dessert; it’s a centerpiece of joy that enhances any gathering with its sophistication.
Silky Texture: The smooth vanilla bean pastry cream offers an irresistibly creamy experience that feels luxurious with every bite.
Simple Yet Impressive: Crafted with basic ingredients and straightforward steps, even novice bakers can create this elegant dish.
Versatile Delight: Enjoy it plain or elevate it with fresh berries or a dollop of whipped cream, just like my Vegan Maple Cream or Iced Raspberry Vanilla for added flavor!
Culinary Adventure: Embark on a flavorful journey that incorporates classic French techniques, making your kitchen feel like a patisserie.
With each slice, you’ll find a harmony of flavors and textures that’s sure to impress!
Vanilla Bean Cream Tart Ingredients
• Create your own irresistible Vanilla Bean Cream Tart with these essentials!
For the Crust
- Unsalted Butter – Provides richness and flavor; using unsalted lets you control the salty balance.
- Granulated Sugar – Sweetens the crunchy crust and enhances the cream’s richness; feel free to use brown sugar for a deeper flavor.
- All-Purpose Flour – Forms the structure of the crust; for a gluten-free option, try a suitable blend.
- Eggs – Binds ingredients together and enriches the pastry cream; remember to have them at room temperature for best results.
For the Pastry Cream
- Whole Milk – Creates the creamy base; opt for whole for richness or low-fat if desired.
- Egg Yolks – Add richness and help thicken the cream; make sure they are well whisked for a smooth texture.
- Sugar – Sweetens the pastry cream; adjust to taste based on your sweetness preference.
- Vanilla Beans – Infuses the cream with an intense flavor that’s hard to beat; vanilla extract can be a substitute, but won’t offer the same texture.
For the Garnish
- Fresh Berries – Add a pop of color and freshness; use your favorites to enhance the tart visually and flavor-wise.
- Powdered Sugar – A light dusting adds a sweet finish; it’s delightful for presentation.
- Toasted Almond Slivers – Provide a nice crunch and complement the flavors; they also add an elegant touch.
- Mint Leaves (optional) – For a refreshing garnish that brightens up the tart; consider placing a few on top just before serving.
Get ready to whip up a show-stopping Vanilla Bean Cream Tart that your friends and family won’t forget!
Step‑by‑Step Instructions for Vanilla Bean Cream Tart
Step 1: Prepare the Crust
In a large mixing bowl, beat together 1 cup of unsalted butter and ½ cup of granulated sugar until creamy and fluffy, about 3 minutes. Gradually add 2 cups of all-purpose flour and one egg, mixing until a soft dough forms. Shape the dough into a disc, wrap in plastic wrap, and refrigerate for 30 minutes until firm.
Step 2: Bake the Crust
Preheat your oven to 350°F (175°C). On a lightly floured surface, roll out the chilled dough to a ¼-inch thickness. Carefully transfer it to a tart pan and press it into the edges, trimming any excess. Prick the bottom with a fork to prevent bubbling, then bake for 20 minutes or until golden brown. Allow the crust to cool completely on a wire rack.
Step 3: Make the Pastry Cream
In a saucepan over medium heat, combine 2 cups of whole milk and the seeds scraped from 2 vanilla beans, heating until just below boiling. In a separate bowl, whisk together 4 egg yolks and ½ cup of sugar until pale. Gradually whisk in the warm milk mixture, then return it to the saucepan. Cook on low heat, constantly whisking, until the mixture thickens, about 5–7 minutes.
Step 4: Cool the Cream
Once the pastry cream has thickened, remove it from the heat and transfer it to a bowl. Cover the surface with plastic wrap pressed directly onto the cream to prevent a skin from forming. Allow the pastry cream to cool at room temperature for 15 minutes before refrigerating for at least 2 hours, until fully chilled and set.
Step 5: Assemble the Tart
Once the crust has cooled and the pastry cream is chilled, remove the cream from the refrigerator. Gently spoon the silky vanilla bean pastry cream into the cooled tart crust, spreading it evenly. Smooth the top with a spatula for an elegant finish, making sure the cream fills the crust all the way to the edges.
Step 6: Garnish
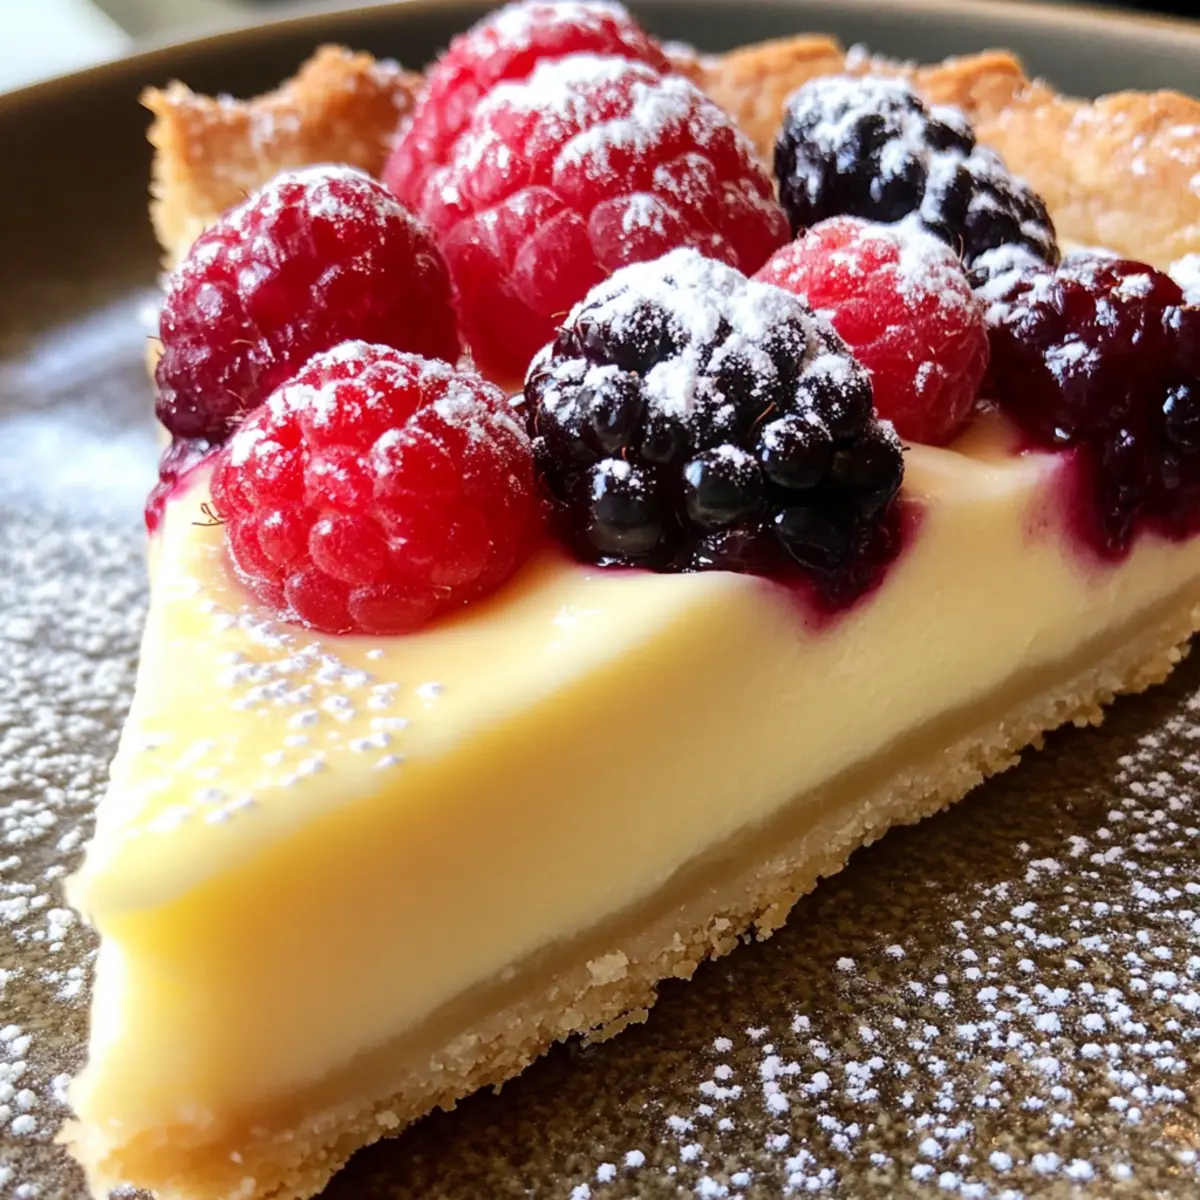
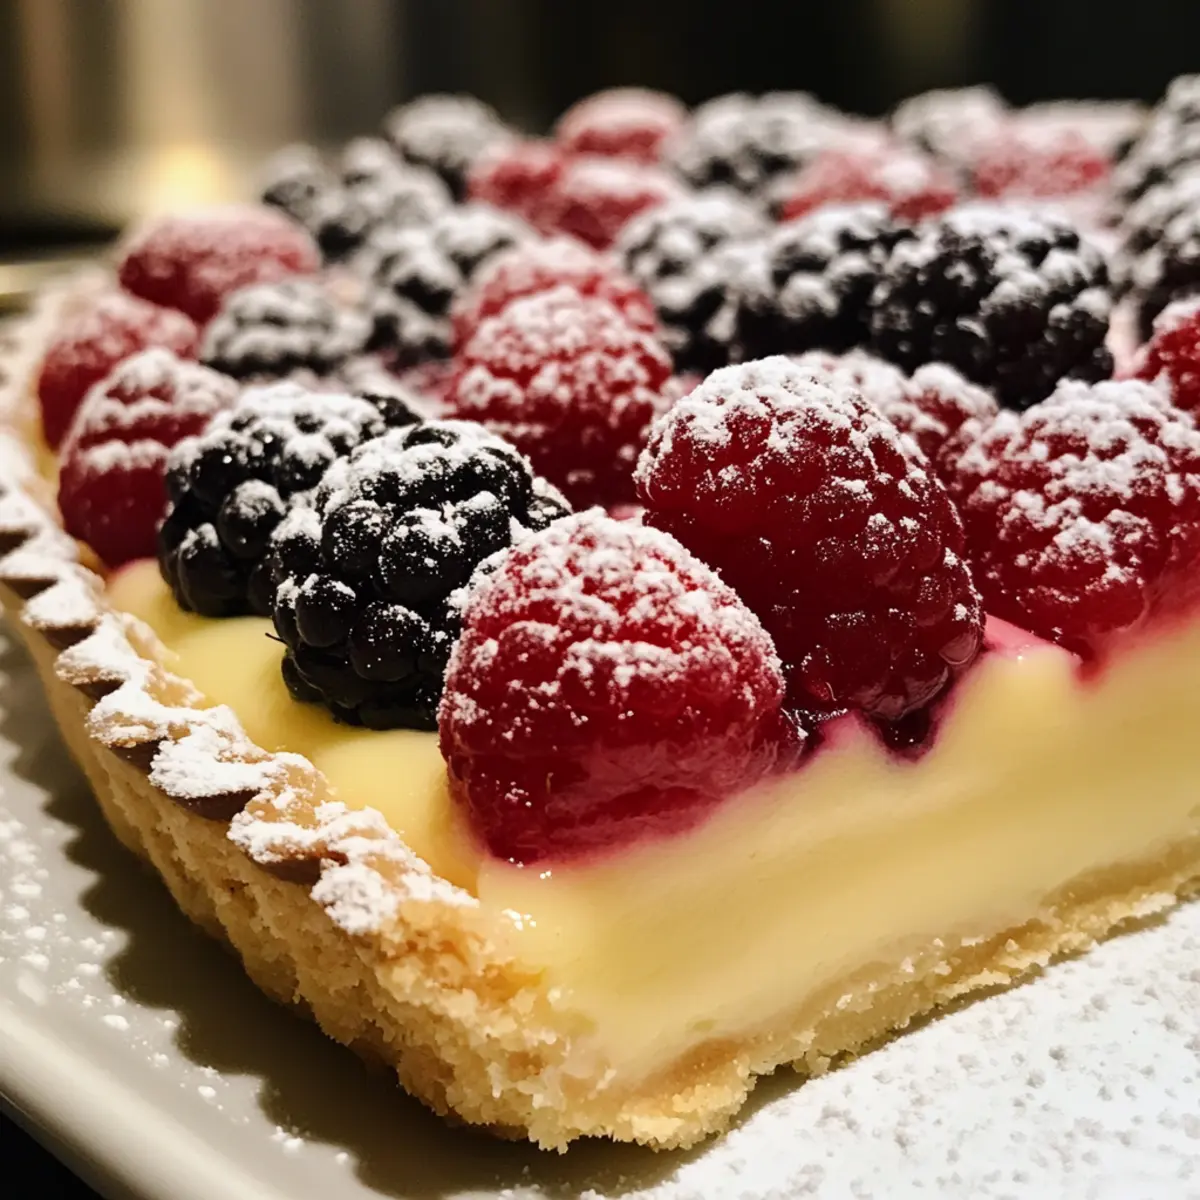
To elevate your Vanilla Bean Cream Tart, top it with fresh berries like strawberries or blueberries for a pop of color and flavor. Lightly dust the tart with powdered sugar for a sweet, delicate finish, and sprinkle toasted almond slivers for a delightful crunch. Optionally, add mint leaves on top for a fresh touch before serving.
How to Store and Freeze Vanilla Bean Cream Tart
Fridge: Store the tart in the refrigerator, loosely covered with plastic wrap to protect it from moisture, for up to 2 days for optimal freshness.
Freezer: While it’s best enjoyed fresh, you can freeze the baked crust alone for up to 1 month. Wrap it tightly in plastic wrap and foil to prevent freezer burn.
Reheating: If desired, thaw the crust overnight in the fridge before filling it with fresh pastry cream. Avoid freezing the filled tart, as the pastry cream’s texture may change.
Serving Tip: Enjoy your Vanilla Bean Cream Tart chilled for the best velvety experience; a quick dusting of powdered sugar just before serving elevates its elegance!
Make Ahead Options
These Vanilla Bean Cream Tarts are perfect for meal prep enthusiasts! You can prepare the tart crust up to 24 hours in advance, allowing it to chill in the refrigerator for optimal texture. Simply bake the crust, cool it completely, then wrap it gently in plastic wrap to protect against moisture. The silky vanilla bean pastry cream can be made up to 3 days before serving; remember to place plastic wrap directly on its surface to prevent a skin from forming. When you’re ready to assemble, fill the cooled crust with the pastry cream, garnish with fresh berries and a dusting of powdered sugar, and you’ll have an elegant dessert that feels fresh and sophisticated with minimal effort!
What to Serve with Decadent Tart with Silky Vanilla Bean Pastry Cream
Imagine a gathering where the air is filled with delightful aromas and laughter, complete with the elegance of a perfect dessert.
-
Fresh Berries: The tartness of strawberries and blueberries contrasts beautifully with the creamy sweetness of the vanilla bean pastry cream, adding a burst of freshness.
-
Coffee or Espresso: This rich drink complements the dessert’s flavors, enhancing the overall experience, making each sip and bite a moment to savor.
-
Lemon Sorbet: The bright acidity of the sorbet cuts through the richness of the tart, providing a refreshing palate cleanser that elevates every forkful.
-
Whipped Cream: A dollop of lightly sweetened whipped cream adds extra fluffiness and creaminess, harmonizing perfectly with the silky texture of the tart.
-
Dark Chocolate Shavings: Sprinkle some dark chocolate on top for a bittersweet contrast that enhances the vanilla’s sweetness, creating an indulgent taste experience.
-
Sparkling Wine: The effervescence in sparkling wine can elevate your dessert moment, providing a touch of luxury to your celebration and enriching the flavors of the tart.
-
Toasted Almonds: These add a delightful crunch and nutty flavor to the they, beautifully complementing the silky pastry cream and offering a textural contrast.
Serve your Decadent Tart with any of these treats, and watch your dessert take center stage, charming everyone in attendance!
Variations & Substitutions for Vanilla Bean Cream Tart
Feel free to explore these delightful twists to make this tart your own and keep your taste buds dancing!
-
Citrus Burst: Substitute vanilla beans with fresh lemon or orange zest for a refreshing zing that pairs well with the creamy custard. The citrus notes brighten the tart and add a delightful contrast to the sweetness.
-
Chocolate Lovers: Swirl in melted dark chocolate into the pastry cream for a rich, chocolate-enhanced version. This creates a luxurious blend that will leave any chocolate fan craving more!
-
Nutty Delight: Use ground almonds in the crust for a deeper flavor and lovely texture. Almonds complement the creamy filling wonderfully, adding an extra layer of richness.
-
Dairy-Free Option: Replace whole milk and eggs with unsweetened almond milk and a plant-based egg substitute to make this tart dairy-free. It still保持 all the creamy goodness you love!
-
Berry Fresh: Top your tart with your favorite fruits like raspberries or strawberries for a burst of flavor and color that contrasts with the creamy vanilla filling. Fresh fruit adds a delightful tartness!
-
Spiced Cream: Add a sprinkle of cinnamon or nutmeg to your pastry cream for a warm, cozy flavor that takes the classic vanilla to a whole new level. This twist introduces a fragrant warmth that’s perfect for fall gatherings.
-
Savory Hint: Incorporate a pinch of sea salt in your pastry cream to enhance the sweetness and create a more complex flavor profile that is truly unforgettable.
If you’re looking for more luscious dessert ideas, check out my irresistible Cream Cheese Salsa Dip that pairs wonderfully with savory snacks, or whip up some Spice Gooey Cake for an unforgettable sweet treat. The world of desserts is endless—get creative and make this tart yours!
Expert Tips for Vanilla Bean Cream Tart
-
Use Fresh Ingredients: Always opt for fresh vanilla beans for the best flavor in your vanilla bean cream tart; it elevates the dessert to a whole new level.
-
Prevent Soggy Crust: Make sure the crust is fully cooled before adding the pastry cream; otherwise, the moisture can make it soggy over time.
-
Perfect Pastry Cream: Whisk continuously while cooking the pastry cream to avoid curdling; this ensures your cream remains silky smooth.
-
Chill Time Counts: Don’t skip the chilling time for the pastry cream; it needs a solid two hours to firm up, making the filling process much easier.
-
Presentation Matters: For a stunning finish, take the time to smooth the top of the cream, and don’t forget to garnish with berries and powdered sugar for a beautiful touch.
Vanilla Bean Cream Tart Recipe FAQs
How do I choose the best vanilla beans for the pastry cream?
Absolutely! When selecting vanilla beans, look for ones that are plump and fragrant. The more flex the bean has, the more flavorful it will be. Opt for beans that have a glossy, oily appearance, as this indicates freshness. Avoid beans that have dark spots or feel dry, as they won’t impart the same rich flavor to your cream.
What’s the best way to store leftover tart?
I recommend storing your Vanilla Bean Cream Tart in the refrigerator, loosely covered with plastic wrap, to prevent moisture from softening the crust. Ideally, consume it within 2 days to enjoy the optimal freshness and texture. If you notice any wetness on the crust after a day, a light re-crisping in the oven for about 5 minutes at 350°F (175°C) can help restore its flakiness!
Can I freeze the Vanilla Bean Cream Tart?
While the filled tart is best enjoyed fresh, you can freeze the baked crust for up to 1 month. Wrap it tightly in plastic wrap and foil to prevent freezer burn. When ready to use, thaw it in the fridge overnight before filling with the pastry cream. Avoid freezing the filled tart, as it can alter the silky texture of the cream.
What should I do if my pastry cream doesn’t thicken?
Very good question! If your pastry cream doesn’t thicken as expected, it might need more cooking. Make sure to whisk continuously while heating the mixture, and keep it on low to medium heat. If you find that it’s still too runny after a few more minutes, you can mix a tablespoon of cornstarch with a little cold milk to create a slurry, then stir it into the cream and cook for an additional 2-3 minutes until it reaches a thicker consistency.
What if I have dietary restrictions or allergies?
No worries at all! You can make the Vanilla Bean Cream Tart gluten-free by using a suitable gluten-free flour blend in the crust. For dairy-free options, substitute the milk with almond or coconut milk and use dairy-free butter for the crust. Just be aware that the flavor and texture may differ slightly, but it will still be delicious! Always double-check with your guests for any specific allergies as well.
Can I add fruit directly into the pastry cream?
Certainly! If you love a fruity twist, consider folding in some finely chopped fruit like strawberries or raspberries into the pastry cream after it thickens and cools. This adds a fresh burst of flavor, but ensure the fruit is well-drained to avoid excess moisture, which can affect the cream’s texture.

Irresistible Vanilla Bean Cream Tart for Elegant Indulgence
Ingredients
Equipment
Method
- In a large mixing bowl, beat together unsalted butter and granulated sugar until creamy and fluffy, about 3 minutes. Gradually add all-purpose flour and one egg, mixing until a soft dough forms. Shape the dough into a disc, wrap in plastic wrap, and refrigerate for 30 minutes until firm.
- Preheat your oven to 350°F (175°C). Roll out the chilled dough to a ¼-inch thickness. Transfer it to a tart pan and press it into the edges, trimming any excess. Prick the bottom with a fork and bake for 20 minutes or until golden brown. Allow the crust to cool completely on a wire rack.
- In a saucepan over medium heat, combine whole milk and the seeds scraped from vanilla beans, heating until just below boiling. In a separate bowl, whisk together egg yolks and sugar until pale. Gradually whisk in the warm milk mixture, then return it to the saucepan. Cook on low heat, constantly whisking, until the mixture thickens, about 5–7 minutes.
- Once the pastry cream has thickened, remove it from the heat and transfer it to a bowl. Cover the surface with plastic wrap pressed directly onto the cream to prevent a skin from forming. Allow the pastry cream to cool at room temperature for 15 minutes before refrigerating for at least 2 hours, until fully chilled and set.
- Once the crust has cooled and the pastry cream is chilled, remove the cream from the refrigerator. Gently spoon the silky vanilla bean pastry cream into the cooled tart crust, spreading it evenly. Smooth the top with a spatula for an elegant finish.
- Top the tart with fresh berries for a pop of color and flavor. Lightly dust with powdered sugar and sprinkle toasted almond slivers for a delightful crunch. Optionally, add mint leaves on top before serving.
Leave a Reply