
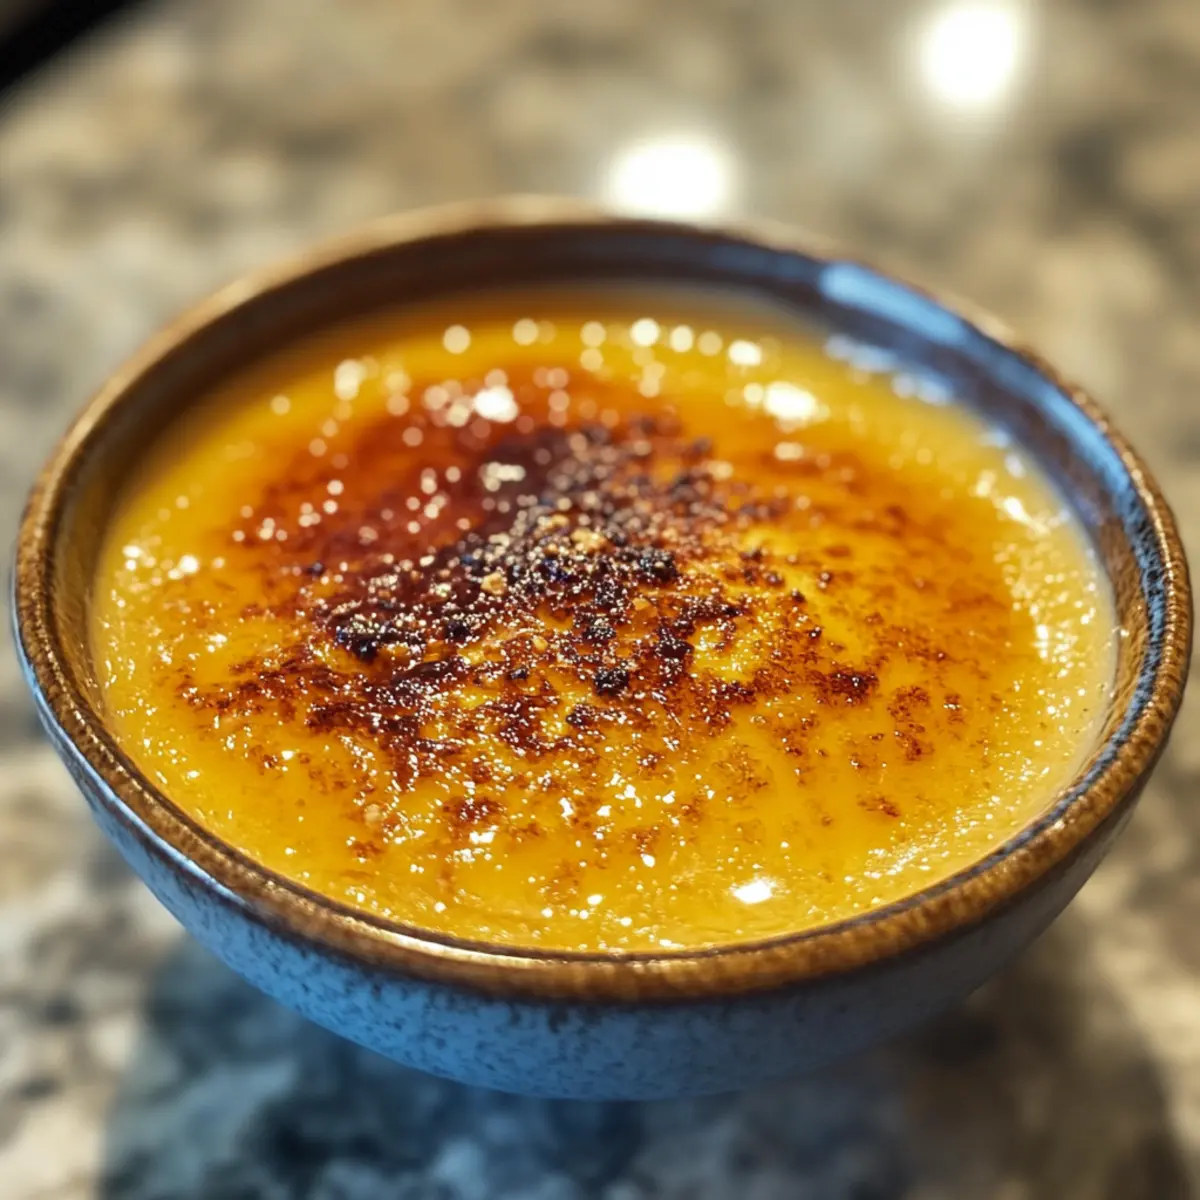
There’s something magical about the crunch of caramelized sugar giving way to a silky custard, and this Thai Tea Creme Brulee embodies that enchantment perfectly. Combining the aromatic warmth of Thai tea with the elegance of a classic French dessert, this unique treat surprises and delights the palate. It’s an irresistible way to elevate your dessert game and impress your guests—all without the stress of last-minute preparations. Plus, it’s gluten-free, making it an inclusive option for those who might be avoiding gluten. If you’re eager to make a dessert that’s as stunning as it is delicious, you’ll want to stick around. How ready are you to indulge in this creamy fusion of flavors?
Why is Thai Tea Creme Brulee special?
Creamy Delight: Thai Tea Creme Brulee combines silky custard with the aromatic essence of Thai tea, creating a memorable dessert experience that’s sure to impress.
Easy Preparation: With minimal effort, this dish can be made ahead of time, allowing you to focus on other parts of your meal.
Gluten-Free Indulgence: Perfect for those avoiding gluten, this dessert allows everyone to enjoy a rich finish to your meal.
Crowd-Pleasing Treat: The unique flavor profile will intrigue your guests, making it an ideal choice for gatherings or special occasions.
For an equally delightful pairing, consider creating a sweet ending with some Cadbury Creme Bites or savoring the flavors of Garlic Parmesan Steak for your main dish!
Thai Tea Creme Brulee Ingredients
For the Custard
• Heavy Cream – Adds richness and a creamy texture essential for custard; may substitute with additional whole milk for a lighter version.
• Whole Milk – Contributes smoothness and balances the heavy cream; can be replaced with more heavy cream for a richer flavor.
• Thai Tea Mix – Provides the unique flavor profile of this dessert; look for brands like Number One Chatramue for the best taste.
• Egg Yolks – Essential for custard structure and texture, making it creamy; ensure they’re fresh for the finest results.
• Granulated/Castor Sugar – Sweetens the custard; additional sugar is needed for bruleeing the top.
• Vanilla Paste/Extract – Enhances the flavor profile with warmth and complexity; substitutable with pure vanilla extract.
For the Topping
• Granulated/Castor Sugar (Topping) – Used for the caramelized sugar crust; don’t overdo it or it may burn during the bruleeing process.
With these ingredients, you’ll be on your way to creating a breathtaking Thai Tea Creme Brulee that combines flavor and elegance in every bite!
Step‑by‑Step Instructions for Thai Tea Creme Brulee
Step 1: Prepare Tea Infusion
Begin by combining 1 cup of heavy cream and 1 cup of whole milk in a medium saucepan. Heat over low flame until the mixture simmers gently, then remove from heat and stir in 2 tablespoons of Thai tea mix. Allow the tea to steep for 15 minutes, infusing the cream with its rich flavors, then strain the mixture to remove tea leaves.
Step 2: Mix Egg Yolks
In a separate bowl, whisk together 6 egg yolks, 3/4 cup of granulated sugar, and 1 teaspoon of vanilla paste until well combined and the mixture turns a light pale color. This process will create a lovely base for your custard in the Thai Tea Creme Brulee, providing just the right sweetness to balance the creamy infusion.
Step 3: Combine Mixtures
Slowly drizzle the warm cream mixture into the egg yolk mixture while continuously whisking to temper the eggs, ensuring a smooth consistency without curdling. Once fully combined, strain the custard again to ensure it’s silky, leaving behind any solid bits, and prepare for an elegant baking process.
Step 4: Prep Ramekins
Preheat your oven to 300°F (150°C). Carefully pour the custard mixture into 6 individual ramekins. Place these ramekins in a baking pan, then fill the pan with boiling water so it reaches halfway up the sides of the ramekins. This bain-marie technique will create a gentle baking environment for your Thai Tea Creme Brulee.
Step 5: Bake
Transfer the baking pan to the preheated oven and bake for 35-40 minutes or until the custards are set but still slightly wobbly in the center. After baking, remove the ramekins from the water bath and allow them to cool to room temperature. Once cooled, refrigerate for at least 2 hours, or up to 3 days, to develop the flavors.
Step 6: Brulee Top
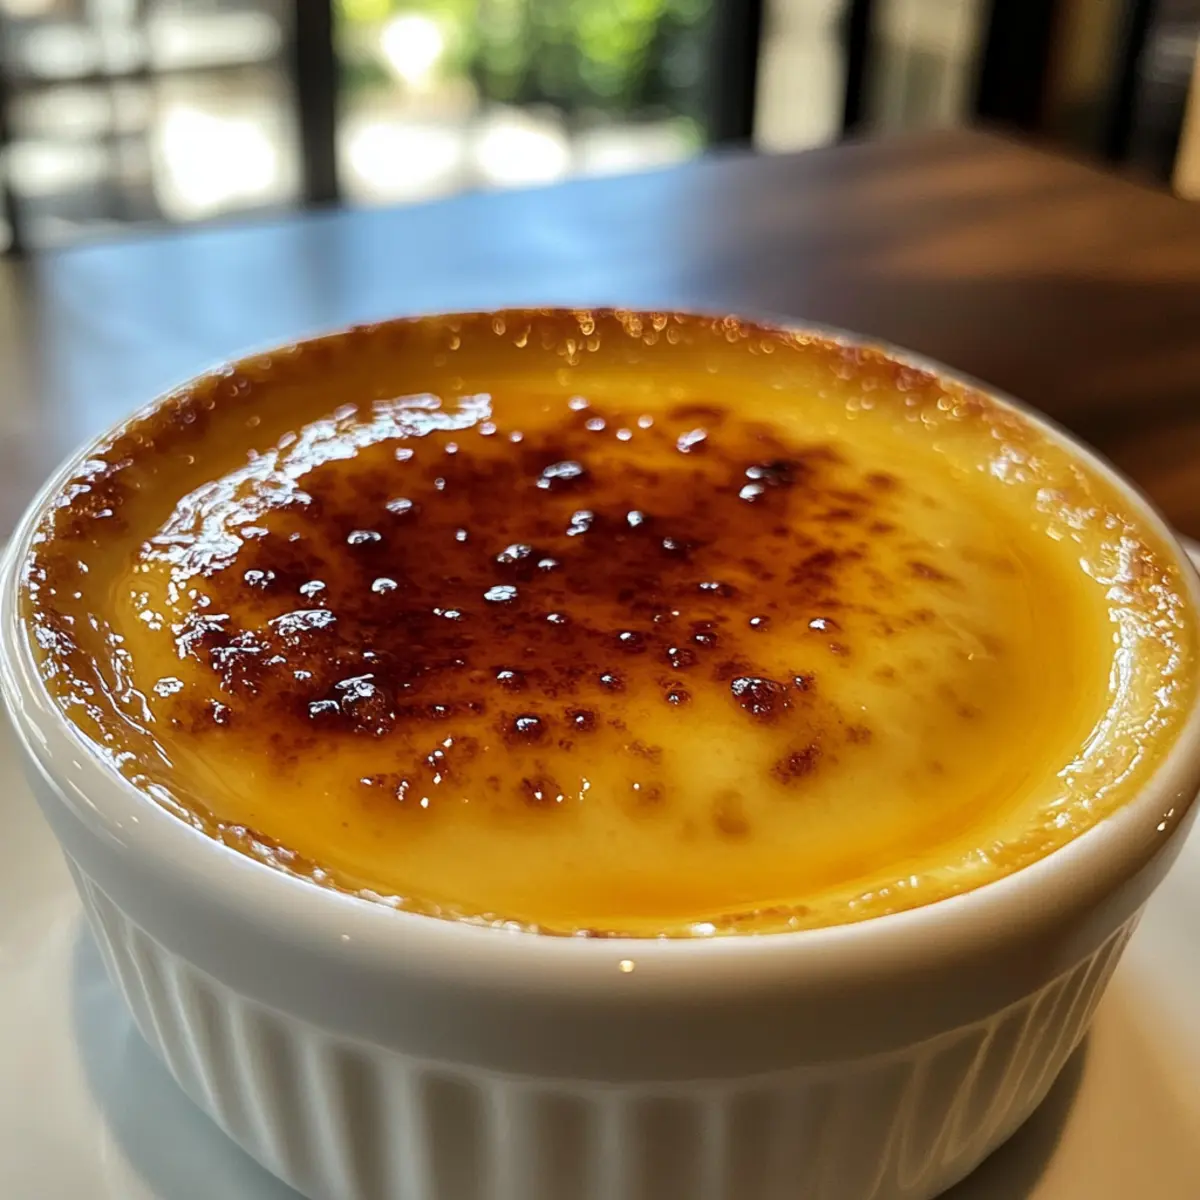
Just before serving, sprinkle a thin layer of granulated sugar evenly over the tops of the chilled custards. Using a kitchen torch, carefully melt the sugar until it caramelizes to a deep amber color, creating a beautiful crispy crust. Alternatively, if you don’t have a torch, you can place them under a broiler for a few minutes—watching closely to prevent burning.
What to Serve with Thai Tea Creme Brulee?
Completing your meal with the right pairings can create a truly memorable culinary experience that lingers long after the last bite.
-
Fresh Berries: The bright acidity of berries like raspberries or strawberries offers a refreshing contrast to the rich custard.
-
Coconut Sorbet: This light, creamy option brings a tropical flair that complements the flavors of Thai tea beautifully.
-
Mango Sticky Rice: The sweetness and slight chewiness of this Thai classic can add an exotic touch that resonates with your dessert.
-
Matcha Green Tea Cookies: A subtle bitterness from matcha complements the sweetness of the creme brulee and adds a delightful crunch.
-
Chai-Spiced Nuts: Warm spices enhance the overall flavor profile, making it a unique and crunchy accompaniment to the silky custard.
-
Thai Iced Tea: This drink echoes the flavors of the dessert while adding a refreshing, creamy element, making for a cohesive thematic pairing.
Each of these suggestions adds a unique touch, inviting you and your guests to savor a delightful fusion of flavors alongside your tasty Thai Tea Creme Brulee!
How to Store and Freeze Thai Tea Creme Brulee
• Fridge: Store the custards covered with plastic wrap or in airtight containers for up to 3 days. Wait to brulee the sugar topping until just before serving for optimal texture.
• Freezer: While freezing isn’t typically recommended for custards due to texture changes, you can freeze the unbruleed custard for up to 1 month. Thaw overnight in the refrigerator before bruleeing.
• Reheating: If you’ve stored leftover bruleed desserts, enjoy them chilled directly. If you prefer, reheat slightly in a warm oven, but be cautious not to melt the sugar topping.
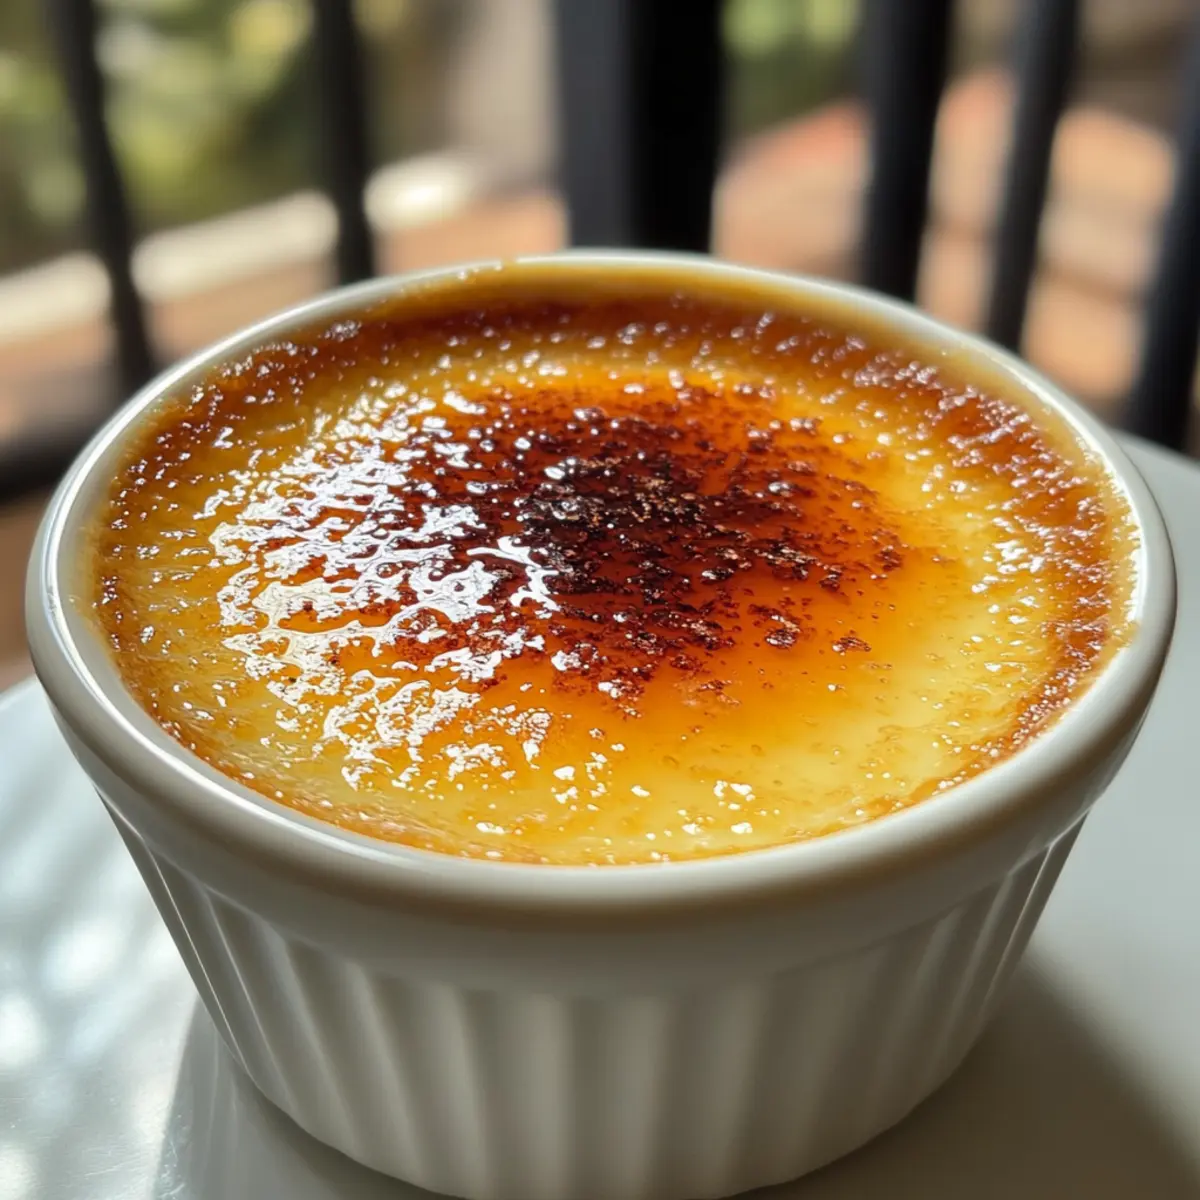
• Make-Ahead: This Thai Tea Creme Brulee can be made ahead, allowing you to prepare an impressive dessert with minimal last-minute effort!
Tips for the Best Thai Tea Creme Brulee
Tempering Technique: Ensure you drizzle the hot cream into the egg yolks gradually while whisking to prevent curdling, producing a smooth custard.
Bain-Marie Method: Using a water bath helps maintain an even temperature while baking, which is crucial for perfectly set Thai Tea Creme Brulee.
Cool Properly: Allow the custards to cool to room temperature before refrigeration. This step helps enhance the flavors and ensures the right texture.
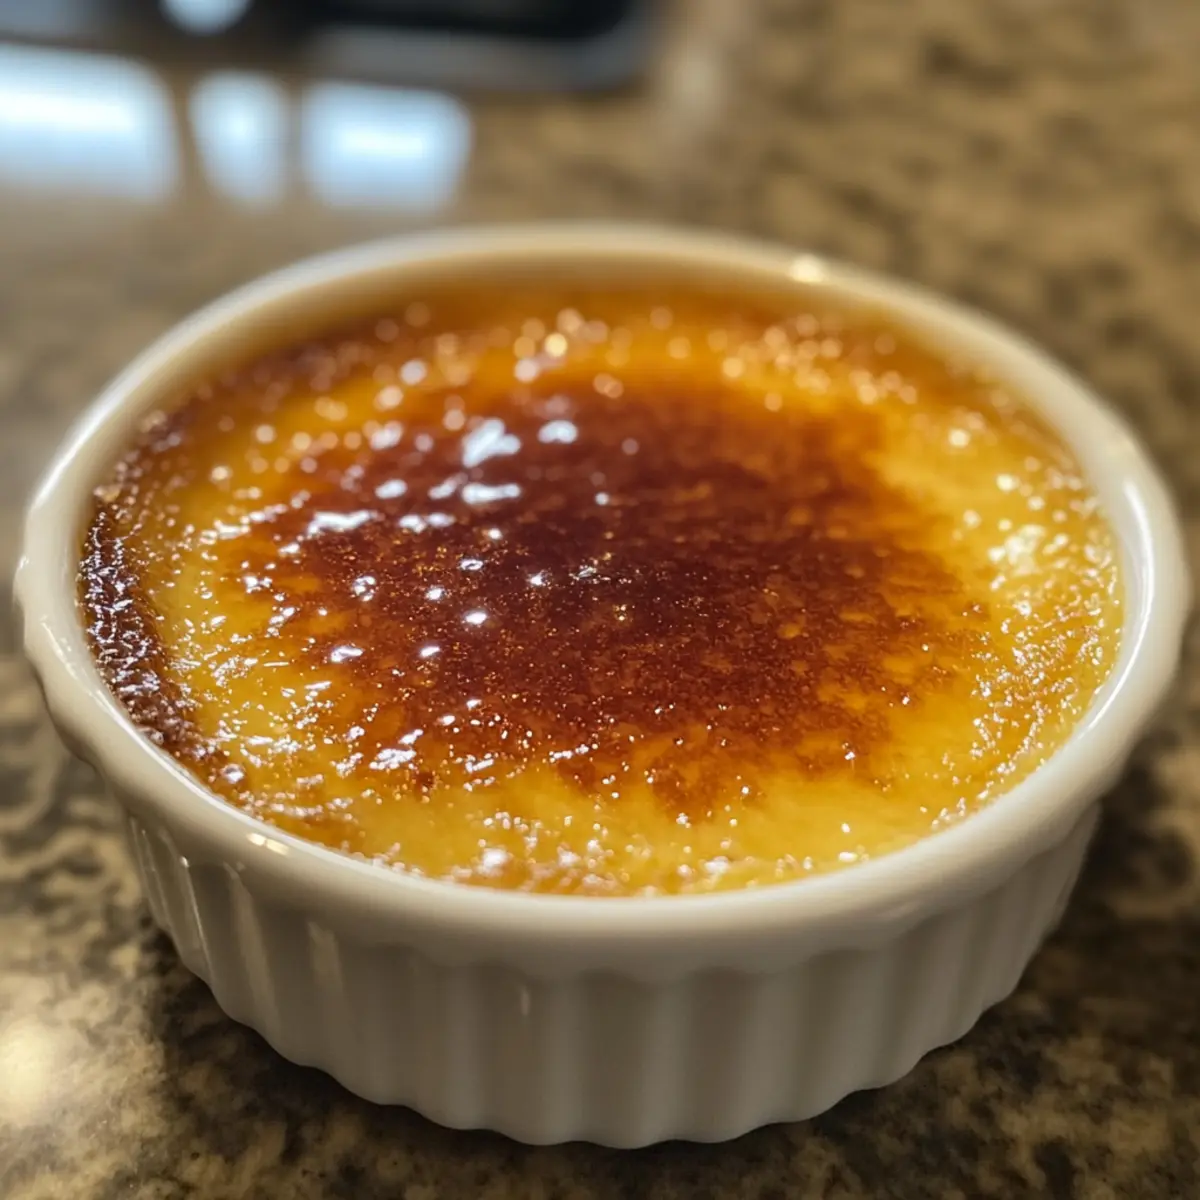
Sugar Layer: When caramelizing the topping, use just enough sugar for a thin layer to avoid burning; too much sugar may result in a bitter crust.
Watch Closely: If using a broiler, stay vigilant while bruleeing. It only takes a moment for the sugar to shift from perfectly caramelized to burnt.
Thai Tea Creme Brulee Variations
Dive into the delightful world of customization with this luscious Thai Tea Creme Brulee, adding your personal touch to make it truly unique!
-
Green Tea Swap: Replace Thai tea with flavored green tea for a refreshing twist, infusing new green notes into the creamy custard.
-
Coconut Cream Addition: Stir in a hint of coconut cream to the custard mixture for a tropical flavor that transports you to sunny shores.
-
Alternative Sweeteners: Use honey or maple syrup instead of granulated sugar for a different sweetness that brings warmth to the dessert.
-
Spicy Kick: For those who like it hot, add a dash of chili powder or cayenne to the sugar before bruleeing for a surprising heat that pairs well with the creamy custard.
-
Flavor Infusion: Experiment with infusing the cream mixture with ginger or lemongrass while heating for an added layer of exotic flavor.
-
Dairy-Free Delight: Substitute the heavy cream and whole milk with coconut milk for a vegan-friendly version that maintains a rich texture.
-
Garnish Boost: Top your dessert with fresh mango or toasted coconut flakes for an attractive and flavorful finishing touch.
If you’re in the mood for something sweet, why not explore a side of Cadbury Creme Bites or bring some heartiness with Garlic Parmesan Steak to your table next?
Make Ahead Options
These Thai Tea Creme Brulee are perfect for busy home cooks looking to save time without compromising on flavor! You can prepare the entire custard mixture and store it in the refrigerator for up to 3 days before serving. To maintain the silky texture, remember to cover the ramekins tightly with plastic wrap to prevent any absorption of odors in the fridge. When you’re ready to impress your guests, simply top the chilled custards with a layer of sugar and brulee them just before serving, achieving that delightful caramel crust. This makes for an elegant dessert that’s just as delicious, with minimal last-minute effort!
Thai Tea Creme Brulee Recipe FAQs
What should I look for when selecting Thai tea?
Absolutely! When choosing Thai tea, look for quality brands like Number One Chatramue. I often recommend loose leaf options over tea bags, as they typically provide a more robust flavor that’s perfect for infusing into your custard. Check for vibrant color and aromatic notes when selecting your tea!
How should I store leftover Thai Tea Creme Brulee?
Very good question! You can store the custards in the refrigerator, covered with plastic wrap or in airtight containers, for up to 3 days. It’s best to wait to brulee the sugar topping until just before serving so that the crust stays crunchy and delightful.
Can I freeze Thai Tea Creme Brulee?
Certainly! While it’s not usually recommended to freeze custards due to potential texture changes, you can freeze the unbruleed custard for up to 1 month. To do this, make sure the custard is completely cool, then cover tightly. Thaw overnight in the refrigerator before bruleeing the sugar topping.
What should I do if my custard doesn’t set properly?
No worries! If your Thai Tea Creme Brulee isn’t setting after baking, it may need more time in the oven. Check it after an additional 5-10 minutes. Remember, it should still be slightly wobbly in the center when done. If it’s overly set, this could be a sign of overbaking—next time, keep a close watch on it!
Is Thai Tea Creme Brulee safe for those with dietary restrictions?
Very much so! This dessert is gluten-free, making it a perfect option for those avoiding gluten. However, keep in mind that it contains dairy and eggs, so be cautious if there are lactose intolerances or egg allergies among your guests. I recommend checking the ingredient labels and adjusting for personal dietary needs.
How do I prevent the sugar topping from burning?
Great question! To ensure your sugar topping doesn’t burn while caramelizing, be sure to use only a thin layer of sugar and stay attentive. If using a kitchen torch, move in slow, even circles. If using a broiler, keep an eye on it every few seconds—it only takes moments for it to go from perfectly caramelized to burnt!
Thai Tea Creme Brulee: A Unique Dessert Experience to Savor
Ingredients
Equipment
Method
- Begin by combining 1 cup of heavy cream and 1 cup of whole milk in a medium saucepan. Heat over low flame until the mixture simmers gently, then remove from heat and stir in 2 tablespoons of Thai tea mix. Allow the tea to steep for 15 minutes, then strain the mixture to remove tea leaves.
- In a separate bowl, whisk together 6 egg yolks, 3/4 cup of granulated sugar, and 1 teaspoon of vanilla paste until well combined and the mixture turns a light pale color.
- Slowly drizzle the warm cream mixture into the egg yolk mixture while continuously whisking to temper the eggs, ensuring a smooth consistency without curdling. Strain the custard again.
- Preheat your oven to 300°F (150°C). Carefully pour the custard mixture into 6 individual ramekins and place them in a baking pan filled with boiling water halfway up the sides of the ramekins.
- Bake for 35-40 minutes or until the custards are set but still slightly wobbly. Remove from water bath and cool to room temperature, then refrigerate for at least 2 hours.
- Just before serving, sprinkle a thin layer of granulated sugar evenly over the tops and use a kitchen torch to melt the sugar until caramelized.
Leave a Reply