
As I stood in my kitchen, pondering the perplexities of pie crusts, it dawned on me—why make things more complicated than they need to be? My Easy Oat Flour Pie Crust is a game-changer, offering the perfect blend of simplicity and flavor with a delightful nutty twist. Best of all, it’s gluten-free and can easily be made vegan! This no-roll dough eliminates the stress of traditional crust preparations, making it a big win for those busy weeknights or spontaneous baking moments. Whether filling it with luscious fruits, creamy custards, or chocolatey wonders, this crust serves up a sturdy yet tender base, satisfying cravings without the guilt. Ready to take your baking to the next level? Let’s roll up our sleeves and get started!
Why is Oat Flour Pie Crust a Must-Try?
Simplicity: This recipe requires minimal effort, using a no-roll technique to save you time and stress in the kitchen.
Delicious Nutty Flavor: The oat flour provides a rich, slightly sweet taste that pairs beautifully with your favorite fillings, making every bite a delight.
Versatile Options: Enjoy it as a gluten-free and vegan-friendly crust, perfect for a variety of pies, including classic Pumpkin Pie Chia or fruity galettes.
Quick to Make: With easy-to-find ingredients, your pie crust can be mixed and ready in no time, perfect for parties or cozy nights in.
Healthy Choice: Lower in carbs than traditional crusts, it caters to health-conscious bakers without compromising on taste, so you can savor every slice guilt-free!
Oat Flour Pie Crust Ingredients
For the Crust
- Oat Flour – This is the base of your crust and provides a wonderful nutty flavor; you can make it at home or buy it pre-made.
- Cornstarch/Coconut Flour/Almond Flour – Any of these can enhance the texture; choose based on your preference for a light and flaky outcome.
- Butter – Adds richness and depth to the flavor; feel free to swap it out for vegan butter or coconut oil if desired.
- Water – Essential for binding; adjust the amount as needed to achieve the right dough consistency.
- Low Carb Brown Sugar – This adds a touch of sweetness; if you prefer, you can use alternative sweeteners to keep it sugar-free.
- Salt (optional) – A pinch can enhance the flavor, but feel free to omit it for a salt-free option.
Enjoy whipping up this versatile and delicious oat flour pie crust that’s perfect for any occasion!
Step‑by‑Step Instructions for Oat Flour Pie Crust
Step 1: Prepare Butter
Begin by cubing the cold butter into small pieces, approximately 1 inch in size. This helps with even mixing and ensures a flaky texture. Set it aside while you prepare your dry ingredients. The butter should remain chilled for best results.
Step 2: Combine Dry Ingredients
In a large mixing bowl, whisk together the oat flour, cornstarch (or your chosen alternative), low carb brown sugar, and salt. Make sure to mix well until all dry ingredients are uniformly combined, which will take about 1-2 minutes. This will create the flavorful base of your Oat Flour Pie Crust.
Step 3: Incorporate Butter
Add the cubed butter to your dry mixture, using a pastry cutter or your hands to work it in. Mix until you achieve a crumbly texture resembling coarse sand, which should take about 3-5 minutes. This step is crucial for incorporating that rich flavor needed for a delicious pie crust.
Step 4: Add Water
Gradually stir in 2 tablespoons of cold water to the mixture, ensuring the dough begins to come together. If the dough still feels crumbly, add more water, a tablespoon at a time, until it forms a cohesive ball. This process may take about 2-3 minutes, so be patient as you find the right consistency.
Step 5: Chill Dough
Once your Oat Flour Pie Crust dough has come together, wrap it tightly in plastic wrap. Refrigerate it for at least 1 hour. Chilling helps to firm up the butter, resulting in a flakier pie crust after baking. This is a crucial step that should not be skipped for the best outcome.
Step 6: Preheat Oven
As your dough chills, preheat your oven to 375°F (190°C). This ensures that the oven is at the right temperature for baking your Oat Flour Pie Crust, promoting even cooking and the perfect golden-brown finish when the time comes.
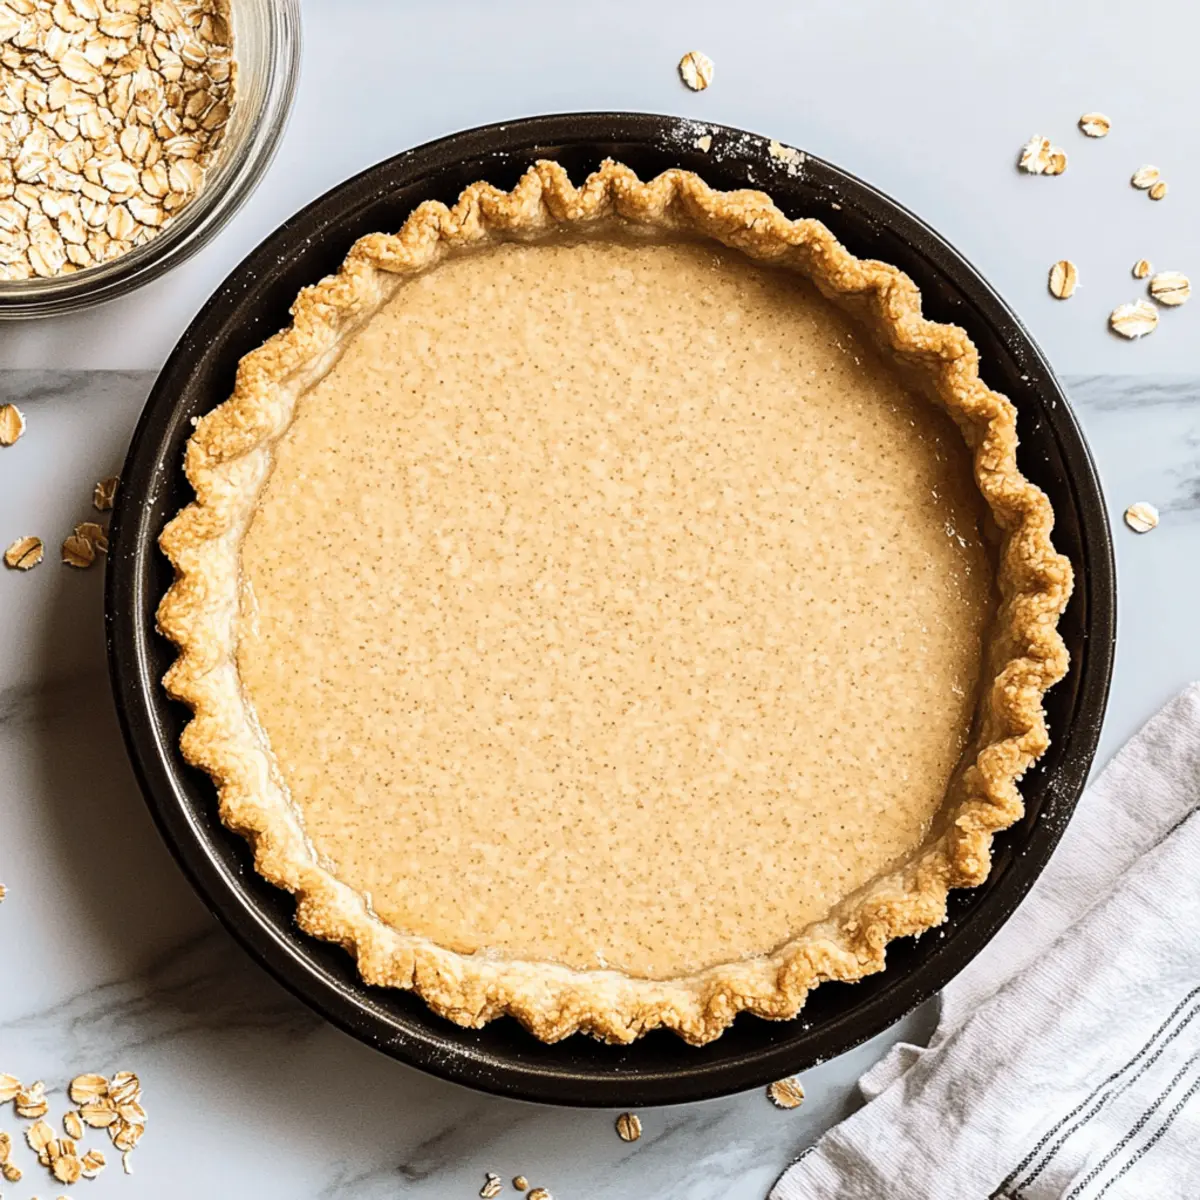
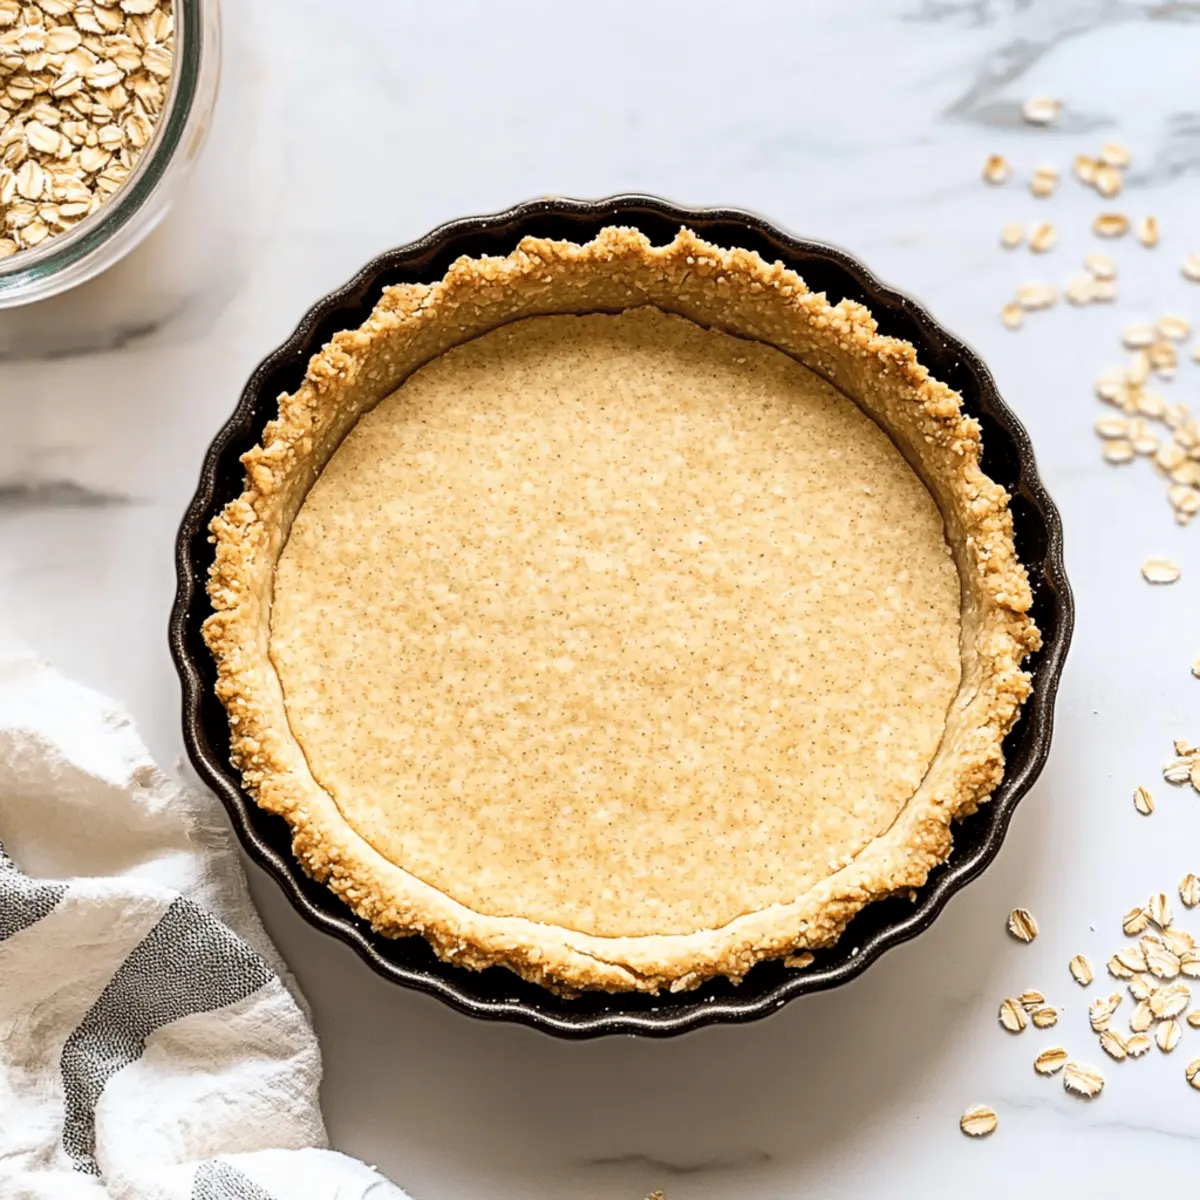
Step 7: Shape Crust
Remove the chilled dough from the refrigerator and unwrap it on a lightly floured surface. Press and flatten the dough into a round shape, then carefully press it into a 9-inch pie pan. Ensure the crust is evenly distributed and use a fork to prick holes in the bottom to prevent bubbling during baking.
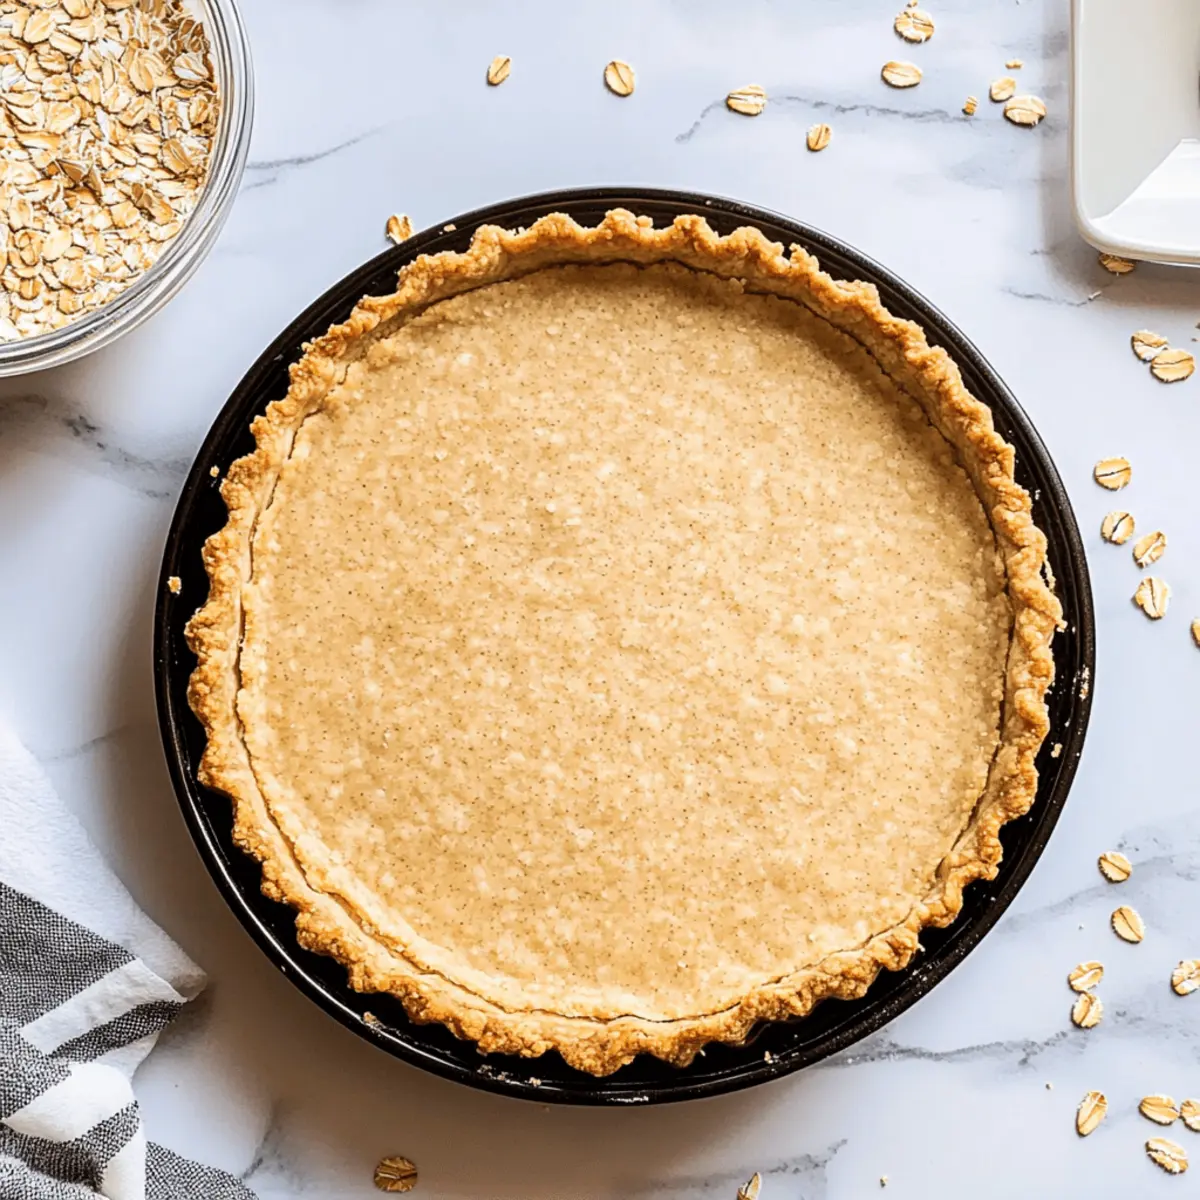
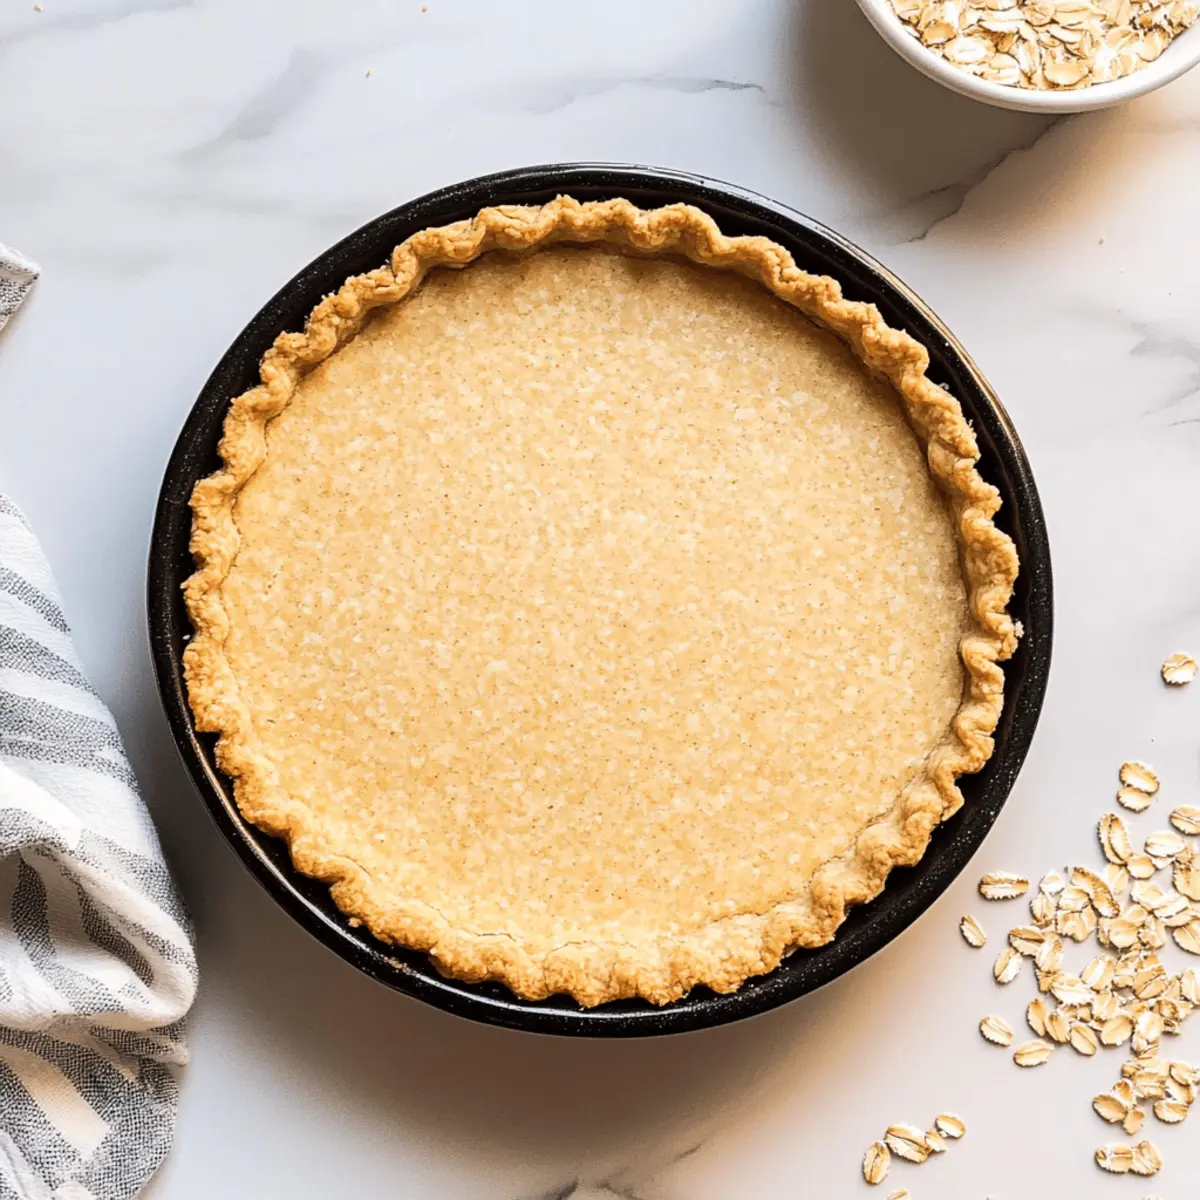
Step 8: Bake
Place the pie pan in your preheated oven and bake for 15-20 minutes, or until the edges are lightly golden brown. Keep a close eye on it during the last few minutes to avoid overbaking. Once done, remove the crust and allow it to cool before adding your desired fillings.
What to Serve with Easy Gluten-Free Oat Flour Pie Crust
There’s nothing quite like a perfect pie crust to set the stage for delightful fillings, giving your dessert a heavenly finish.
-
Creamy Whipped Topping: A dollop of freshly whipped cream enhances your pie, adding a light, fluffy contrast to the nutty crust.
-
Vanilla Ice Cream: The cool, creamy goodness of vanilla ice cream complements the warmth of your pie, creating a blissful harmony of flavors and textures.
-
Fresh Fruit Salad: A refreshing fruit medley brings brightness and a splash of color to your presentation, balancing the richness of the pie.
-
Sweet Caramel Sauce: Drizzling warm caramel over a slice adds a decadent finish that elevates the flavors of your pie crust even further.
-
Chocolate Ganache: Smooth, rich chocolate ganache pairs beautifully, offering a luxurious taste experience that turns your pie into a dessert masterpiece.
-
Coconut Cream: This light and creamy addition provides a mellow sweetness that perfectly complements the nutty notes of the oat flour, enhancing the overall flavor.
Indulging in these delightful combinations will surely turn a simple dessert into a memorable feast that warms the heart and satisfies the palate.
Make Ahead Options
This Oat Flour Pie Crust is perfect for meal prep enthusiasts seeking to save time during busy weeks! You can prepare the crust dough up to 24 hours in advance by following the mixing instructions, then tightly wrap it in plastic wrap and refrigerate. Alternatively, once shaped in the pie pan, it can be covered with plastic and refrigerated for up to 3 days before baking. Just remember to let the dough sit at room temperature for about 10-15 minutes before rolling out to ensure it’s easier to handle. When you’re ready to serve, simply bake it as directed, and you’ll enjoy a delicious homemade crust, just as fresh and flaky as if made on the same day!
Storage Tips for Oat Flour Pie Crust
-
Room Temperature: Allow your baked Oat Flour Pie Crust to cool completely, then store it in a cool, dry place for up to 2 days. Keep it covered with a clean kitchen towel to prevent drying.
-
Fridge: Place the cooled pie crust in an airtight container and store it in the refrigerator for up to a week. This helps maintain its freshness and crispness.
-
Freezer: For longer storage, wrap the cooled crust tightly in plastic wrap and then foil, and freeze for up to 3 months. Thaw in the fridge overnight before using.
-
Reheating: To restore crispness, reheat the deep-frozen Oat Flour Pie Crust in a preheated oven at 350°F (175°C) for about 10-15 minutes before adding your filling.
Expert Tips for Oat Flour Pie Crust
-
Use Cold Butter: Ensure your butter is cold to create a flaky texture. If it warms up, it might result in a tough crust instead of the tender, delicious Oat Flour Pie Crust you desire.
-
Don’t Overmix: When incorporating the butter, mix just until crumbly. Overmixing can develop gluten, leading to a tougher crust which will not provide the lightness you want.
-
Adjust Water Gradually: Add water slowly to the mixture! Too much at once can lead to a sticky dough, making it hard to manipulate. Aim for a firm yet workable consistency.
-
Chill for Success: Wrapping and chilling your dough for at least an hour is crucial. This resting period allows the flour to hydrate and the fats to solidify, promoting flakiness when baked.
-
Par-Baking Tips: If you’re filling your crust with custard or juicy fruits, pre-bake for a few minutes to prevent a soggy bottom. Using weights during par-baking can help keep it in shape.
Oat Flour Pie Crust Variations
Feel free to explore these delicious twists that enhance your Oat Flour Pie Crust, making it your own!
-
Gluten-Free All-Purpose Flour: Swap oat flour for gluten-free all-purpose flour to create a different texture without losing flavor.
-
Vegan Option: Use vegan butter or coconut oil instead of traditional butter for a completely plant-based crust without sacrificing taste.
-
Nutty Flavor Boost: Add finely chopped nuts or nut flour to the mix for a crunchy topping that gives your crust an aromatic twist. This addition complements sweet fillings beautifully!
-
Spicy Sweetness: Incorporate spices like cinnamon or nutmeg to the dough for a warm, inviting flavor. A hint of spice elevates your pie experience, especially for autumn treats.
-
Sweetened Version: Increase the amount of brown sugar, or try using maple syrup for a sweeter crust that pairs wonderfully with fruit fillings.
-
Savory Spin: Omit the sweeteners and add herbs or cheese for a savory herbal crust, perfect for quiches or savory pies. This variation is sure to impress at brunch gatherings.
-
Creamy Coconut: Replace water with coconut milk to impart a rich coconut flavor to your crust. It’s perfect for tropical pies or as a base for creamy desserts.
-
Low-Carb Option: To keep it low-carb, replace brown sugar with a sugar substitute like erythritol or monk fruit, ensuring you can enjoy a sweet, guilt-free treat.
These variations not only enhance your crust but also invite creativity to your pie-making adventures. Don’t forget to try your crust with delightful fillings such as Sweet Potato Pie or a rich Toffee Cheesecake Pie!
Oat Flour Pie Crust Recipe FAQs
How do I choose the right oat flour for my pie crust?
Absolutely! When selecting oat flour, look for a finely ground flour to ensure a smooth texture. You can either purchase it from the store or make your own at home by blending rolled oats in a food processor until they reach a fine flour consistency. This will give your crust a wonderful nutty flavor.
How should I store my baked Oat Flour Pie Crust?
I recommend allowing your baked crust to cool completely before storing. Place it in an airtight container and keep it in the refrigerator for up to 1 week. Alternatively, you can freeze it for longer storage; simply wrap it tightly in plastic wrap and aluminum foil, and it will stay fresh for up to 3 months!
Can I freeze my Oat Flour Pie Crust? If so, how?
Of course! To freeze your Oat Flour Pie Crust, follow these steps: First, let the baked crust cool completely. Next, wrap it securely in plastic wrap and then in aluminum foil to prevent freezer burn. Label it with the date, and it will keep well for up to 3 months. When ready to use, simply thaw it in the fridge overnight and reheat in the oven for a crispy finish.
What if my crust is too crumbly?
Very good question! If your crust turns out too crumbly, it’s likely due to insufficient moisture. Simply add 1-2 tablespoons of cold water and gently mix until it comes together. If it’s too sticky instead, add a little more oat flour gradually until you achieve the right consistency. Remember, mixing should be gentle to avoid toughening the crust.
Are there any dietary considerations I should keep in mind?
Absolutely! This Oat Flour Pie Crust is a fantastic gluten-free option, but do keep in mind that cross-contamination can occur if you’re cooking for someone with celiac disease. Always check your oat flour for gluten-free certification. Additionally, for those with nut allergies, feel free to substitute cornstarch instead of almond flour as suggested in the recipe.
Delicious Oat Flour Pie Crust: Easy, Gluten-Free & Vegan-Friendly
Ingredients
Equipment
Method
- Begin by cubing the cold butter into small pieces, approximately 1 inch in size.
- In a large mixing bowl, whisk together the oat flour, cornstarch, low carb brown sugar, and salt until uniformly combined.
- Add the cubed butter to your dry mixture, using a pastry cutter or your hands to work it in until crumbly.
- Gradually stir in 2 tablespoons of cold water to the mixture until it forms a cohesive ball.
- Wrap the dough tightly in plastic wrap and refrigerate for at least 1 hour.
- Preheat your oven to 375°F (190°C).
- Remove the chilled dough and press it into a 9-inch pie pan, pricking holes in the bottom.
- Bake for 15-20 minutes, or until the edges are lightly golden brown.
Leave a Reply