
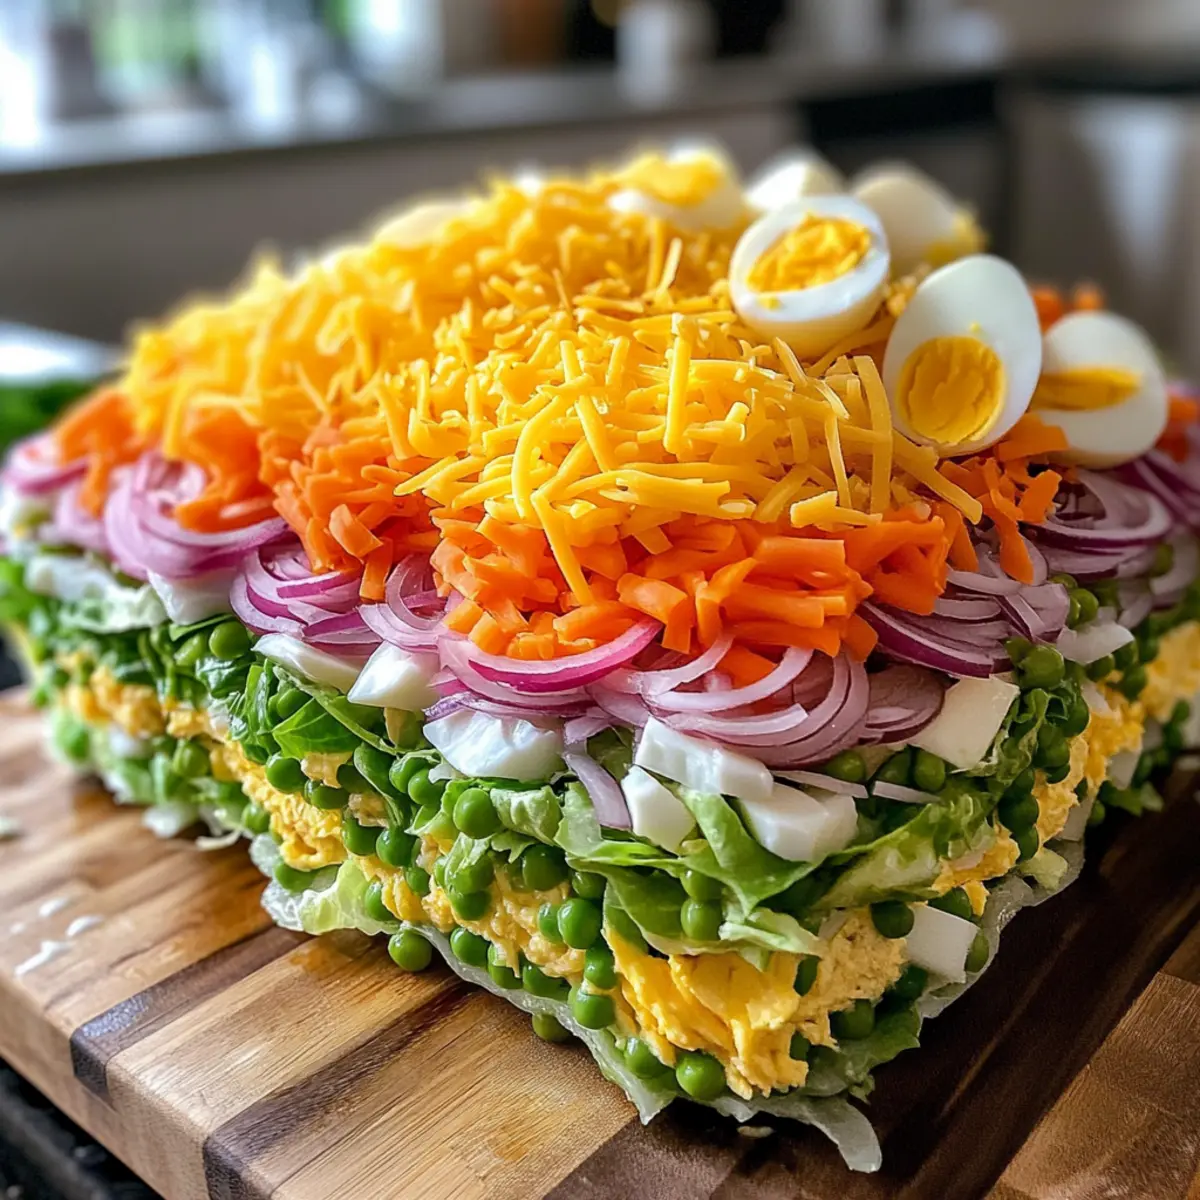
At a recent gathering, I overheard someone exclaim, “This salad is stunning; what’s in it?” That’s when I knew I had to share my recipe for Layered Dublin Salad. It’s a feast for the eyes and the palate, featuring fresh iceberg lettuce, vibrant sweet peppers, and creamy aged Irish cheddar—making it a true potluck favorite. Not only is this layered salad incredibly easy to whip up, but its colorful presentation turns it into the centerpiece of any meal. Plus, it’s vegetarian-friendly, so even your meat-loving friends will be reaching for seconds! Are you ready to impress your guests and elevate your next gathering with this delightful dish? Let’s dive into the flavorful layers of this beautiful salad!
Why is Layered Dublin Salad a Must-Try?
Vibrant presentation: This colorful salad is visually stunning, making it the star of any potluck or gathering.
Easy to prepare: You don’t need culinary expertise; just layer, mix, and serve for a delightful dish.
Flavorful layers: The combination of crisp lettuce, sweet peppers, creamy cheese, and zesty dressing creates a delicious explosion of taste.
Vegetarian-friendly: Perfect for everyone, this salad caters to various dietary preferences without sacrificing flavor.
Crowd-pleaser: Its beautiful appearance and rich taste guarantee second helpings at your next barbecue or picnic.
Looking for more easy recipes? Pair this with a refreshing Grilled Pineapple Salad for a complete meal.
Layered Dublin Salad Ingredients
• A delightful blend for a potluck!
For the Salad Layers
- Iceberg Lettuce – Provides a crisp and crunchy base; fresh romaine can be used for added flavor.
- Red Onion – Adds zip and a delicate pungency; yellow onion works if red isn’t available.
- Hard Boiled Eggs – Contributes creaminess and protein; consider using pre-cooked eggs for ease.
- Sweet Peppers – Offer vibrant color and sweetness; mix different hues (red, yellow, orange) for visual appeal.
- Frozen Peas – Thawed peas add a sweet burst; no cooking required, just thaw ahead of time.
- Aged Irish Cheddar – Provides nutty flavor and creamy texture; substitute with any sharp or aged cheese if needed.
For the Dressing
- Mayo – Acts as the creamy base for the dressing; use Greek yogurt for a lighter version.
- Sweet Relish – Adds sweetness and tang; chopped pickles or honey can be used for a different flavor profile.
- Spicy Mustard – Offers a kick of flavor; yellow mustard can easily replace it if desired.
- Dried Thyme – Enhances the overall flavor; fresh thyme is a suitable alternative if you have it on hand.
- Salt – Elevates all flavors; omit based on your dietary preferences.
Step‑by‑Step Instructions for Layered Dublin Salad
Step 1: Prepare the Dressing
In a medium bowl, seamlessly blend together the mayo, sweet relish, spicy mustard, dried thyme, and a pinch of salt. Use a whisk to achieve a smooth and creamy consistency, which should take about 2-3 minutes. Set this flavorful dressing aside while you prepare the salad layers, as it will bring all the ingredients together beautifully.
Step 2: Chop and Prepare Salad Ingredients
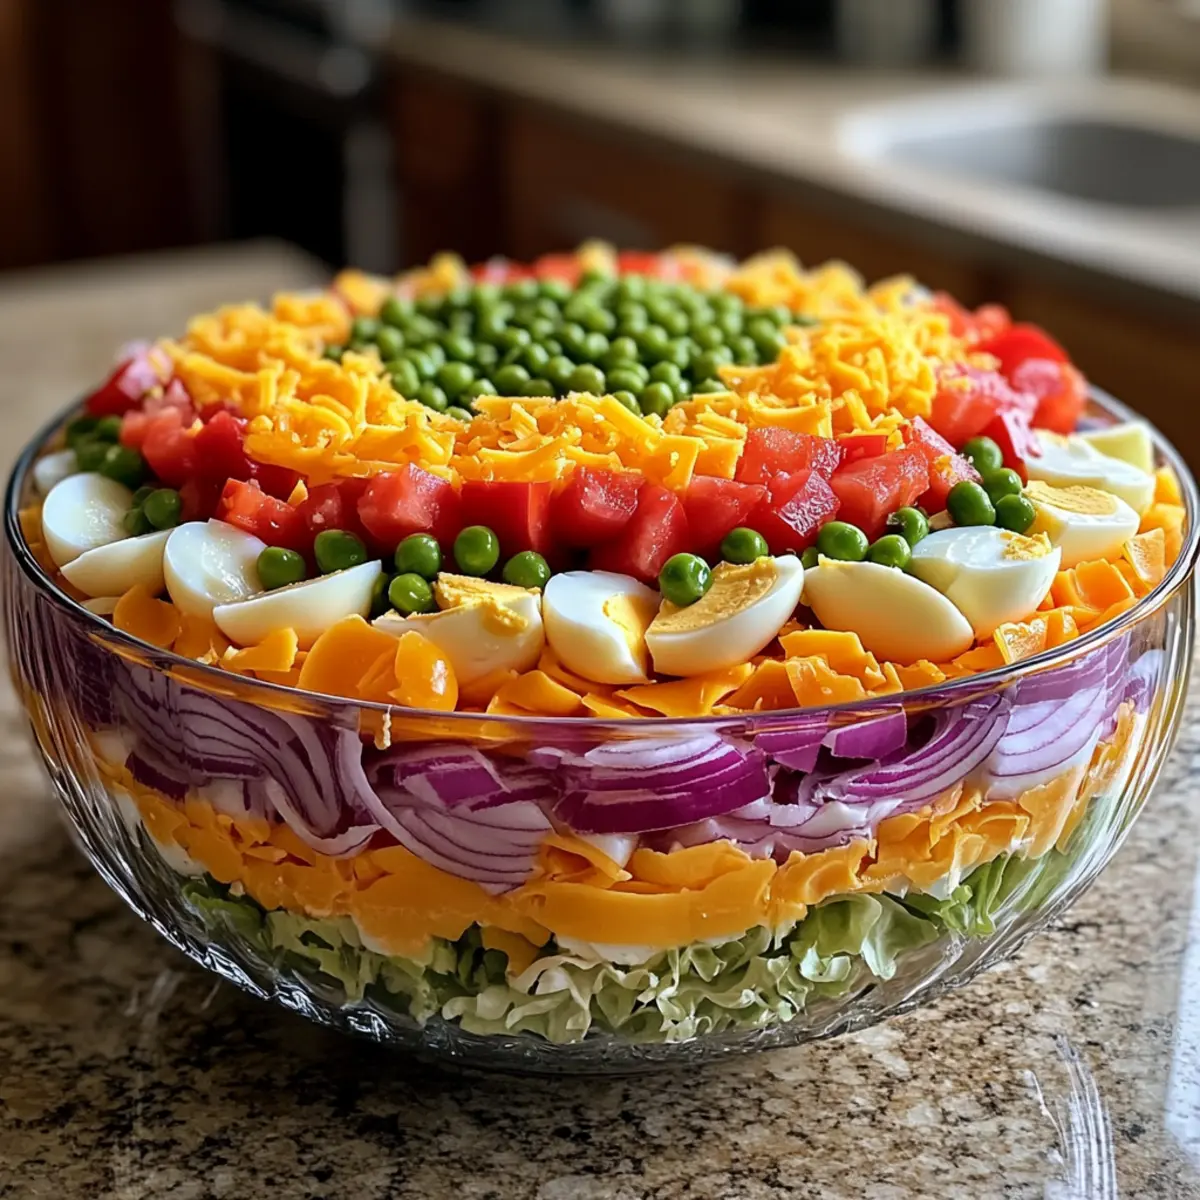
Begin by finely chopping the iceberg lettuce and transferring it to a large glass bowl or trifle dish. Next, finely dice the red onion and chop the hard-boiled eggs, making sure the pieces are small enough to integrate easily into your layers. Afterward, prepare the sweet peppers by dicing them into bite-sized pieces, ensuring a colorful salad that will impress your guests.
Step 3: Assemble the Layers
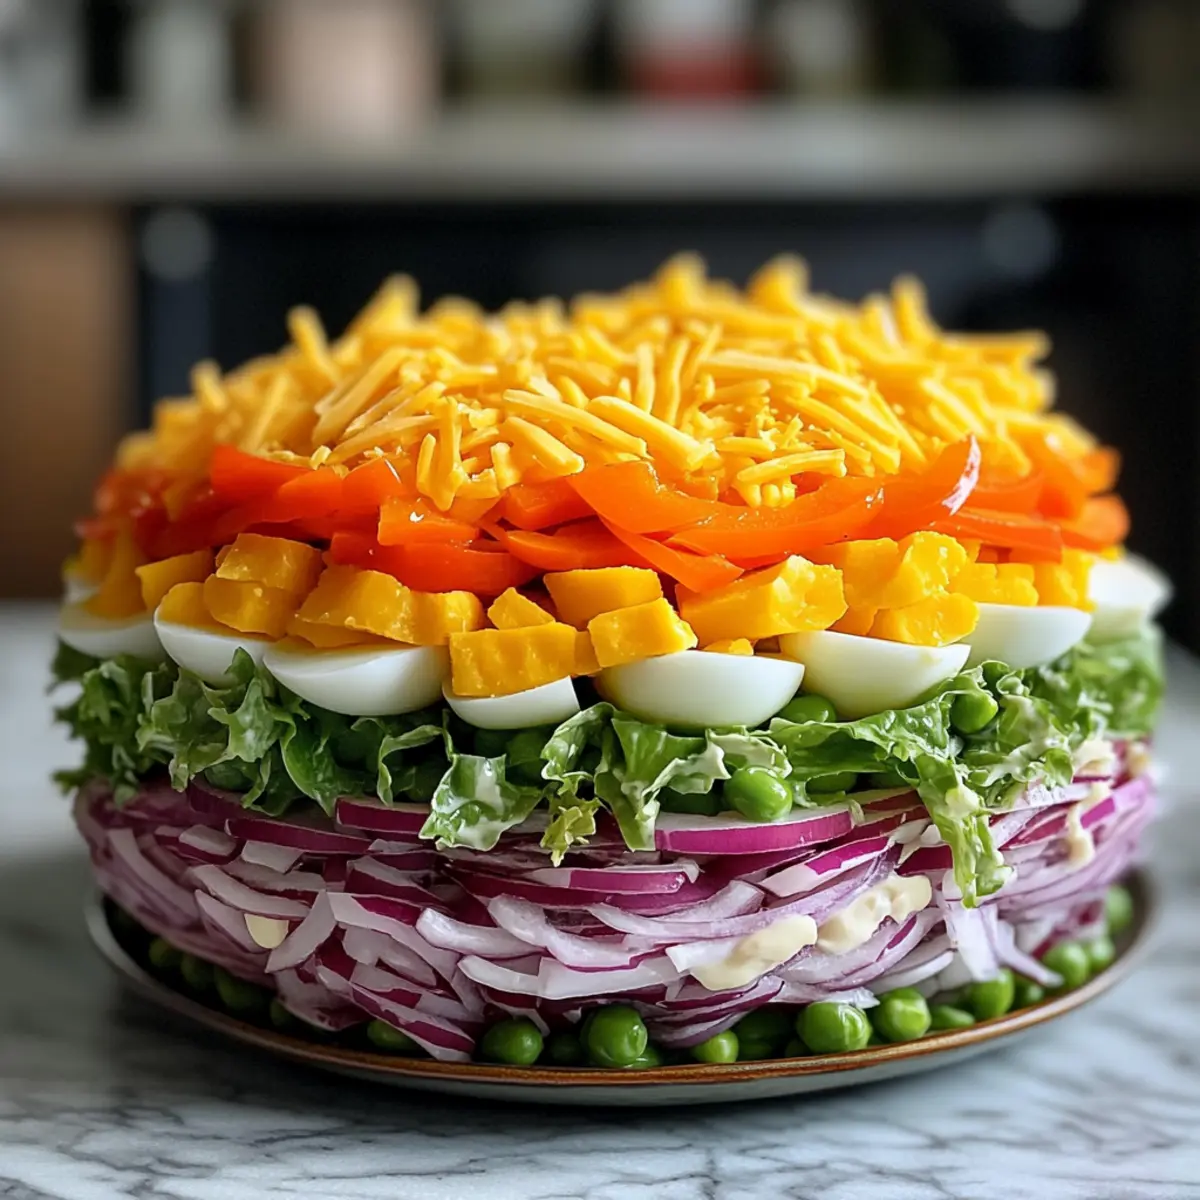
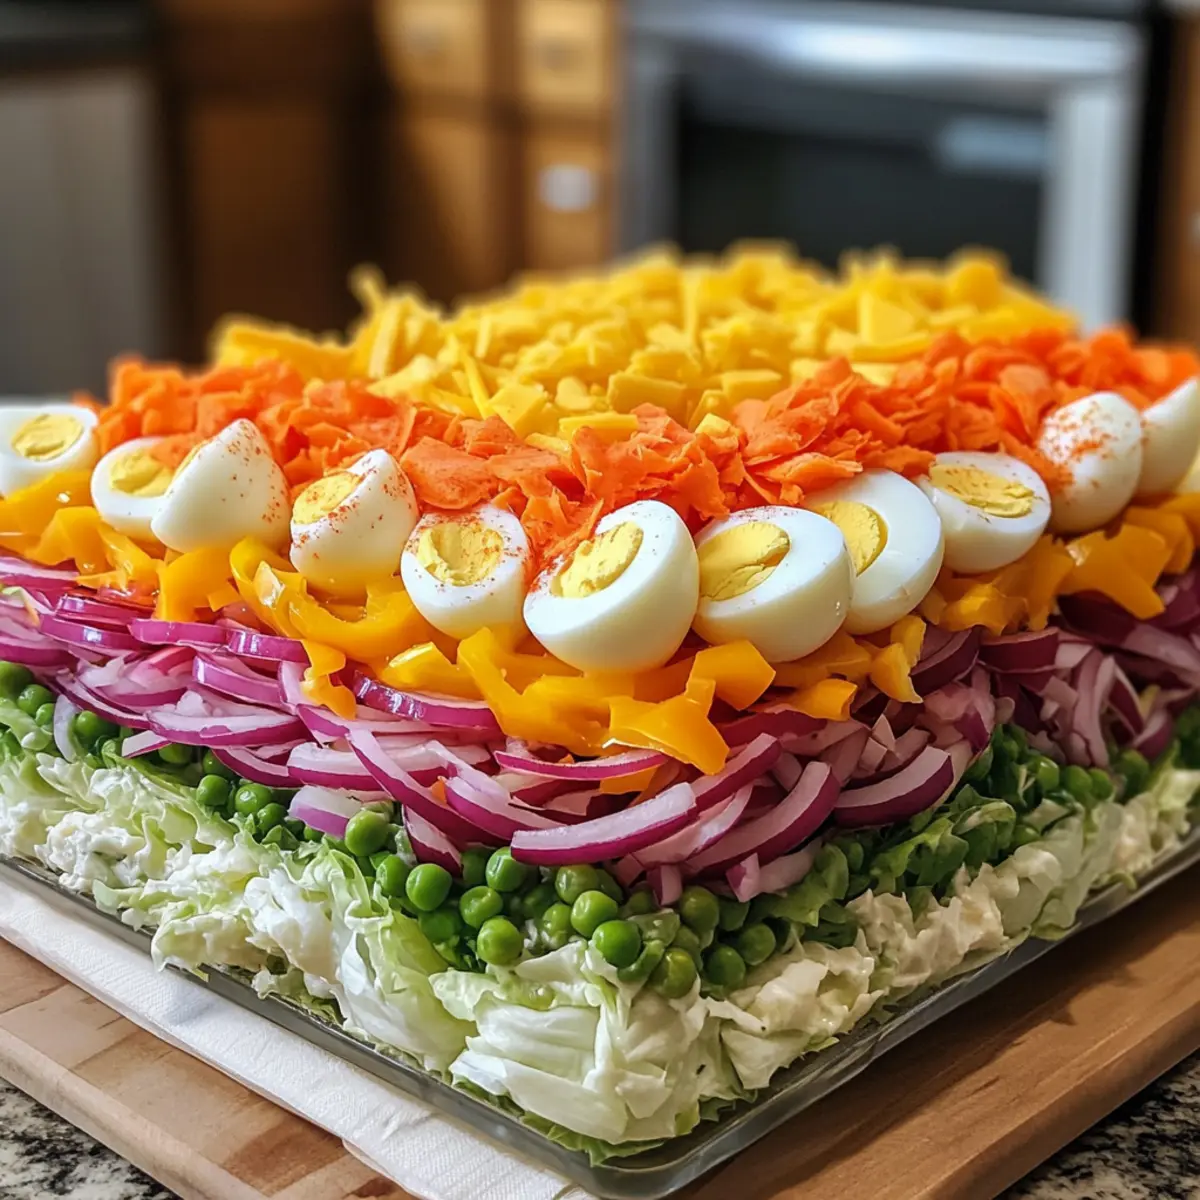
Now it’s time to create the stunning layers of your Layered Dublin Salad. Start with the crisp iceberg lettuce as your base, followed by an even layer of chopped red onion. Next, layer the chopped hard-boiled eggs, ensuring even distribution to add creaminess. Follow with diced sweet peppers, then sprinkle the thawed peas across the top for a vibrant look and a touch of sweetness.
Step 4: Add the Cheese
Sprinkle the shredded aged Irish cheddar over the salad layers for a rich, creamy finish. This cheese adds a wonderful nutty flavor that complements the other ingredients. Ensure the cheddar is evenly distributed, allowing its delicious creaminess to mingle with the fresh vegetables beneath it, creating an enticing display of colors and textures.
Step 5: Finish with Dressing
Pour the prepared dressing evenly over the top of your colorful layered salad, ensuring it coats the top layer of cheddar and adds flavor to the entire dish. Use a spatula to gently spread the dressing, making sure it covers all areas without disturbing the layers underneath. This final touch will tie all the flavors together beautifully, enhancing the appeal of your Layered Dublin Salad.
Step 6: Serve with Style
Before serving your Layered Dublin Salad, let it sit for about 10 minutes to allow the flavors to meld together. This brief resting time helps the ingredients to harmonize without compromising the beautiful layered effect. For the best presentation, toss the salad just before serving, allowing guests to admire the vibrant layers while enjoying this delightful dish.
How to Store and Freeze Layered Dublin Salad
Fridge: Store the salad in an airtight container for up to 3 days. This keeps the ingredients fresh and the layers intact until you’re ready to serve.
Freezer: Although freezing is not recommended for layered salads, if you must, you can freeze individual components (like peas or cheese) separately. Thaw and layer before serving.
Reheating: As this is a salad, no reheating is necessary. Just toss before serving to revive the flavors of your Layered Dublin Salad.
Make-Ahead: You can prepare the salad a few hours in advance. Just keep the dressing separate until you’re ready to serve to maintain the salad’s texture and freshness.
Layered Dublin Salad Variations
Feel free to get creative with this delightful salad; the possibilities are endless and oh-so-tasty!
-
Cheese Swap: Use Feta or Goat Cheese for a tangy twist that adds creaminess and a rich flavor profile.
If you’re in the mood for something different, a creamy crumbly feta or tangy goat cheese can elevate this dish in a whole new direction. -
Crunchy Texture: Add Chopped Cucumbers for an extra crunch or slice Avocado for velvety richness.
Cucumbers bring a refreshing bite, while avocado introduces creamy goodness and a buttery texture that melds beautifully with the layers. -
Non-Vegetarian Option: Include Diced Cooked Bacon for added flavor and richness that bacon lovers will adore.
The crispy, savory notes of bacon can make this salad a heartier dish, perfect for those who enjoy the robust taste of meat. -
Zesty Kick: Incorporate Chopped Jalapeños for an extra element of heat to spice things up.
These fiery peppers will not only add a pop of flavor but also make your salad stand out as a bold choice for adventurous palates. -
Sweet Twist: Substitute Chopped Fresh Pineapple for a burst of sweetness that brightens up the layered flavors.
Juicy pineapple chunks can balance the savory elements beautifully, creating a delightful contrast that keeps things interesting. -
Herb Infusion: Toss in Fresh Basil or Cilantro for a burst of fresh herbal flavor that complements the creaminess.
These herbs will infuse your salad with a fresh, aromatic note that enhances every bite and adds a touch of brightness. -
Nutty Flavor: Add Toasted Almonds or Walnuts for a crunchy texture and nutty essence that rounds out the dish.
The warmth of roasted nuts will introduce another layer of depth while providing a satisfying crunch with every mouthful.
Looking to create more vibrant dishes? Try pairing your salad with a refreshing Grilled Pineapple Salad to complete your potluck spread, or serve it alongside a hearty serving of Avocado Chicken Salad for a wholesome meal!
Make Ahead Options
These Layered Dublin Salad preparations are perfect for busy home cooks looking to save time! You can chop the veggies, prepare the dressing, and even hard-boil the eggs up to 24 hours in advance, storing them separately in the refrigerator to maintain freshness. Additionally, you can layer the first few ingredients (lettuce, onion, and eggs) in the dish, covering it tightly to prevent browning or sogginess. When you’re ready to serve, simply finish layering with the sweet peppers, peas, and cheese, then drizzle on the dressing. This way, you’ll enjoy just as delicious a salad with minimal last-minute effort!
What to Serve with Layered Dublin Salad
Brighten your mealtime with delicious accompaniments that perfectly match your vibrant salad.
- Grilled Lemon Chicken: The zesty flavor of this juicy chicken enhances the salad’s crisp components, creating a balanced plate.
- Garlic Breadsticks: These warm, buttery sticks provide a delightful contrast to the fresh texture of the salad, making for an inviting pairing.
- Roasted Veggies: Caramelized seasonal vegetables add earthy depth, complementing the sweet peppers and providing a hearty touch to your meal.
- Quinoa Salad: A protein-packed side that’s both nutritious and filling; the nutty flavors harmonize beautifully with the creamy Dublin Salad.
- Chilled White Wine: A refreshing glass of Sauvignon Blanc cuts through the creaminess, enhancing the fruitiness of your layered dish.
- Chocolate Mousse: For dessert, indulge in a light and airy treat, offering a sweet finish that contrasts the salad’s savory notes.
Expert Tips for Layered Dublin Salad
-
Chill Your Ingredients: Keeping all ingredients cold ensures a fresh, crisp texture that enhances the Layered Dublin Salad experience.
-
Layer with Care: For a stunning presentation, layer ingredients gently, avoiding excessive mixing to maintain those beautiful, distinct layers.
-
Dress Before Serving: Apply the dressing just before serving to prevent the salad from becoming soggy; this keeps the freshness intact.
-
Customize Ingredients: Feel free to mix and match veggies or cheese types based on your preference. Just ensure they complement the salad’s flavor profile.
-
Rest for Flavor: Allow the salad to sit for 10 minutes after layering and before serving; this helps meld the flavors and improves the overall taste.
Layered Dublin Salad Recipe FAQs
Which ingredients should be ripe or fresh for the best Layered Dublin Salad?
Absolutely! For the best flavor and texture, make sure to use fresh, crisp iceberg lettuce and colorful sweet peppers. Look for peppers that are firm without any dark spots or blemishes. The sweet peppers should have vibrant colors – red, yellow, and orange – to enhance the salad’s appearance. When it comes to eggs, fresher eggs yield better creaminess, so opt for those that aren’t nearing their expiration date.
How should I store leftover Layered Dublin Salad?
Very! You can store the Layered Dublin Salad in an airtight container in the refrigerator for up to 3 days. This helps maintain freshness and keeps the layers looking beautiful. If you’re worried about sogginess, consider storing the dressing separately and adding it right before serving.
Can I freeze Layered Dublin Salad?
While freezing the entire salad is not advisable due to the textures of the ingredients, you can freeze individual components! For example, if you have leftover thawed peas or cheese, wrap them tightly in plastic wrap or place them in airtight containers. They can last in the freezer for up to 3 months. Just remember to thaw them in the fridge the day before you plan to assemble or serve the salad.
What if my Layered Dublin Salad turns out soggy or messy?
No worries! If you notice your salad becoming soggy, it might be due to the dressing being added too early. To troubleshoot, always add the dressing right before serving to keep everything fresh and intact. Additionally, if you’ve over-mixed the layers, try gently folding them back together rather than tossing aggressively; this can help preserve the beautiful layered effect!
Are there any dietary considerations I should keep in mind for this salad?
Certainly! The Layered Dublin Salad is vegetarian-friendly, but for those with dietary restrictions, it’s essential to note potential allergens. The mayo contains eggs, so opt for a vegan mayo alternative if needed. Additionally, ensure your aged Irish cheddar is suitable for your dietary preferences, as some cheeses might contain animal rennet. This salad is also great for gatherings, but be mindful if guests have nut allergies, though this recipe doesn’t include nuts.
Can I make this salad ahead of time?
Yes, definitely! You can prepare the Layered Dublin Salad a few hours in advance. Just keep the ingredients layered and the dressing separate until you’re ready to serve. This way, you still get the full vibrant presentation and flavor when it’s time to dig in!
Layered Dublin Salad: A Colorful Twist for Potlucks
Ingredients
Equipment
Method
- In a medium bowl, seamlessly blend together the mayo, sweet relish, spicy mustard, dried thyme, and a pinch of salt. Use a whisk to achieve a smooth and creamy consistency, which should take about 2-3 minutes. Set this flavorful dressing aside while you prepare the salad layers.
- Begin by finely chopping the iceberg lettuce and transferring it to a large glass bowl or trifle dish. Next, finely dice the red onion and chop the hard-boiled eggs, making sure the pieces are small enough to integrate easily into your layers. Afterward, prepare the sweet peppers by dicing them into bite-sized pieces, ensuring a colorful salad that will impress your guests.
- Now it’s time to create the stunning layers of your Layered Dublin Salad. Start with the crisp iceberg lettuce as your base, followed by an even layer of chopped red onion. Next, layer the chopped hard-boiled eggs, ensuring even distribution to add creaminess. Follow with diced sweet peppers, then sprinkle the thawed peas across the top for a vibrant look and a touch of sweetness.
- Sprinkle the shredded aged Irish cheddar over the salad layers for a rich, creamy finish. This cheese adds a wonderful nutty flavor that complements the other ingredients. Ensure the cheddar is evenly distributed, allowing its delicious creaminess to mingle with the fresh vegetables beneath it, creating an enticing display of colors and textures.
- Pour the prepared dressing evenly over the top of your colorful layered salad, ensuring it coats the top layer of cheddar and adds flavor to the entire dish. Use a spatula to gently spread the dressing, making sure it covers all areas without disturbing the layers underneath. This final touch will tie all the flavors together beautifully, enhancing the appeal of your Layered Dublin Salad.
- Before serving your Layered Dublin Salad, let it sit for about 10 minutes to allow the flavors to meld together. This brief resting time helps the ingredients to harmonize without compromising the beautiful layered effect. For the best presentation, toss the salad just before serving, allowing guests to admire the vibrant layers while enjoying this delightful dish.
Leave a Reply