
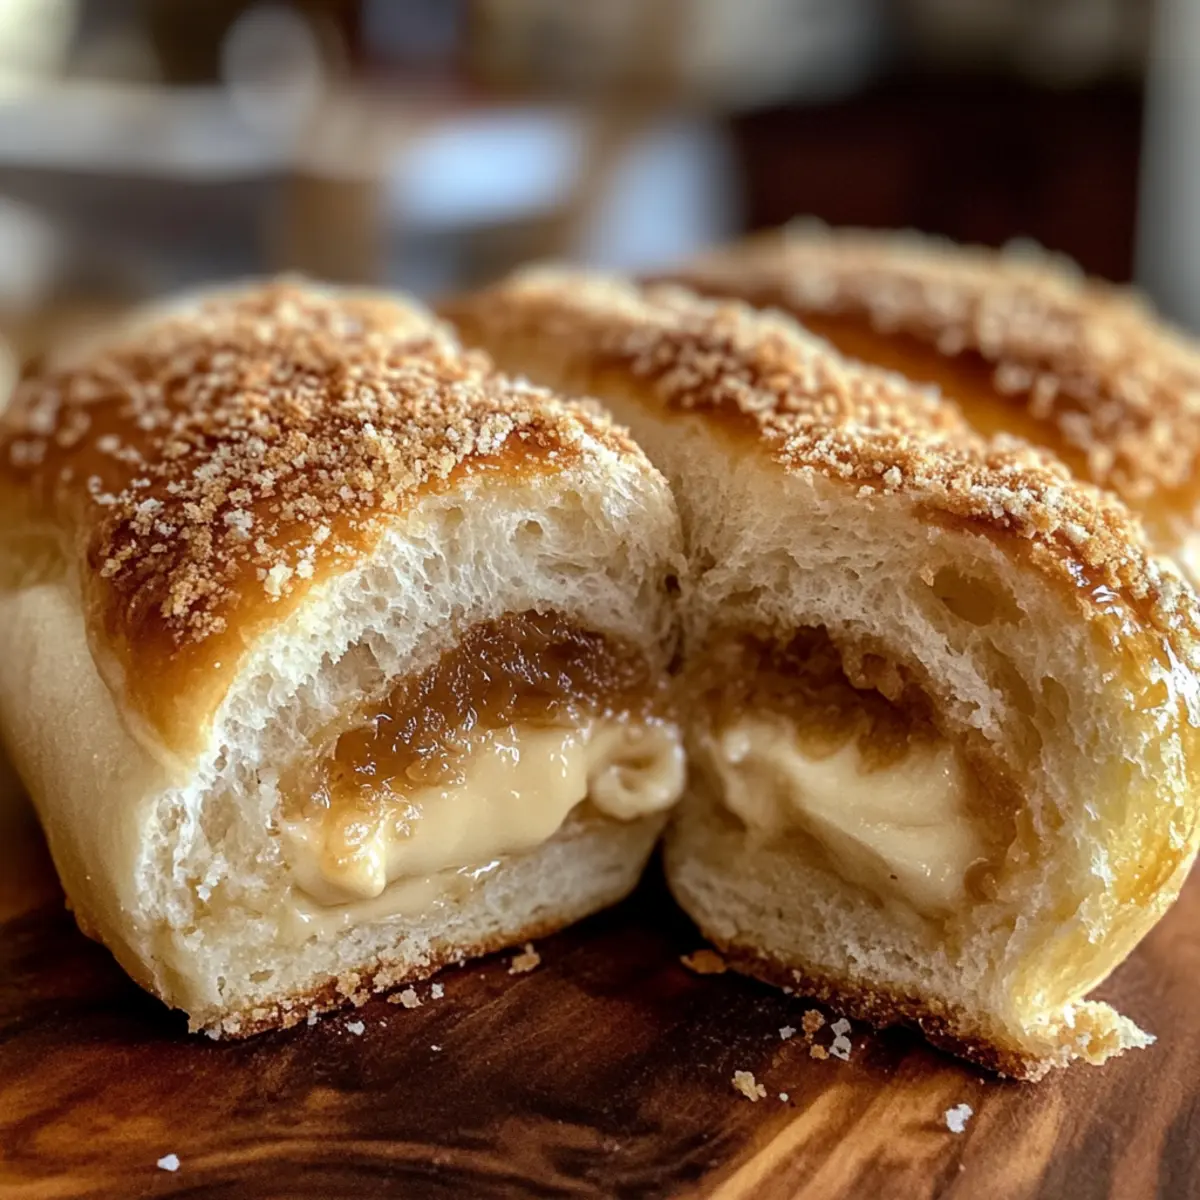
The moment I took my first bite of Filipino Spanish bread, I experienced a delightful mix of nostalgia and warmth, a reminder of home-cooked afternoons and family gatherings. This cherished snack, often enjoyed during ‘merienda,’ features a soft, fluffy texture enveloping a sweet buttery filling that’s simply irresistible. In this Filipino Spanish Bread recipe, I’ve discovered the secret to keeping that filling perfectly in place—no more spilling out during baking! Not only is this treat a crowd-pleaser, but it also offers a wonderfully comforting option that you can whip up in no time. Perfect for sharing over coffee or savoring solo, you’ll want to keep this recipe close at hand. Are you ready to recreate this delicious slice of tradition in your kitchen?
Why is Filipino Spanish Bread So Loved?
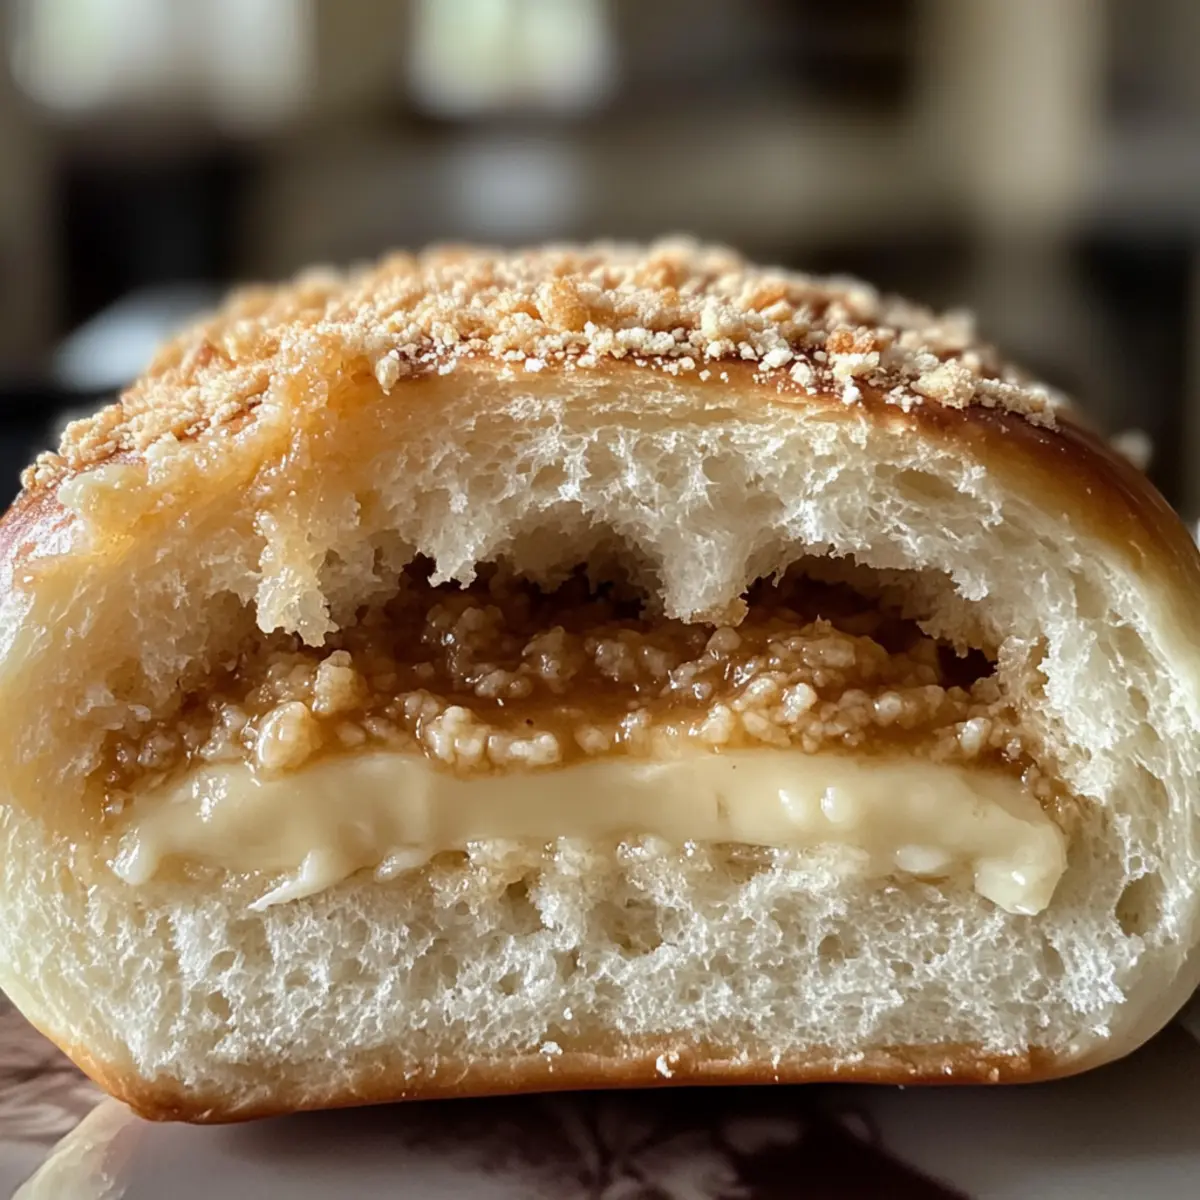
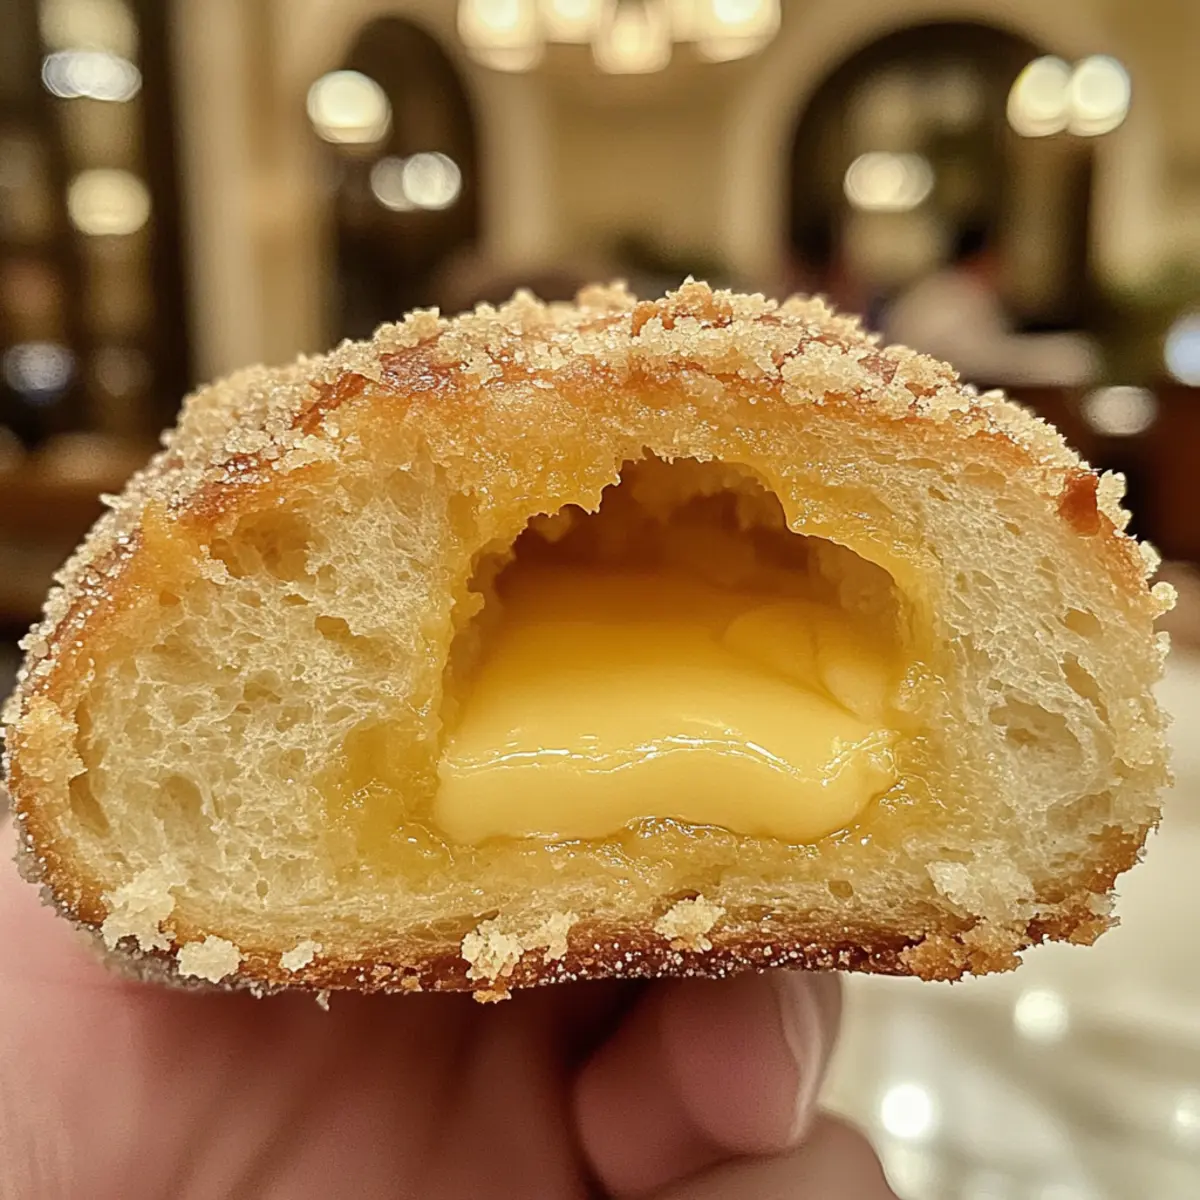
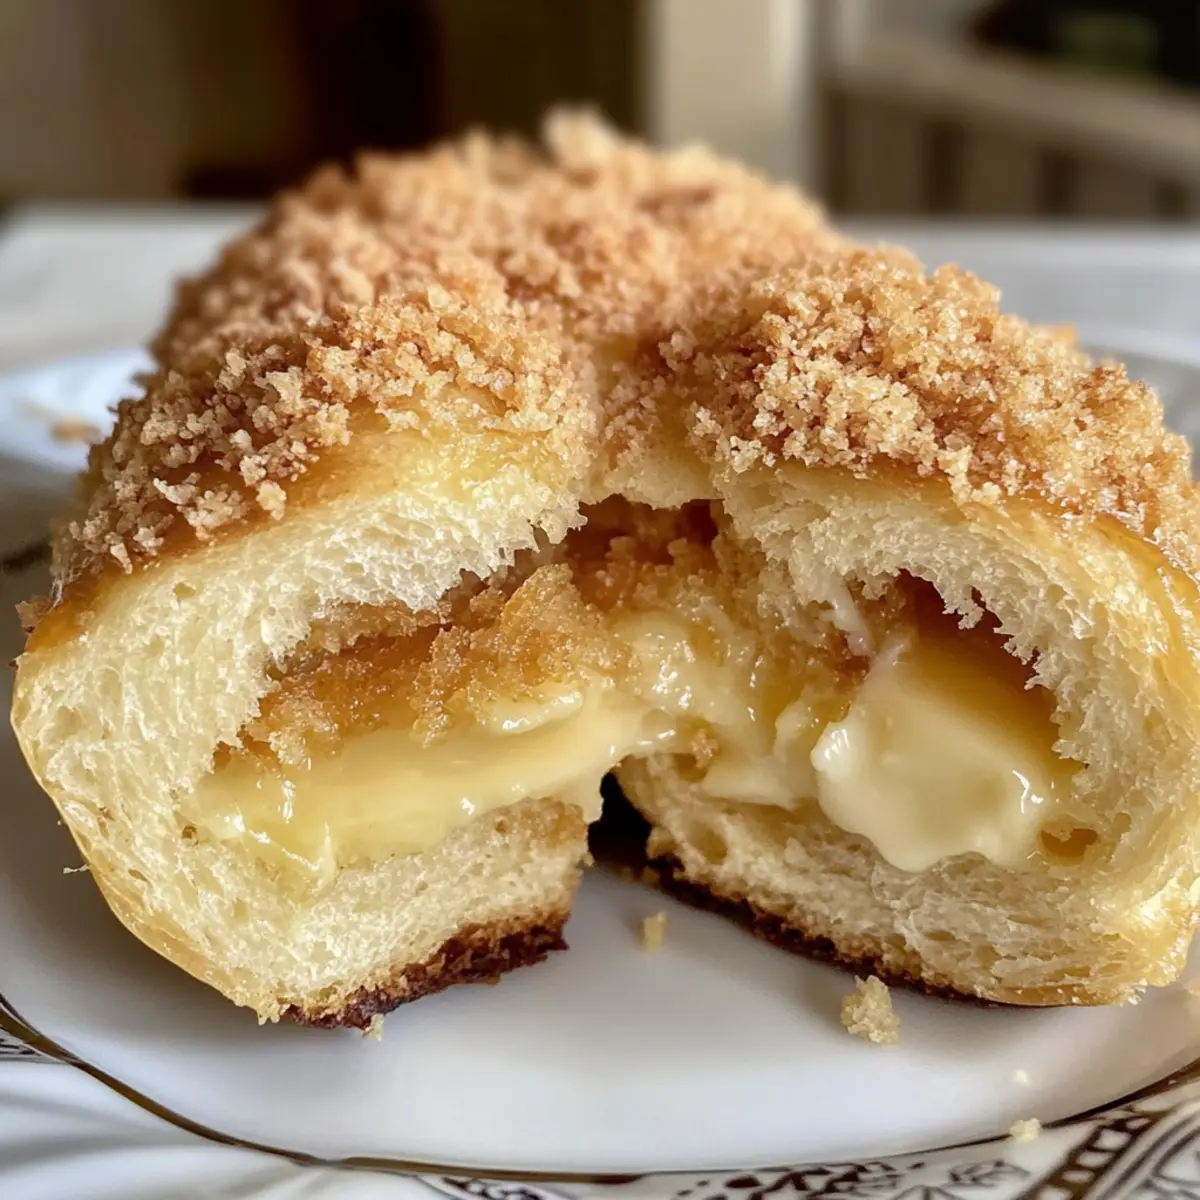
Soft, Fluffy Texture: The lightness of this bread envelops the sweet filling, creating a satisfying bite that both kids and adults adore.
Perfect Sweetness: The combination of brown sugar and soft butter in the filling provides a comforting sweetness that’s hard to resist.
Easy Preparation: With just a few simple ingredients and straightforward steps, anyone can create this Filipino classic without a fuss.
Great for Sharing: This delightful bread is a favorite during gatherings, making it a perfect treat to share with friends and family over coffee, just like you’d enjoy with Pumpkin Scones Cozy.
Versatile Variations: Feel free to experiment by adding unique flavors to the filling, like lemon zest or cardamom, for a personal touch!
Filipino Spanish Bread Ingredients
Get ready to gather everything you need to create this delightful Filipino Spanish Bread recipe!
For the Dough
- All-purpose flour – Forms the structure of the bread; bread flour can be used for a chewier texture.
- Instant yeast – The magic leavening agent; active dry yeast works too—just be sure to proof it first!
- White sugar – Sweetens the dough; for a richer taste, swap it with brown sugar.
- Salt – Enhances flavor and controls yeast activity; it’s an essential ingredient!
- Lukewarm milk – Hydrates and activates the yeast; adjust based on the flour type, starting with ¾ cup.
- Butter (or margarine) – Adds moisture and richness; feel free to substitute with margarine.
- Egg – Provides structure and moisture; for a vegan option, use aquafaba (3 tablespoons).
For the Filling
- Butter (for filling) – Adds richness directly into the filling for a decadent taste.
- Bread crumbs – Contributes a delightful texture; fresh breadcrumbs yield the best results.
- Flour (for filling) – Acts as a thickening agent; necessary to create the right consistency.
- Water or milk (for filling) – Helps adjust the filling’s consistency; add more if the mixture seems too dry.
- Brown sugar (or white sugar) – Sweetens the filling, with brown sugar adding extra depth of flavor.
- Salt (for filling) – Balances the sweetness perfectly, ensuring a well-rounded flavor.
For Brushing and Breading
- Butter (for brushing) – Gives the baked bread a glossy finish, enhancing its appeal.
- Milk (or water for breading) – Helps the breadcrumbs adhere to the dough, creating a delicious crust.
Now that you have all the ingredients ready, let’s dive into the delicious world of this Filipino Spanish Bread recipe!
Step‑by‑Step Instructions for Filipino Spanish Bread Recipe
Step 1: Dough Preparation
In a large mixing bowl, combine 4 cups of all-purpose flour, ½ cup of white sugar, and 1 teaspoon of salt. To this dry mixture, pour in ¾ cup of lukewarm milk, followed by ¼ cup of melted butter and 1 beaten egg. Stir until a slightly sticky dough forms, ensuring that all ingredients are well incorporated and cohesive.
Step 2: Knead Dough
Transfer the sticky dough onto a greased surface and knead it vigorously for about 10-12 minutes. Work until the dough becomes smooth and elastic; it should spring back when gently pressed. This step is crucial for developing the texture of your Filipino Spanish Bread, so give it your all!
Step 3: First Rise
Shape the kneaded dough into a ball and place it in a greased bowl. Cover the bowl with a clean kitchen towel and let it rise in a warm area until it doubles in size, which should take approximately 30-60 minutes. Look for a dough that feels light and puffy to the touch.
Step 4: Prepare Filling
In a saucepan over medium-low heat, melt ¾ cup of butter, then add 1 cup of breadcrumbs, 2 tablespoons of flour, ½ cup of water or milk, ¼ cup of brown sugar, and a pinch of salt. Stir continuously until the mixture thickens to a paste-like consistency, about 5-7 minutes. Ensure it remains smooth and doesn’t stick to the pan.
Step 5: Divide Dough
Once the dough has risen, gently punch it down to release air bubbles. Divide the dough into 16 equal portions, rolling each into a long triangle shape. Brush the center of each triangle with a little butter, then spread a spoonful of the filling, being careful to leave the edges clear to prevent spilling during baking.
Step 6: Form and Second Rise
Starting from the wider end of the triangle, roll the dough tightly to form a log. Brush the ends with milk or water to seal them. Then, coat the outside with breadcrumbs for extra texture. Place each roll on a baking sheet lined with parchment paper, allowing them to rise for another 20-30 minutes until puffy.
Step 7: Bake
Preheat your oven to 150°C (300°F) while the rolls rise. Once ready, bake the Filipino Spanish Bread for 20 minutes. Check for a golden brown color and brush the tops with melted butter one minute before removing them from the oven for a glossy finish.
Filipino Spanish Bread Recipe Variations
Feel free to take creative liberties with this Filipino Spanish bread recipe, making it uniquely yours!
-
Vegan Option: Replace the egg with aquafaba (3 tablespoons) for a delightful dairy-free treat. You’ll love how it maintains that soft texture!
-
Whole Wheat Twist: Use a combination of whole wheat and all-purpose flour for added nutrition while still enjoying that classic fluffiness. A subtle nutty flavor adds depth!
-
Flavor Infusion: Stir in lemon zest or cardamom into the filling for a surprising twist on the traditional recipe. Infusing these flavors elevates the filling beautifully!
-
Nutty Crunch: Add finely chopped nuts like almonds or walnuts to the filling for an exciting crunch that complements the sweetness perfectly. The contrast creates a delightful bite!
-
Spicy Kick: For those who like it hot, incorporate a pinch of cayenne pepper in the filling for a subtle heat that contrasts with the sweetness. A fun way to awaken the senses!
-
Chocolate Indulgence: Feel free to swap out some filling for melted chocolate or chocolate chips for a sweet, indulgent version. This chocolate-filled variation will appeal to dessert lovers!
-
Cheesy Delight: Mix in some grated cheese into the filling for a savory surprise that balances beautifully with the sweetness. It’s a fantastic twist that adds a rich flavor!
-
Fruity Surprise: Fold in dried fruits like raisins or cranberries to the filling for added sweetness and chewy texture. It adds a lovely contrast to the buttery filling!
Enjoy this wonderful journey of variations as you craft your Filipino Spanish bread. Complement your baking adventures with delicious Okonomiyaki Flavorful Pancake or perhaps some Savory Caprese Bread on the side!
How to Store and Freeze Filipino Spanish Bread
Room Temperature: Keep your freshly baked Filipino Spanish bread in an airtight container at room temperature for up to 2 days to maintain its softness and flavor.
Fridge: If you want to store the bread longer, refrigerate it in an airtight container for up to 5 days. However, this may slightly change the texture, making it less fluffy.
Freezer: For longer storage, wrap individual pieces tightly in plastic wrap and then place them in a freezer bag. They can be frozen for up to 3 months.
Reheating: To enjoy your Filipino Spanish bread at its best, reheat it in the oven at 175°C (350°F) for about 10 minutes or until warm throughout, restoring its fresh-out-of-the-oven texture.
Expert Tips for Making Filipino Spanish Bread
-
Choose the Right Flour: Use all-purpose flour for softness or bread flour for a chewier texture; both yield delicious Filipino Spanish bread.
-
Warm Filling: Ensure the filling is warm but spreadable; a too-cold filling can separate during baking, causing spills.
-
Kneading is Key: Knead the dough until it’s elastic and smooth for the best rise and texture. Don’t rush this step!
-
Proper Rising: Let the dough rise in a warm, draft-free area to ensure it doubles in size, creating that airy bread we all love.
-
Seal Wisely: When rolling the dough, brush the ends with milk or water to help seal the roll and keep the filling safe during baking.
-
Check Oven Temperature: Preheat your oven well to achieve the perfect baking environment for your Filipino Spanish bread and avoid any undercooked sections.
What to Serve with Filipino Spanish Bread
Treat your taste buds to an unforgettable experience that blends textures and flavors, making every bite of your afternoon snack more delightful.
-
Rich Hot Chocolate: A warm mug of this creamy drink perfectly complements the buttery filling, enveloping your senses in cocoa bliss.
-
Fresh Fruit Salad: Bright, juicy fruits add a refreshing contrast to the sweet bread, balancing flavors and textures beautifully.
-
Creamy Butter Crostini: Topped with a hint of garlic or herbs, these crunchy bites heighten the experience and make for an engaging snack.
-
Classic Filipino Coffee: The deep, roasted flavors enhance the sweetness of the bread, making each bite and sip a comforting indulgence.
-
Vanilla Ice Cream: A scoop of this velvety treat served alongside warm Filipino Spanish bread provides a delightful fusion of temperature and flavor.
-
Lemonade Spritzer: The zesty fizz refreshes the palate, cutting through the richness of the bread, creating a well-rounded taste experience.
-
Additional Pairing Options: For a twist, serve with a side of whipped cream or a homemade fruit jam to elevate the snack with more vibrant flavors!
Pairing your Filipino Spanish bread with these delightful options ensures a memorable snack time that everyone will enjoy!
Make Ahead Options
These Filipino Spanish Bread are perfect for busy home cooks looking to save time during their week! You can prepare the dough and filling up to 24 hours ahead. Firstly, complete the dough and let it rise, then punch it down and refrigerate it in a covered bowl. The filling can also be made in advance and stored in an airtight container for up to 3 days in the refrigerator. When ready to serve, simply proceed with dividing the dough, filling, and shaping the rolls as instructed. This way, you’ll have delightful, warm Spanish bread ready with minimal effort, ensuring they remain just as delicious as freshly made!
Filipino Spanish Bread Recipe FAQs
How do I choose ripe ingredients for this recipe?
Absolutely! When selecting your ingredients, look for all-purpose flour that feels fine and has no clumps. Choose fresh instant yeast for the best rise and make sure your milk is lukewarm (not hot!) to awaken the yeast without killing it. For the butter, use a fresh stick that’s well within its expiration date for optimal richness.
How can I store leftover Filipino Spanish bread and how long will it last?
Store your delightful Filipino Spanish bread in an airtight container at room temperature for a maximum of 2 days. If you have any leftover after that, refrigerate it for up to 5 days, but be aware it might become slightly less fluffy. For the utmost freshness, enjoy them at room temperature and briefly warm them before serving!
Can I freeze Filipino Spanish bread, and how?
Yes, you can freeze your yummy Filipino Spanish bread! Wrap each piece tightly in plastic wrap to prevent freezer burn, then place them in a freezer bag. They can stay in the freezer for up to 3 months. When you’re ready to indulge, simply thaw in the fridge overnight and reheat in the oven at 175°C (350°F) for about 10 minutes to regain their delightful texture.
What should I do if my dough isn’t rising properly?
If you notice that your dough isn’t rising as expected, first check your yeast. It should be fresh and not expired. If you used active dry yeast, did you proof it in warm milk with sugar prior to mixing? The ideal environment for rising is a warm, draft-free space; try placing the bowl covered with a towel in a turned-off oven with the light on. If all else fails and your dough still doesn’t rise, consider adding a teaspoon of sugar to the warm liquid next time to boost yeast activity.
Can I make this recipe vegan?
Very! To make a vegan version of Filipino Spanish bread, simply substitute the egg with 3 tablespoons of aquafaba (the liquid from a can of chickpeas or the cooking water of the chickpeas). Additionally, you can use plant-based butter in the dough and filling. Your family won’t even notice the difference—the sweet, buttery filling will still shine through!
Does this recipe accommodate food allergies?
Definitely! If you’re considering allergies, ensure to check for gluten if using flour. For nut allergies, give extra caution, as breadcrumbs can sometimes come from processed facilities that handle nuts, so it’s wise to select gluten-free or homemade breadcrumbs if necessary. If using milk and butter, there are plenty of non-dairy alternatives available for every ingredient.
Filipino Spanish Bread Recipe: Soft, Sweet, and So Irresistible
Ingredients
Equipment
Method
- Combine flour, sugar, and salt in a bowl. Add lukewarm milk, melted butter, and beaten egg. Stir until a sticky dough forms.
- Knead the dough on a greased surface for 10-12 minutes until smooth and elastic.
- Shape into a ball, place in a greased bowl, cover, and let rise for 30-60 minutes.
- Melt butter in a saucepan over medium-low heat. Add breadcrumbs, flour, water or milk, brown sugar, and salt. Stir until thickened, about 5-7 minutes.
- Punch down the risen dough, divide into 16 portions, roll into triangles. Brush with butter, fill, and roll tightly.
- Seal ends with milk or water, coat with breadcrumbs, and let rise for another 20-30 minutes on a lined baking sheet.
- Preheat oven to 150°C (300°F). Bake for 20 minutes until golden brown, brushing with melted butter before serving.
Leave a Reply