
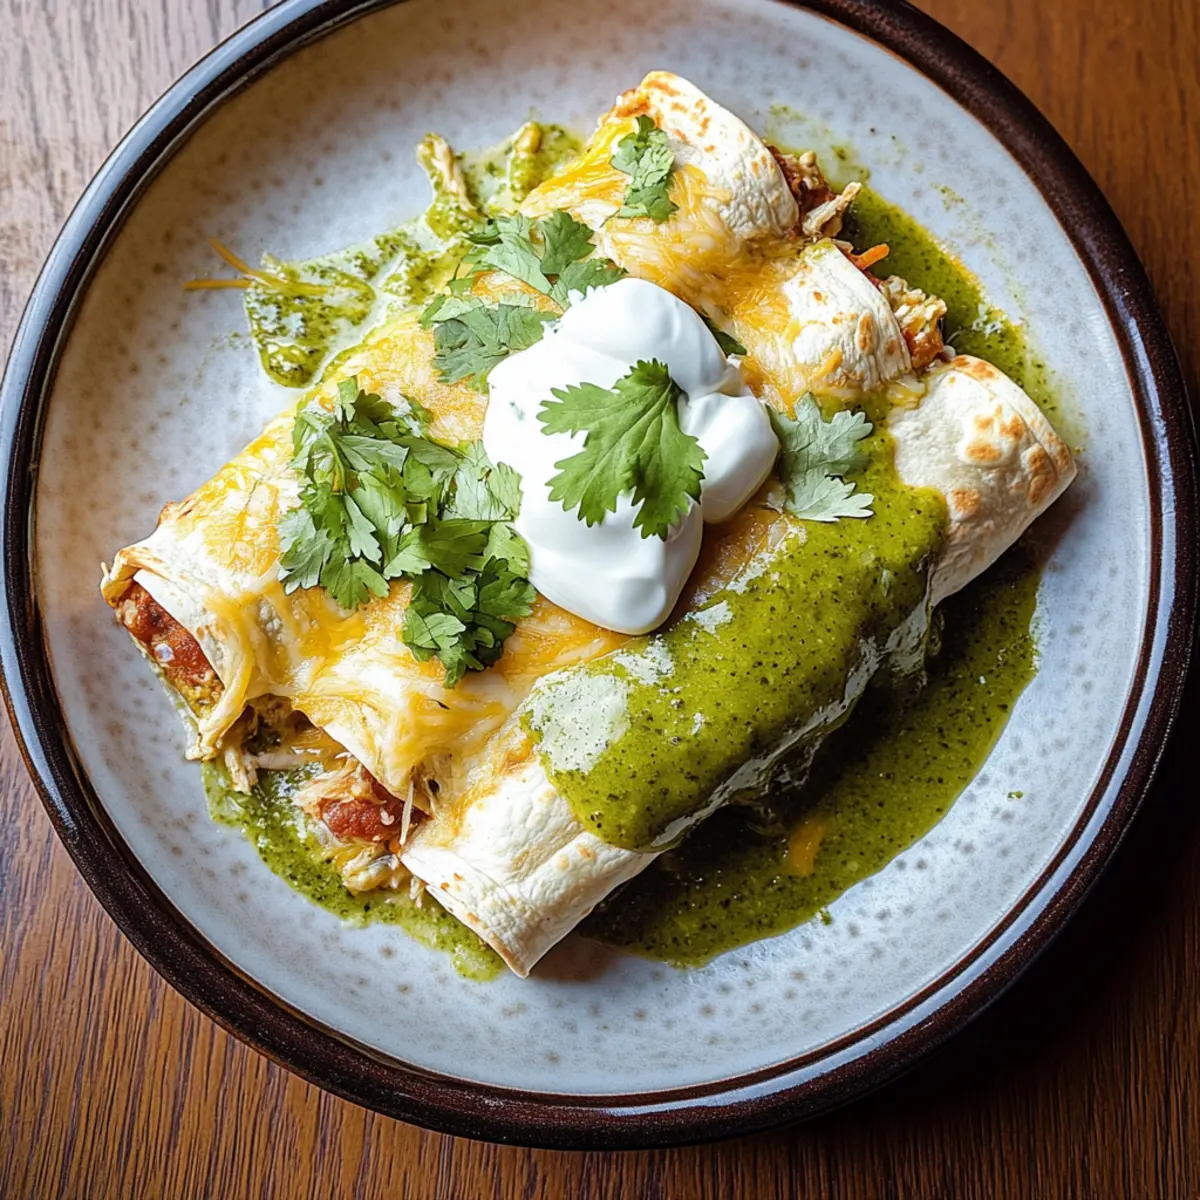
As the aroma of sautéed onions and garlic wafts through my kitchen, I can’t help but feel a wave of nostalgia wash over me. Enchiladas Suizas, with their creamy green sauce and perfectly tender tortillas, have always reminded me of family gatherings and cozy dinners. This delightful dish is not only a comforting favorite but also a crowd-pleaser that can be customized for any protein preference—whether you choose succulent chicken or a plant-based option, it’s bound to impress. Plus, they’re a breeze to prepare, making them an ideal choice for both busy weeknights and special occasions. Are you ready to dive into a plate of these mouthwatering enchiladas and discover just how easy it is to create this enduring favorite?
Why are Enchiladas Suizas a Must-Try?
Comforting and Creamy: Each bite of these Enchiladas Suizas offers a rich, creamy experience that’s perfect for cozy nights in.
Customizable Options: Easily tailor the filling with your favorite protein—chicken, beef, or even beans for a vegetarian twist!
Quick to Prepare: With straightforward instructions, you can whip up this dish in no time, making busy nights a little easier.
Crowd-Pleaser: Whether it’s a family dinner or a gathering with friends, this recipe is sure to impress everyone at the table.
Make-Ahead Friendly: You can assemble these enchiladas ahead of time, allowing you to enjoy stress-free entertaining without compromising flavor. Try pairing them with some delicious Mexican rice for the perfect meal!
Enchiladas Suizas Ingredients
For the Enchiladas
- Corn Tortillas – Essential for authentic taste; consider using flour tortillas for a lighter twist.
- Olive Oil – Perfect for sautéing; substitute with vegetable oil or butter if preferred.
- Cooked and Shredded Chicken – The primary protein filling; rotisserie chicken is a convenient choice too. Consider shredded beef or beans for vegetarian versions!
- Sour Cream – Adds creaminess and a tangy flavor; Greek yogurt is a healthy alternative.
- Green Enchilada Sauce (or Salsa Verde) – Brings moisture and zest; homemade adds freshness or opt for store-bought for ease.
- Chicken Broth – For depth of flavor; vegetable broth makes it vegetarian-friendly.
- Shredded Cheese (Monterey Jack or Mexican Blend) – Ensures that melty goodness; cheddar or queso fresco work great too.
- Onion – Enhances flavor with sweetness; leave it out for a milder dish.
- Garlic – Elevates overall flavor; fresh is best, but garlic powder can substitute in a pinch.
- Fresh Cilantro – A fragrant garnish that brightens the dish; skip it if you’re not a fan. Green onions add a similar freshness!
- Salt and Pepper – Essential seasonings to taste; adjust according to your preference.
For the Topping
- Reserved Sour Cream Mixture – Just a tasty addition to finish off your Enchiladas Suizas.
- Extra Cilantro for Garnish – Adds a pop of color and flavor right before serving.
Step‑by‑Step Instructions for Enchiladas Suizas
Step 1: Preheat the Oven
Begin by preheating your oven to 375°F (190°C). This ensures that when your Enchiladas Suizas are ready to bake, the temperature is just right for achieving that perfect golden and bubbly cheese topping. While the oven warms up, gather your ingredients and cooking tools to streamline the process.
Step 2: Sauté Onions and Garlic
In a medium skillet, heat a tablespoon of olive oil over medium heat. Once the oil shimmers, add chopped onions and minced garlic, stirring for about 3–4 minutes until they are softened and fragrant. This step builds a wonderful aromatic base for your Enchiladas Suizas, which will enhance the overall flavor of the dish.
Step 3: Prepare the Filling
Next, stir in the cooked and shredded chicken along with chicken broth and green enchilada sauce. Allow this mixture to simmer for about 5 minutes to let the flavors meld together beautifully. As it cooks, season with salt and pepper to taste. The filling should be moist but not too saucy when it’s ready.
Step 4: Soften the tortillas
In a separate skillet, heat a little more olive oil over medium heat. Lightly fry each corn tortilla for 30 seconds on each side, just until they are pliable and warm. This step prevents the tortillas from cracking when you roll them up and helps intensify their flavor, making each bite of your Enchiladas Suizas delightful.
Step 5: Mix Sour Cream
In a small bowl, combine sour cream with a tablespoon of green sauce. Mix until smooth and set aside. This creamy mixture will serve as a rich and tangy topping that perfectly complements the flavors of your Enchiladas Suizas—don’t skip this step!
Step 6: Assemble the Enchiladas
Spread a thin layer of the chicken mixture at the bottom of a baking dish. Take a prepared tortilla, fill it with a generous amount of the chicken filling, and roll it up tightly. Place it seam-side down in the dish. Repeat this process until all tortillas are filled and neatly arranged in the dish, forming a cozy hug of flavor.
Step 7: Add Sauce and Cheese
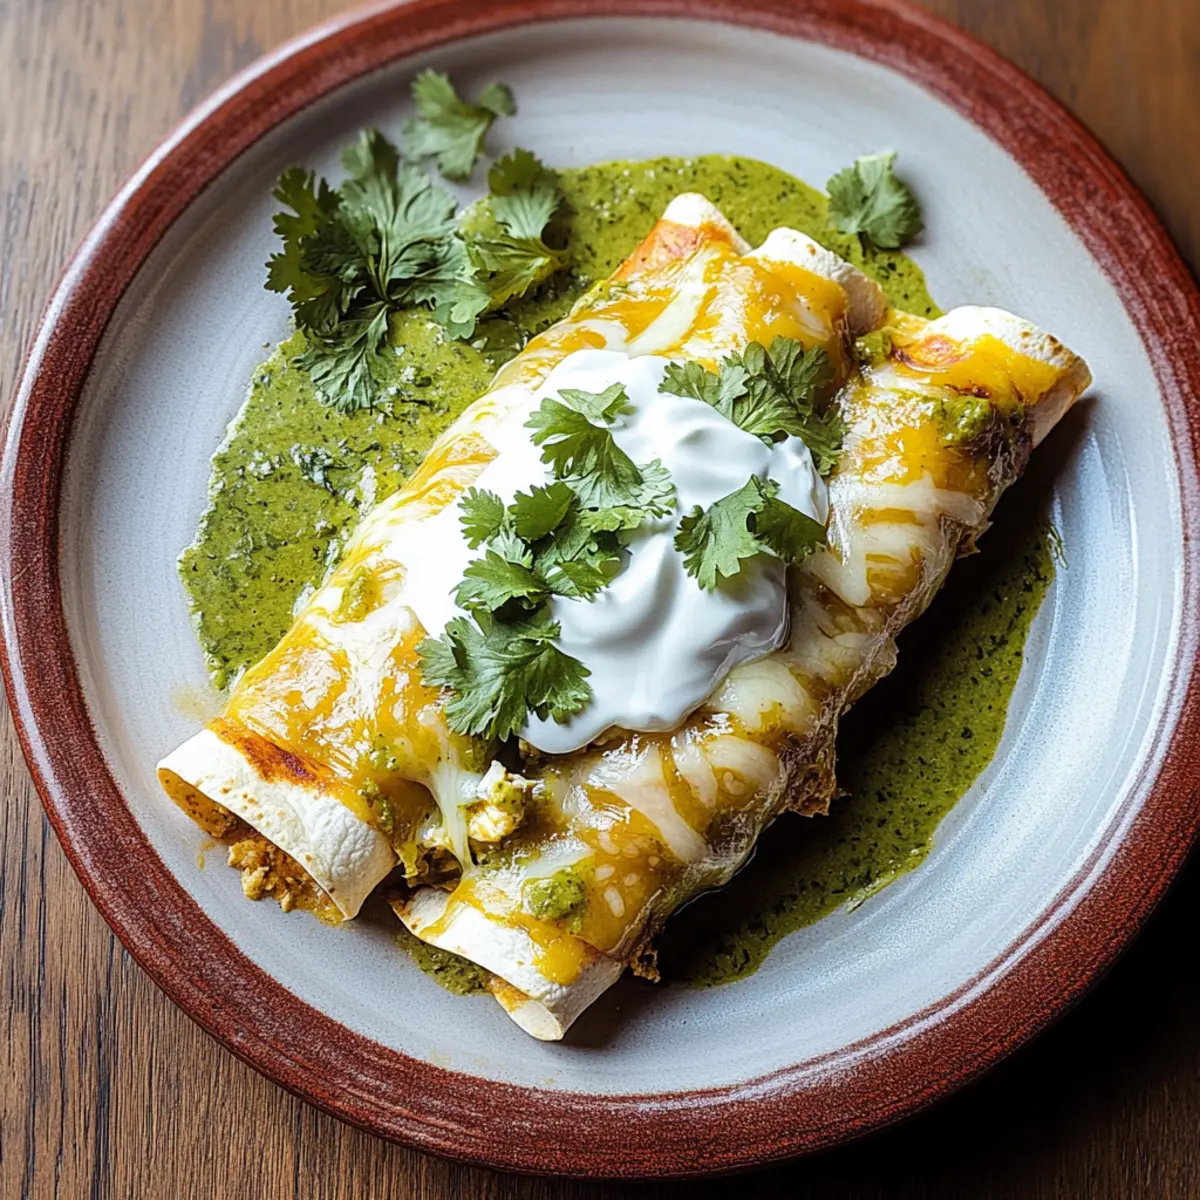
Once all the tortillas are in the baking dish, pour the remaining chicken mixture over the top, ensuring everything is nicely covered. Finally, sprinkle a generous amount of shredded cheese on top to create a luscious, melty layer. This topping is essential for that gooey finish on your Enchiladas Suizas.
Step 8: Bake to Perfection
Slide the baking dish into your preheated oven and bake for 20–25 minutes, or until the cheese is bubbly and golden. Keep an eye on them during the last few minutes—when the cheese is melted and slightly browned, your Enchiladas Suizas will be ready to take out and impress everyone.
Step 9: Add the Final Touches
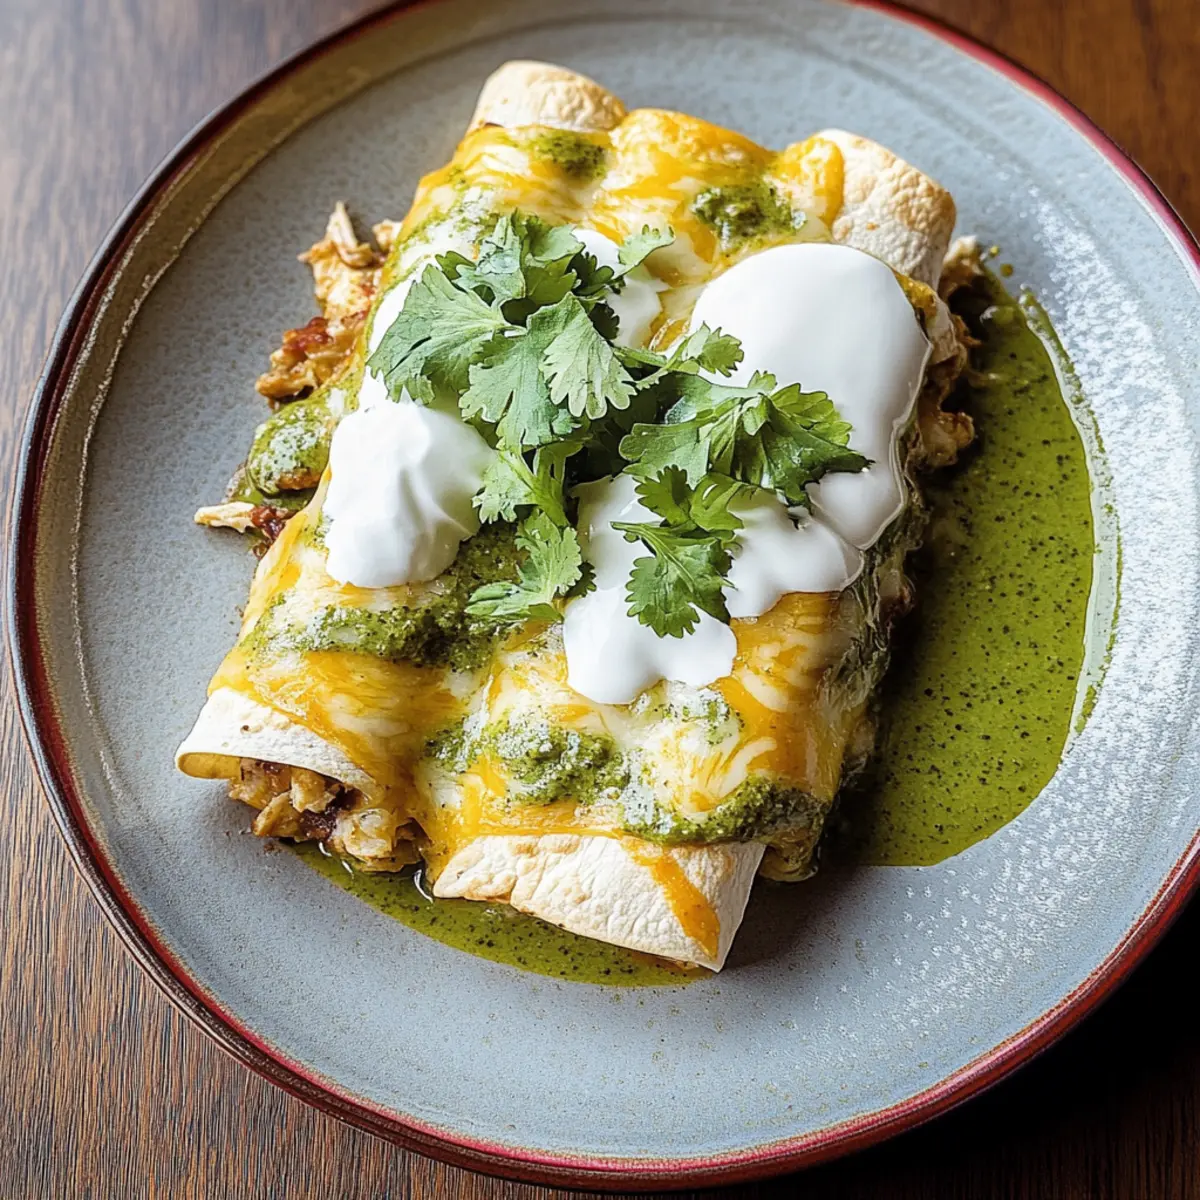
Once baked, remove the Enchiladas Suizas from the oven and let them rest for a few minutes. Top with the reserved sour cream mixture and sprinkle freshly chopped cilantro over the top for a bright, fresh contrast. This final touch not only adds flavor but also makes the dish visually appealing.
Enchiladas Suizas Variations & Substitutions
Feel free to explore the creative possibilities of these Enchiladas Suizas that will tantalize your taste buds!
-
Chicken Swap: Use shredded beef or sautéed mushrooms for a completely different protein experience. Each option offers a unique flavor profile that can elevate your dish.
-
Cheese Choices: Swap Monterey Jack for pepper jack or even sharp cheddar for a bolder taste. Experimenting with different cheeses can lead to delightful discoveries!
-
Vegetarian Delight: Replace chicken with beans or lentils for a satisfying vegetarian version that still packs a punch of protein and flavor. You might even enjoy throwing in some roasted vegetables for extra texture.
-
Spice It Up: Add diced jalapeños or a dash of cayenne pepper for heat if you’re in the mood for a fiery kick. This gives your enchiladas a bold twist that spice lovers will adore.
-
Topping Twists: Top with avocado slices or crushed tortilla chips for added crunch and creaminess! These toppings can transform your dish into an irresistible flavor party.
-
Sauce Variation: Use red enchilada sauce instead of green for a different flavor dimension. The contrast in taste can surprise and delight everyone at the table.
-
Gluten-Free Option: Opt for corn tortillas instead of flour to keep your enchiladas gluten-free while preserving authentic flavor. This choice ensures that everyone can enjoy this scrumptious meal.
-
Homemade Humble: If you have time, try making your own green sauce for a fresher taste. A dash of lime and fresh herbs can elevate the traditional recipe into something special. Consider pairing with some delicious Mexican rice for a complete meal!
Make Ahead Options
These Enchiladas Suizas are a fantastic option for meal prep aficionados! You can assemble the enchiladas up to 24 hours in advance. Simply prepare the filling and roll the tortillas as instructed, then cover the baking dish tightly and refrigerate. This allows the flavors to develop beautifully without compromising quality. When you’re ready to enjoy, preheat your oven, add the remaining sauce and cheese, and bake straight from the fridge to ensure they’re just as delicious. If you need extra flexibility, you can also freeze them for up to 3 months; just be sure to thaw overnight in the refrigerator before baking. This way, you’ll have a comforting meal ready with minimal effort on busy weeknights!
How to Store and Freeze Enchiladas Suizas
Fridge: Store leftover Enchiladas Suizas in an airtight container for up to 3 days. Make sure to cover them well to keep the creamy sauce fresh and flavorful.
Freezer: If you’re looking to keep them longer, freeze assembled enchiladas (without baking) in a tightly wrapped dish for up to 2 months. To reheat, thaw overnight in the fridge and bake as directed.
Reheating: When ready to enjoy, reheat in the oven at 350°F (175°C) for about 20-25 minutes or until heated through. Adding a splash of chicken broth before reheating helps maintain moisture.
Make-Ahead: You can also assemble and refrigerate your Enchiladas Suizas a day in advance. Just bake them the next day for a fresh, comforting dinner without any hassle!
Expert Tips for Enchiladas Suizas
• Fry Tortillas First: Lightly frying the tortillas keeps them from getting soggy and adds that delicious corn flavor you crave.
• Season the Filling: Always taste and adjust the seasoning in your chicken mixture before assembly to ensure your Enchiladas Suizas are bursting with flavor.
• Customize for Spice: If you enjoy a little heat, try adding diced jalapeños or a splash of hot sauce into the filling or sauce for extra kick.
• Assemble in Advance: You can prepare the enchiladas ahead of time and store them in the fridge; just bake right before serving to save time and stress.
• Experiment with Toppings: Don’t shy away from toppings! Avocado slices, crushed tortilla chips, or fresh lime juice can take your Enchiladas Suizas to the next level.
• Choose Fresh Ingredients: Using fresh cilantro and homemade sauce can elevate the overall taste of the dish, making it even more memorable for family and friends.
What to Serve with Creamy Enchiladas Suizas?
A complete meal is all about harmony—here’s how to elevate those delicious enchiladas into an unforgettable feast.
-
Mexican Rice: This fluffy, seasoned rice contrasts beautifully with the creamy enchiladas, providing a comforting companion that’s hard to resist. The spice and texture align perfectly, bringing all flavors to a delightful balance.
-
Refried Beans: Rich and creamy refried beans add depth and a nutty flavor that pairs harmoniously with the vibrant green sauce of the enchiladas. Plus, the heartiness of the beans enriches the meal, making it even more satisfying.
-
Fresh Garden Salad: A crisp, refreshing salad tossed with lime vinaigrette introduces a bright, zesty element that cuts through the richness of the enchiladas. Use a mix of greens, cherry tomatoes, and avocado for that refreshing crunch!
-
Guacamole: Creamy and rich, guacamole provides a luscious dip for those needing an extra side of indulgence. Served alongside your enchiladas, it’s a perfect excuse for a chip on the side, bringing vibrant flavor and texture.
-
Pickled Jalapeños: Adding a tangy kick, pickled jalapeños offer just the right amount of spice that complements the mild flavor of Enchiladas Suizas. They are a must-have for those who appreciate a bit of zing with their meal.
-
Lime Wedges: Squeezed over the enchiladas, fresh lime brightens the dish, enhancing the flavors exquisitely. This simple addition transforms a plate into something special, accentuating the green sauce’s freshness.
-
Churros for Dessert: For a sweet finish, consider serving warm churros dusted with cinnamon sugar. Their crunchy exterior and soft interior offer a delightful contrast to the creamy, savory enchiladas, leaving everyone satisfied and smiling.
Enchiladas Suizas Recipe FAQs
How do I choose the right tortillas for Enchiladas Suizas?
Absolutely! When selecting tortillas, opt for corn tortillas for an authentic flavor. You can also choose flour tortillas for a lighter twist, but keep in mind that corn tortillas hold up better in the enchilada form.
What’s the best way to store leftover Enchiladas Suizas?
For the fridge, store any leftover Enchiladas Suizas in an airtight container for up to 3 days. Make sure they’re well-covered to retain the moisture from the creamy sauce!
Can I freeze Enchiladas Suizas?
Very! To freeze assembled enchiladas, place them in a tightly wrapped dish (without baking) for up to 2 months. When ready to enjoy, thaw overnight in the fridge and bake according to the recipe. This ensures that they retain their delicious flavor!
What should I do if my enchiladas turn out soggy?
If your Enchiladas Suizas are soggy, it may be due to not frying the tortillas first or using too much sauce. To prevent this in the future, lightly frying the tortillas keeps them from absorbing too much liquid and losing their texture!
Are there any dietary considerations for Enchiladas Suizas?
Absolutely! If you have a dairy allergy, consider substituting sour cream with a dairy-free yogurt. For gluten sensitivity, ensure your tortillas are labeled gluten-free, and you can use vegetable broth in your filling for a vegetarian version.
How can I make Enchiladas Suizas in advance?
You can assemble the enchiladas ahead of time and cover them in the fridge for up to a day before baking. Just make sure to do so without baking them first. You can pop them in the oven when you’re ready for a delicious, stress-free meal!
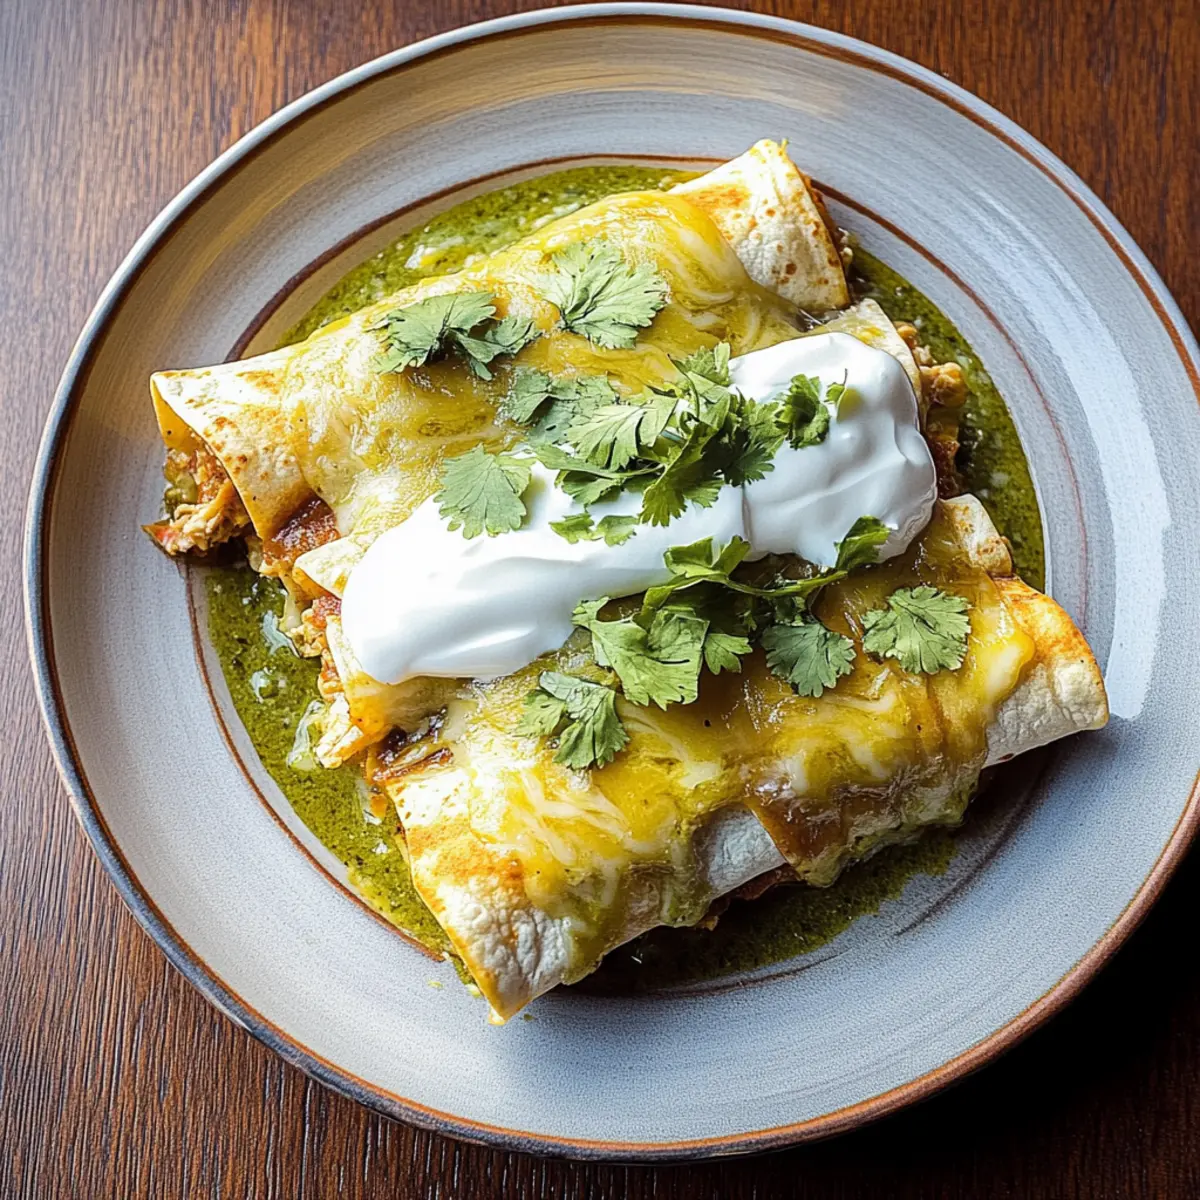
Delicious Enchiladas Suizas for a Cozy Night In
Ingredients
Equipment
Method
- Preheat your oven to 375°F (190°C).
- In a medium skillet, heat a tablespoon of olive oil over medium heat. Add chopped onions and minced garlic, stirring for about 3-4 minutes until softened.
- Stir in the cooked and shredded chicken, chicken broth, and green enchilada sauce. Simmer for about 5 minutes.
- In a separate skillet, heat olive oil over medium heat. Lightly fry each corn tortilla for 30 seconds on each side until pliable.
- In a small bowl, combine sour cream with a tablespoon of green sauce. Mix until smooth.
- Spread a thin layer of the chicken mixture at the bottom of a baking dish. Fill a tortilla with the chicken filling and roll it up tightly. Place seam-side down in the dish.
- Pour the remaining chicken mixture over the top and sprinkle shredded cheese on top.
- Bake for 20-25 minutes until the cheese is bubbly and golden.
- Remove from the oven, let rest for a few minutes, and top with the reserved sour cream mixture and chopped cilantro.
Leave a Reply