
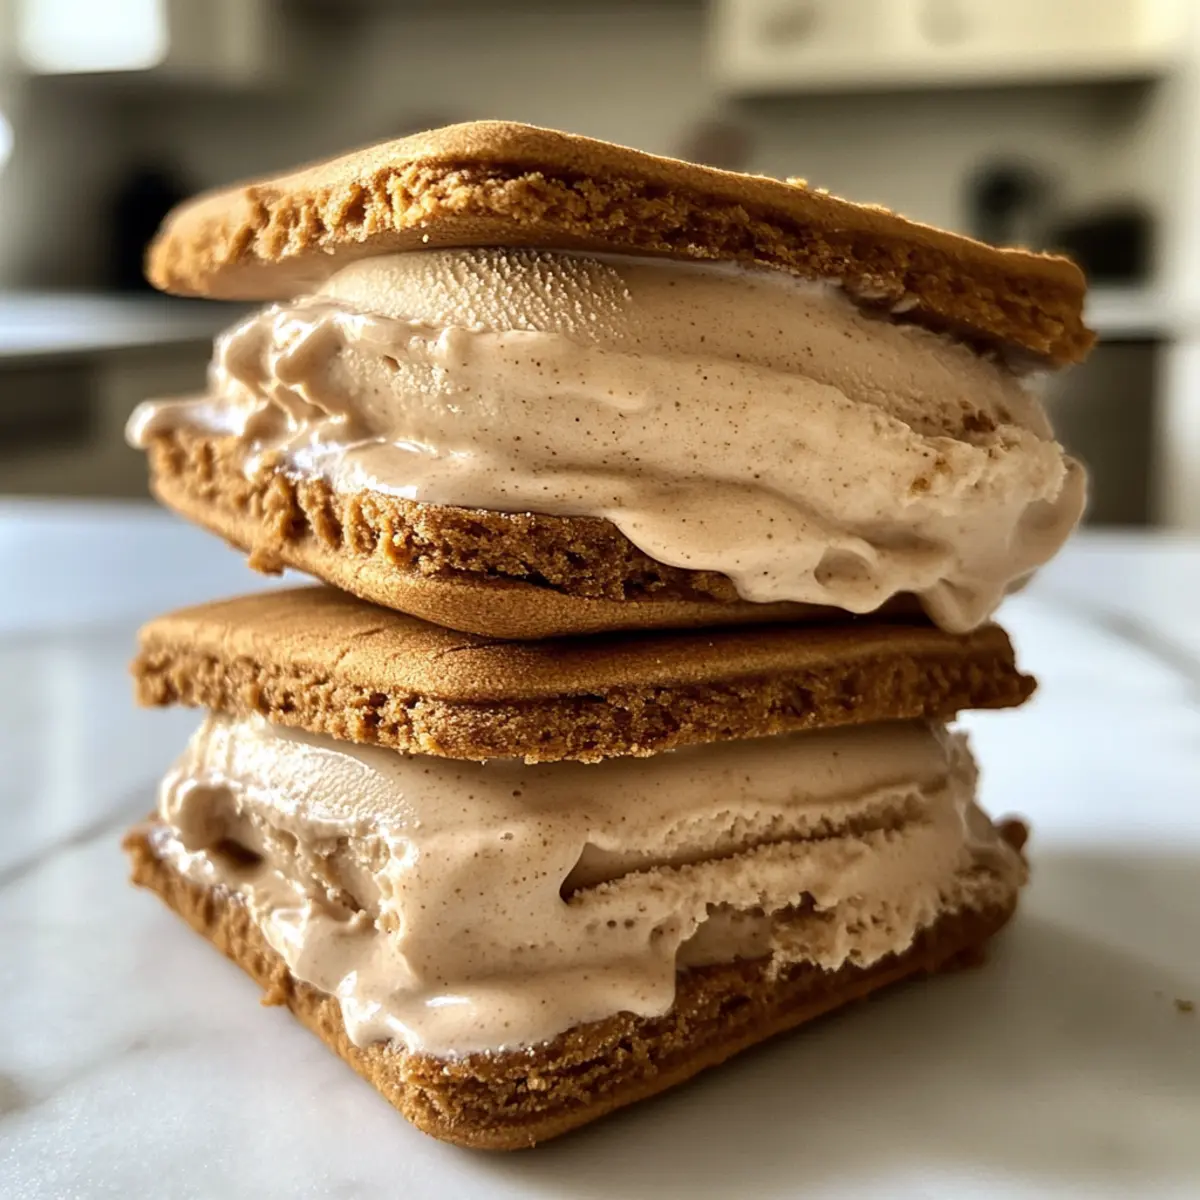
The first time I tasted a Biscoff ice cream sandwich, I felt like I’d struck dessert gold. The creamy, no-churn ice cream paired with the crunchy, caramel notes of Lotus biscuits created a sublime experience that I couldn’t wait to recreate in my own kitchen. This No-Churn Biscoff Ice Cream Sandwiches recipe is not only a breeze to prepare—requiring just four ingredients—but it also takes less than 30 minutes to whip up, making it a perfect sweet solution for last-minute cravings. With each bite, you’ll delight in the rich flavor interplay, providing a layered indulgence that’s both simple and impressive. Want a fun treat to elevate your next gathering or a quick fix for an afternoon delight? Let’s dive into this irresistible recipe that’s bound to become a household favorite!
Why are Biscoff Ice Cream Sandwiches irresistible?
Decadent Flavor: The rich blend of creamy, no-churn ice cream and aromatic Biscoff spread delivers an unforgettable taste experience.
Quick & Easy: With just four ingredients, crafting these treats takes less than 30 minutes—perfect for those spontaneous dessert cravings.
Textural Delight:Enjoy the contrast of crunchy Biscoff cookies enveloping smooth, luscious ice cream for a balanced bite.
Versatile Creations: Feel free to play around with this recipe by swapping Biscoff with your favorite spreads, like Nutella or peanut butter.
Crowd-Pleasing Treat: Whether for a party or a simple family dessert, these ice cream sandwiches are sure to impress everyone. Enjoy them with a side of Cream Cheese Salsa for an elegant touch!
Biscoff Ice Cream Sandwich Ingredients
For the Ice Cream Filling
• Biscoff Spread (200g) – Adds the signature flavor; can be warmed slightly to make it pourable.
• Whipping Cream (400g) – Provides the creamy base and volume; heavy cream can be substituted.
• Vanilla Extract (1 tbsp) – Enhances the flavor; omit or use other extracts if desired.
For the Cookies
• Biscoff Cookies – They provide structure and crunch; you can use any similar cookie if Biscoff is unavailable.
Now you’re ready to create these delightful Biscoff Ice Cream Sandwiches!
Step‑by‑Step Instructions for Biscoff Ice Cream Sandwiches
Step 1: Prep the Pan
Start by lining a 9×9-inch baking pan with parchment paper, allowing some overhang for easy removal later. Make sure the paper is flat against the bottom and sides to ensure your Biscoff ice cream sandwiches come out smoothly. This step sets the foundation for creating a tidy and easily removable dessert.
Step 2: Whip the Cream
In a large mixing bowl, combine the whipping cream and vanilla extract. Using an electric mixer, beat the mixture on medium speed until firm peaks form, which should take about 3 to 5 minutes. You want the cream to be fluffy and stable so that it can hold up well when combined with the Biscoff spread, creating that luxurious texture we crave.
Step 3: Incorporate the Biscoff Spread
Next, scoop the Biscoff spread into a microwave-safe bowl and warm it in the microwave for about 15-20 seconds until it’s smooth and pourable. Gradually fold this warm Biscoff spread into the whipped cream, using a gentle lifting motion to combine without deflating the cream. Aim for a harmonious mixture with no visible streaks of Biscoff—this is what makes your ice cream sandwiches delightfully creamy.
Step 4: Layer the Cookies
Once your filling is ready, arrange a single layer of Biscoff cookies in the lined baking pan. Pour half of the whipped cream mixture over the cookies, smoothing it out into an even layer with a spatula. Then, place another layer of Biscoff cookies on top of the whipped cream, ensuring each cookie is nestled evenly for balanced flavors in your Biscoff ice cream sandwiches.
Step 5: Freeze the Mixture
Cover the baking pan with plastic wrap or aluminum foil, then pop it in the freezer for at least 4 hours, or preferably overnight. Allowing these Biscoff ice cream sandwiches to freeze thoroughly is essential for achieving the perfect consistency. When ready, the filling should be firm yet creamy, making it easy to slice once chilled.
Step 6: Slice and Serve
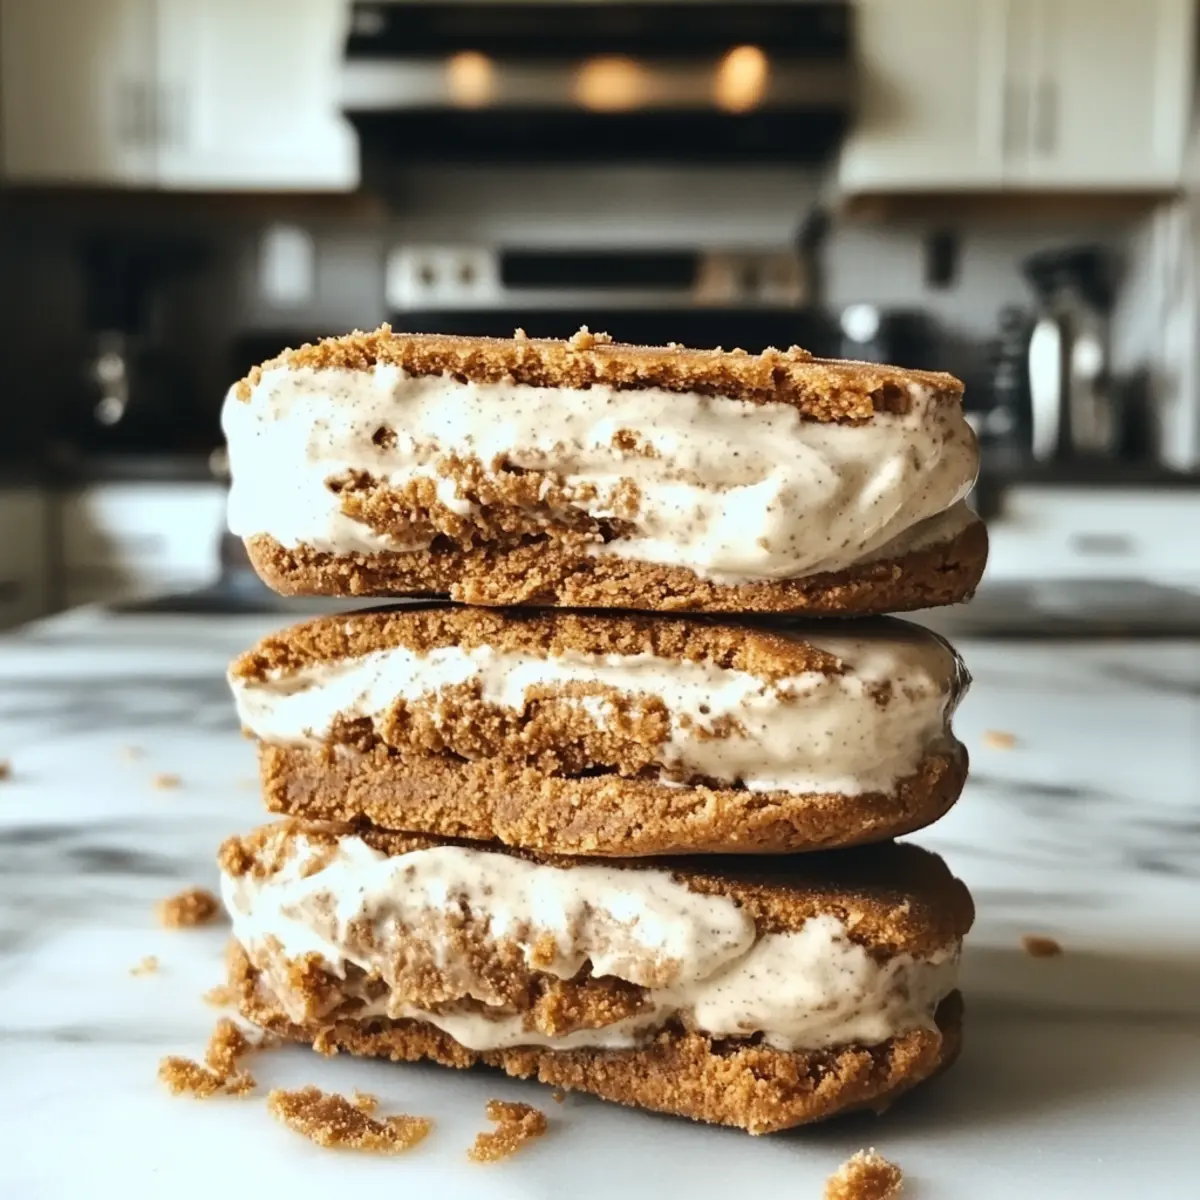
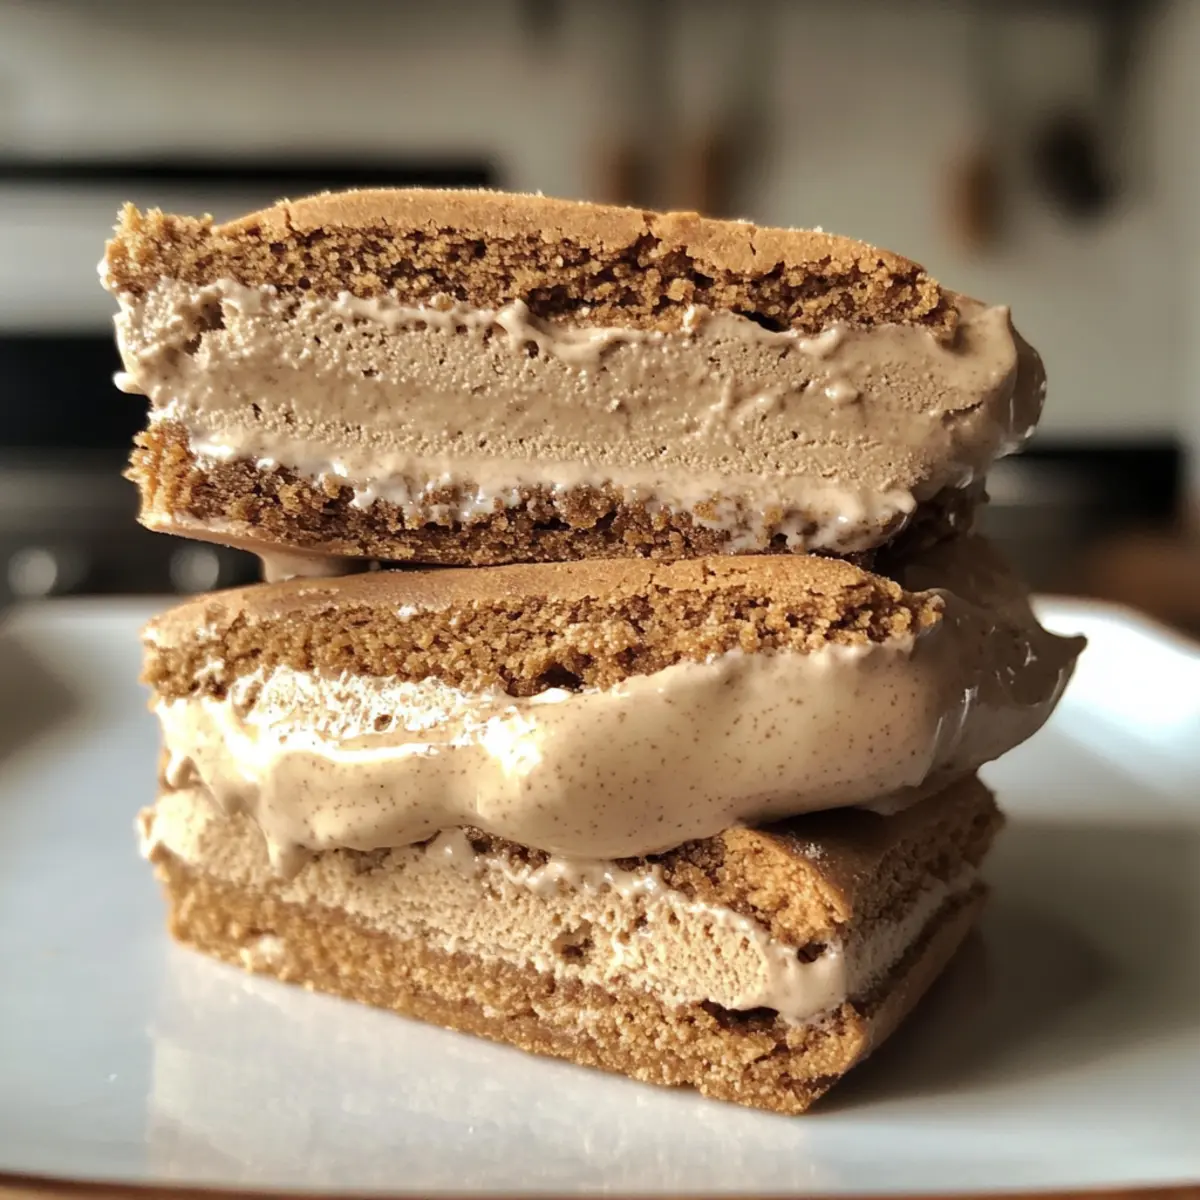
After freezing, carefully lift the dessert out of the pan using the parchment overhang. Place it on a cutting board and, using a sharp knife, slice it into squares or rectangles, depending on your desired sandwich size. Each piece will showcase the gorgeous layers of cookies and ice cream filling—ideal for a sweet treat to impress family and friends!
Expert Tips for Biscoff Ice Cream Sandwiches
• Beat Those Peaks: Ensure to beat the cream until firm peaks form to prevent a soupy mixture. This will keep the ice cream filling luscious and stable.
• Warm with Care: When microwaving the Biscoff spread, do it in short bursts; overheating can cause it to separate and ruin the creamy consistency.
• Temperature Match: To avoid curdling, make sure both the Biscoff spread and whipped cream are at a similar temperature before folding them together.
• Layering Strategy: Arrange cookies neatly to ensure each bite of your Biscoff ice cream sandwiches has a perfect balance of cookie and creamy filling.
• Preparation Time: Keep in mind that freezing the sandwiches takes time—plan ahead to ensure they’re ready for that special occasion or craving!
Storage Tips for Biscoff Ice Cream Sandwiches
Fridge: Store any leftover Biscoff ice cream sandwiches in an airtight container in the fridge for up to 3 days; however, for the best texture, it’s recommended to keep them frozen.
Freezer: These delectable treats can be stored in the freezer for up to 2 weeks; wrap them individually in plastic wrap and place in an airtight container to maintain freshness.
Reheating: If you prefer the ice cream to be slightly softer before serving, let the sandwiches sit at room temperature for about 5-10 minutes; this will give you that melt-in-your-mouth experience.
Serving Tip: For a delightful presentation, slice the sandwiches just before serving, showcasing those scrumptious layers of Biscoff ice cream and cookies!
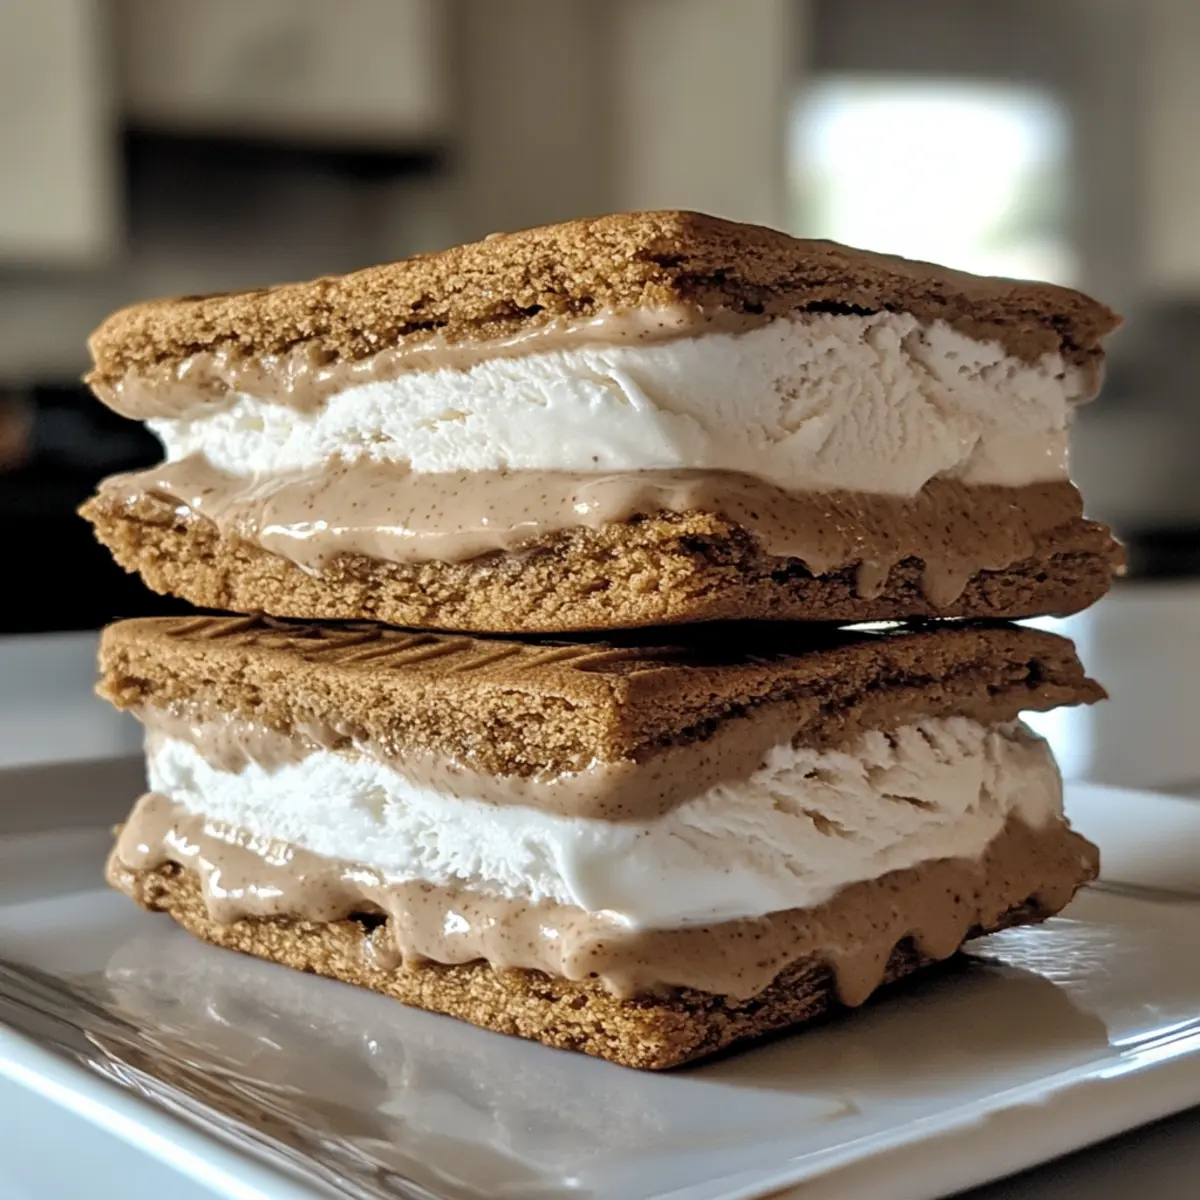
Biscoff Ice Cream Sandwiches Variations
Customize your delightful Biscoff ice cream sandwiches with these fun and tasty ideas that will inspire your creativity!
- Nutty Twist: Use almond or cashew butter in place of Biscoff spread for a nutty flavor adventure. It adds a smooth richness that’s irresistible!
- Chocolate Lovers: Swap in a chocolate ganache or Nutella to create a decadent twist. The rich chocolate complements the crunchy cookies perfectly.
- Fruit Fusion: Layer in your favorite fruit puree, like strawberry or raspberry, for a fresh and fruity surprise that brightens up each bite. It’s a refreshing take on classic flavors!
- Gluten-Free: Choose gluten-free cookies to make these treats suitable for everyone. Simply find a similar cookie variety to maintain that satisfying crunch.
- Dairy-Free: Substitute coconut cream for the whipping cream and use a plant-based Biscoff spread for a delicious dairy-free alternative. It’s just as creamy and delightful!
- Extra Crunch: Add crushed cookies or nuts into the whipped cream mixture for added texture and flavor. It elevates your sandwich experience with an unexpected crunch!
- Cinnamon Kick: Sprinkle a bit of cinnamon into the filling for a warm, spiced flavor. It adds a comforting touch reminiscent of fall treats.
- Spicy Option: For those who enjoy a kick, mix in a touch of cayenne pepper or chili powder to the Biscoff spread to create a unique flavor profile that surprises the taste buds!
Whichever variation you choose, these customizations will take your Biscoff ice cream sandwiches to new heights! And while you’re experimenting, you might also enjoy these Pumpkin Spice Gooey treats or indulge in some Vegan Maple Cream. Enjoy your sweet culinary journey!
What to Serve with Biscoff Ice Cream Sandwiches
Satisfy your sweet tooth and elevate your dessert game with these delightful pairings that perfectly complement your creamy treat.
-
Fresh Berries: The tartness of raspberries or strawberries adds a bright contrast to the rich ice cream, enhancing the overall dessert experience.
-
Chocolate Drizzle: A warm chocolate sauce poured over the sandwiches brings an extra layer of indulgence, making each bite even more delightful.
-
Caramel Sauce: The smooth, buttery sweetness of caramel creates a luxurious flavor tie-in with the Biscoff, adding an extra dimension to your treat.
-
Coffee or Espresso: A shot of espresso or a cup of strong coffee pairs beautifully with the sweetness, cutting through the richness and balancing flavors.
-
Minty Whipped Cream: Fresh mint-infused whipped cream not only adds a pop of color but also a refreshing element to cool down the sweetness.
-
Nut Butter Dip: Serve a side of smooth almond or peanut butter for a nutty contrast, bringing an unexpected twist that enhances the flavor profile.
These accompaniments will not only make your Biscoff ice cream sandwiches shine but also create an unforgettable dessert experience that impresses friends and family alike!
Make Ahead Options
These Biscoff Ice Cream Sandwiches are a fantastic choice for meal prep, saving you time on busy days! You can prepare the no-churn ice cream filling and layer it with Biscoff cookies up to 24 hours in advance. Simply follow the recipe until the freezing step; cover the pan tightly with plastic wrap to prevent freezer burn. When you’re ready to enjoy, remove the sandwiches from the freezer, slice them into desired shapes, and let them soften for about 5-10 minutes for the perfect texture. With this make-ahead preparation, you’ll have an indulgent treat ready to impress any time you need a sweet fix!
Biscoff Ice Cream Sandwiches Recipe FAQs
How do I choose the right Biscoff cookies?
Absolutely! When selecting Biscoff cookies, look for those that are crispy and free from dark spots or any signs of staleness. If Biscoff isn’t available, any similar cookie like speculoos or ginger snaps will work beautifully. Just ensure they maintain a crunchy texture to complement the creamy filling.
What’s the best way to store leftover Biscoff ice cream sandwiches?
Great question! You can keep any leftover Biscoff ice cream sandwiches in an airtight container in the freezer for up to 2 weeks. For optimal freshness, wrap each sandwich individually in plastic wrap before placing them in the container. This helps prevent freezer burn and keeps them delicious!
Can I freeze the Biscoff ice cream filling separately?
Yes, indeed! If you want to prepare the filling ahead of time, you can freeze the Biscoff ice cream mixture. Place it in a freezer-safe container for up to 3 months. When ready to use, simply let it thaw in the refrigerator overnight before layering it between cookies for your sandwiches.
What if my whipped cream doesn’t reach firm peaks?
No worries! If your whipped cream doesn’t reach firm peaks, you can try re-whipping it, but avoid overwhipping as it can turn grainy. If it’s still too soft, you can fold in a bit of powdered sugar to help stabilize it and create that fluffy texture. Just remember, firm peaks are key for a stable ice cream filling!
Are Biscoff ice cream sandwiches safe for pets?
It’s best to keep Biscoff ice cream sandwiches away from pets. Biscoff cookies contain ingredients like sugar and butter that aren’t suitable for dogs and other pets. If you’re looking for a pet-friendly treat, consider making a simple banana and yogurt ice cream instead—it’s both healthy and safe for them!
Can I make this recipe gluten-free?
Absolutely! To make Biscoff ice cream sandwiches gluten-free, use gluten-free alternatives for the cookies. Many brands offer gluten-free speculoos cookies, or you can use your favorite gluten-free cookie recipe. Just be cautious with the Biscoff spread, as some varieties may contain gluten. Always check the label to ensure it’s gluten-free.
Creamy Biscoff Ice Cream Sandwiches You’ll Love to Make
Ingredients
Equipment
Method
- Start by lining a 9x9-inch baking pan with parchment paper for easy removal later.
- In a large mixing bowl, combine the whipping cream and vanilla extract. Beat on medium speed until firm peaks form.
- Scoop the Biscoff spread into a microwave-safe bowl and warm it until smooth. Fold into the whipped cream.
- Arrange a layer of Biscoff cookies in the lined pan. Pour half of the whipped cream mixture over the cookies.
- Cover with another layer of Biscoff cookies and the rest of the cream mixture.
- Cover with plastic wrap or foil and freeze for at least 4 hours.
- After freezing, lift out using parchment overhang and slice into squares.
Leave a Reply